Hi posted a DIY project some weeks ago about a damn straight forward way for attaching your flash to a tripod horizontally, this time I want to show you a much better way, but you’ll have to put in “some work”:
Why I need a horizontal flash holder? There are three reasons why:
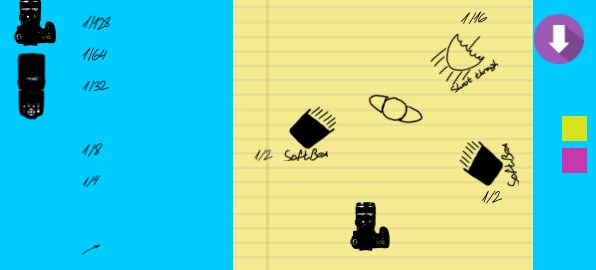
- If you work with umbrellas, you probably noticed that your flash head stands at least 10cm above the umbrella’s axis, therefore the light won’t spread equally. If you compare your strobist flash Vs. a studio strobe, you’ll see the strobe is almost centered to the umbrella’s axis. The DIY horizontal flash holder will put your flash closer to your umbrella’s axis.
- Brollys – putting a flash into umbrella softbox or better known as brolly is a very hard task… The DIY horizontal flash holder fixes this too.
- Stability – Have ever tried to shake a little your studio light stand when you have a flash attached to a trigger who is attached to an umbrella to flash adapter? You probably noticed that the flash isn’t so secure up there, something will break on way or another.Well, I don’t ask you to go and shake your light stands, but you can see what I mean…
Here is my solution you’ll get about 8 adapters, quite a lot even for you strobist guys ,only spending les than 20 bucks:
I put a short promo video below, but go on and read the rest!!!
The images:
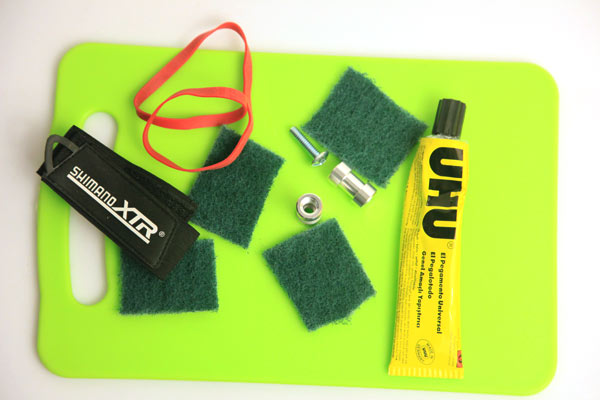 |
Shopping list:This will be enough for about 6-8 of those horizontal flash holder
|
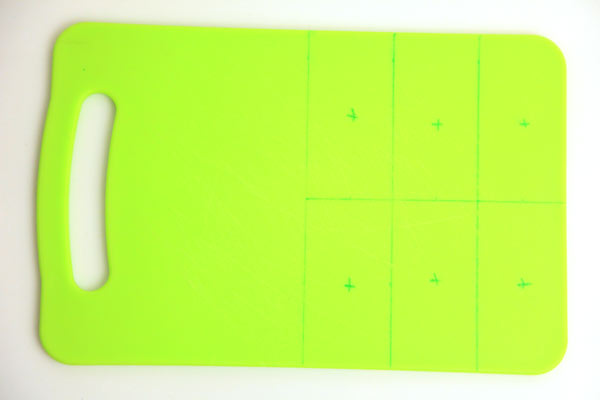 |
Step 1:marking the cutting board. Best results are aiming at 5 cm width strips. You might also like to make the marks for the spots where you are going to drill a hole for the screw. |
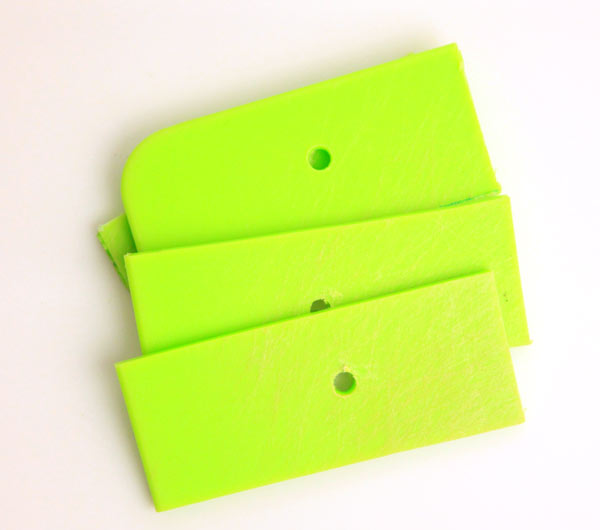 |
Step 2:This is what you’ll get after cutting and drilling. I used a home electric machine saw. It was the first time I used it… |
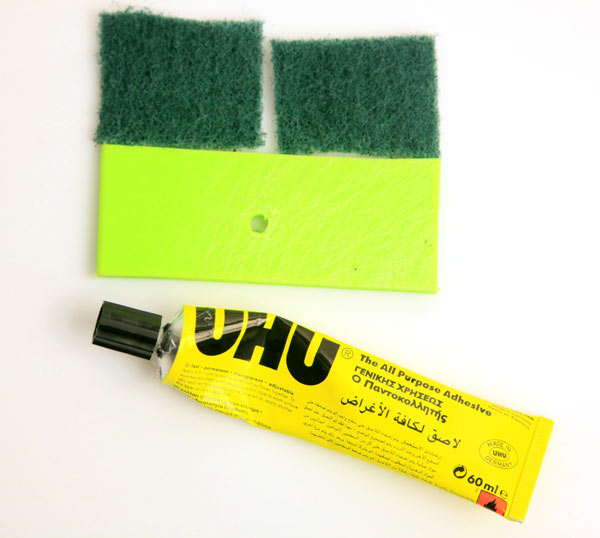 |
Step 3:Next step is preparing the cleaning sponge and the glue.Cutting small 4cm*5cm pieces of the cleaning sponge. Those are used for two reasons:
|
 |
Step 4:Putting some good amount of glue and waiting 10 minutes to let it dry before sticking the sponge and the cutting board together. |
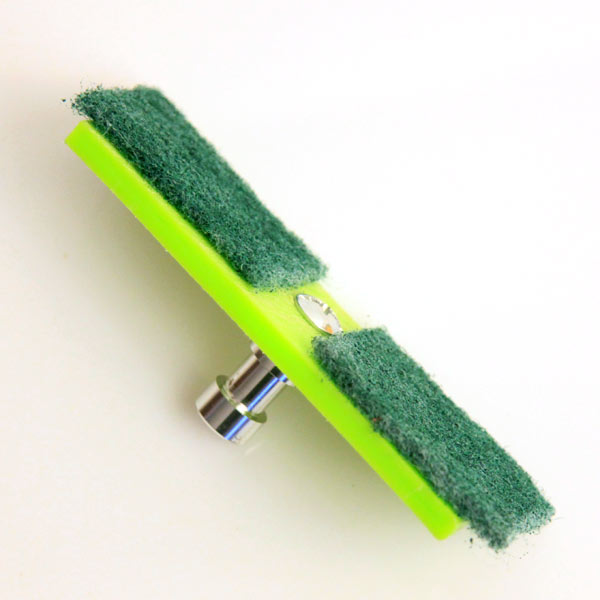 |
Step 5:You are ready to fix them together!!!Make sure you screw the screw and the flash screw adapter very tight, you don’t want it to unscrew.I also used a rubber ring/disk, other popular option is a spring disk. |
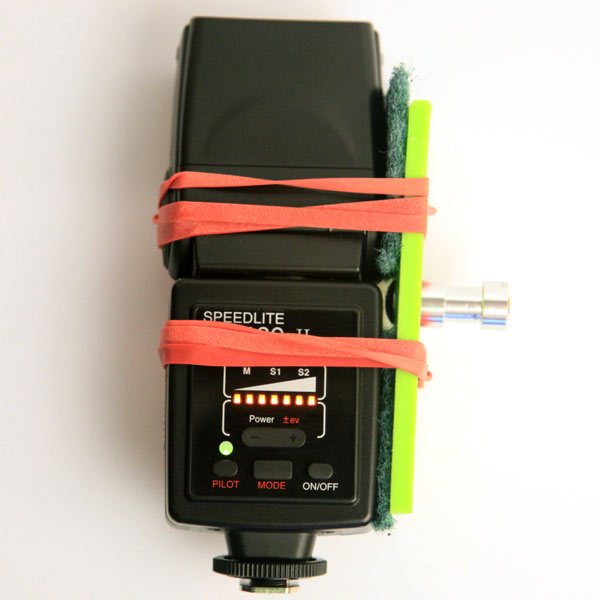 |
Step 6: This is it, Two good rubber bands to attach the flash to you new adapter. Make sure you don’t overuse the rubber bands!!! |
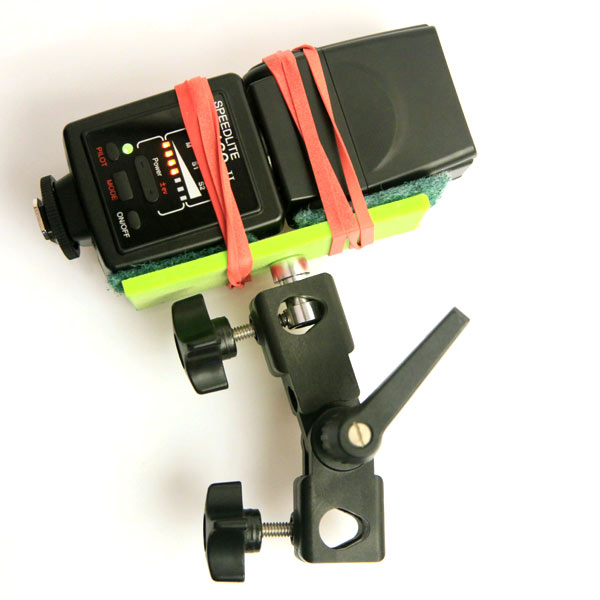 |
This is how it looks after attaching your horizontal flash adapter to the adapter! |
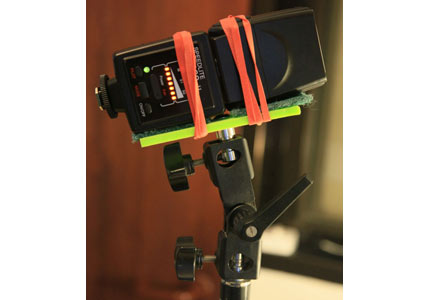 |
Step 7: Attaching you new adapter to your light stand. |
Here are some umbrella to flash holders you might consider:
| Ebay flash adapters |
In case you liked it,
PLS share!!!

This is brilliant.
I made one myself some time ago. But I chose aluminium. Thats way too heavy.
Your solution is much lighter, easier to produce and looks nice.
Cheers for that
TNKS, This is very useful