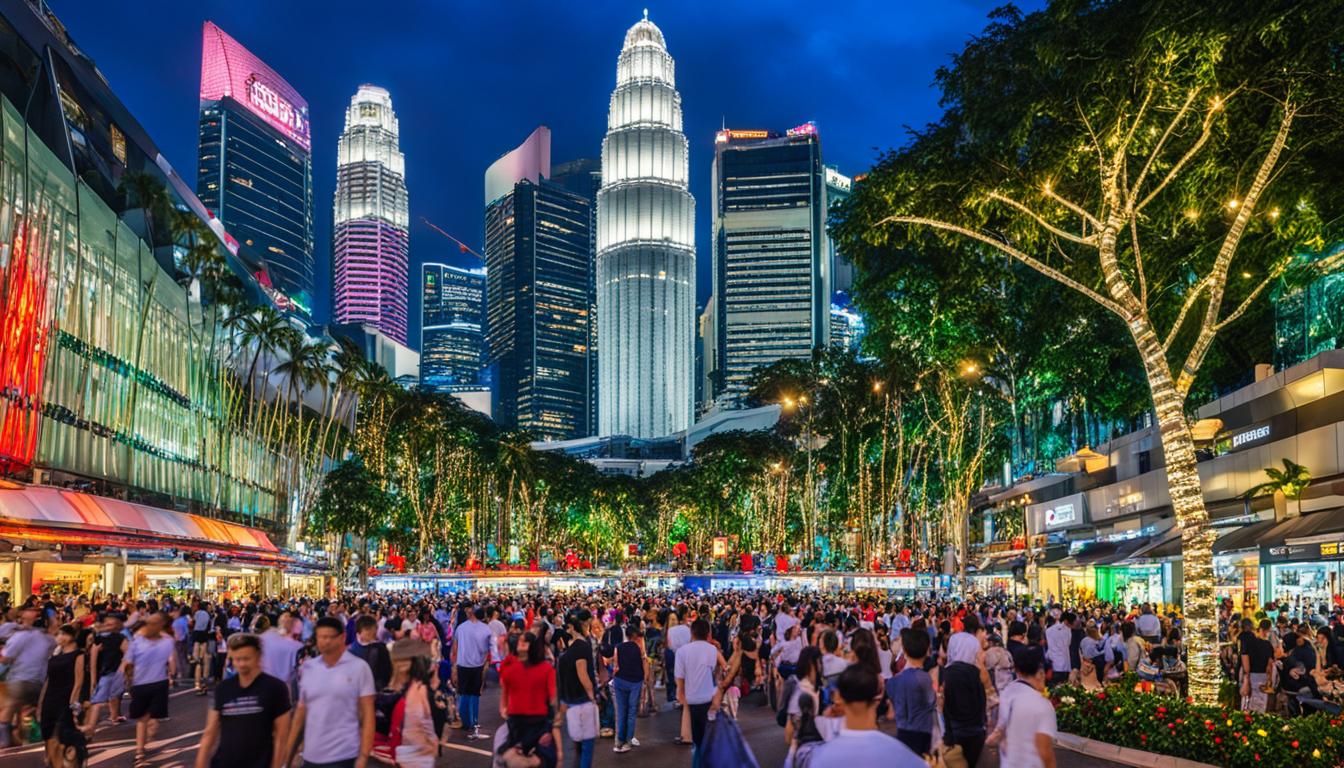
“Photography is a way of feeling, of touching, of loving. What you have caught on film is captured forever… It remembers little things, long after you have forgotten everything.” – Aaron Siskind Singapore is a city that captivates with its rich culture, impressive architecture, and breathtaking landscapes. As a photographer, Continue Reading
Best places to photograph in Dubai
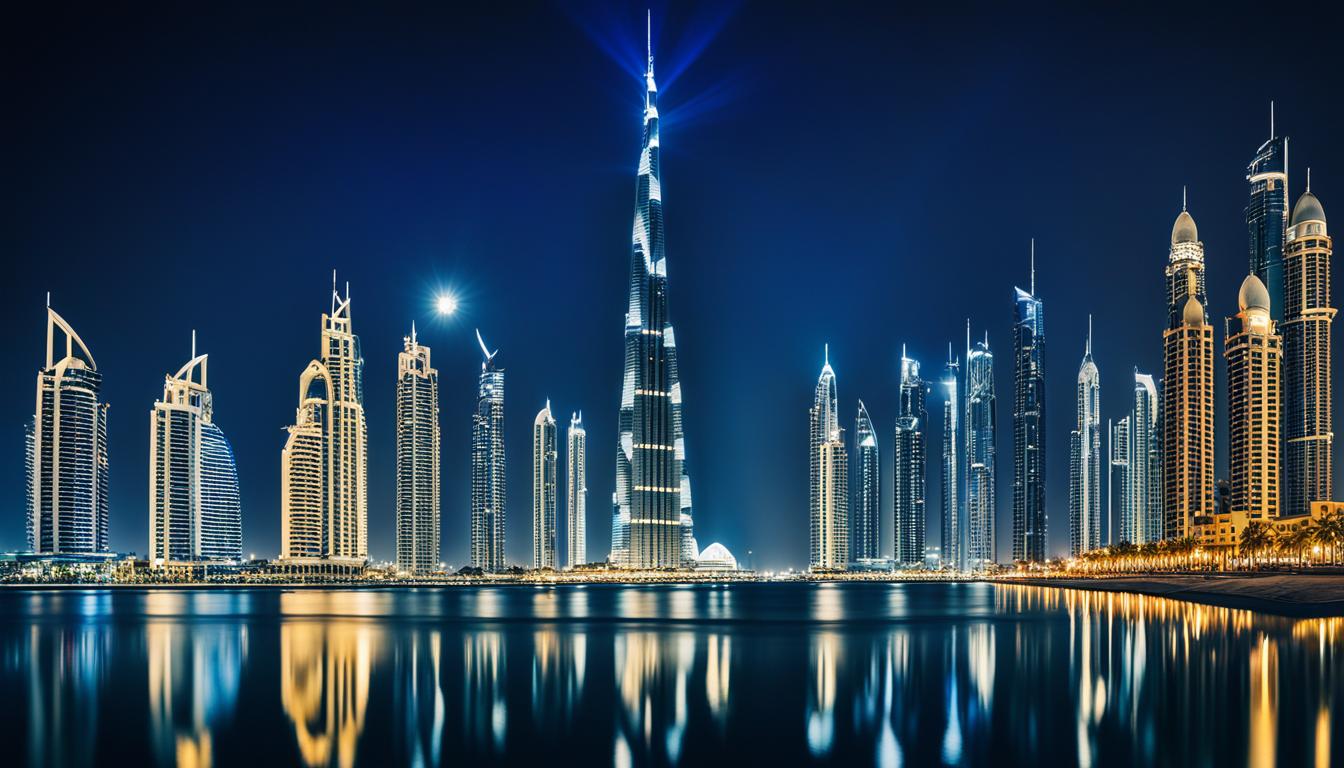
“Photography is the story I fail to put into words.” – Destin Sparks Dubai, with its stunning architecture, breathtaking landscapes, and vibrant culture, offers a wealth of opportunities for photography enthusiasts. From the expansive desert to the iconic city skyline, this dynamic city provides an ideal backdrop for capturing unforgettable Continue Reading
Best places to photograph in Chicago
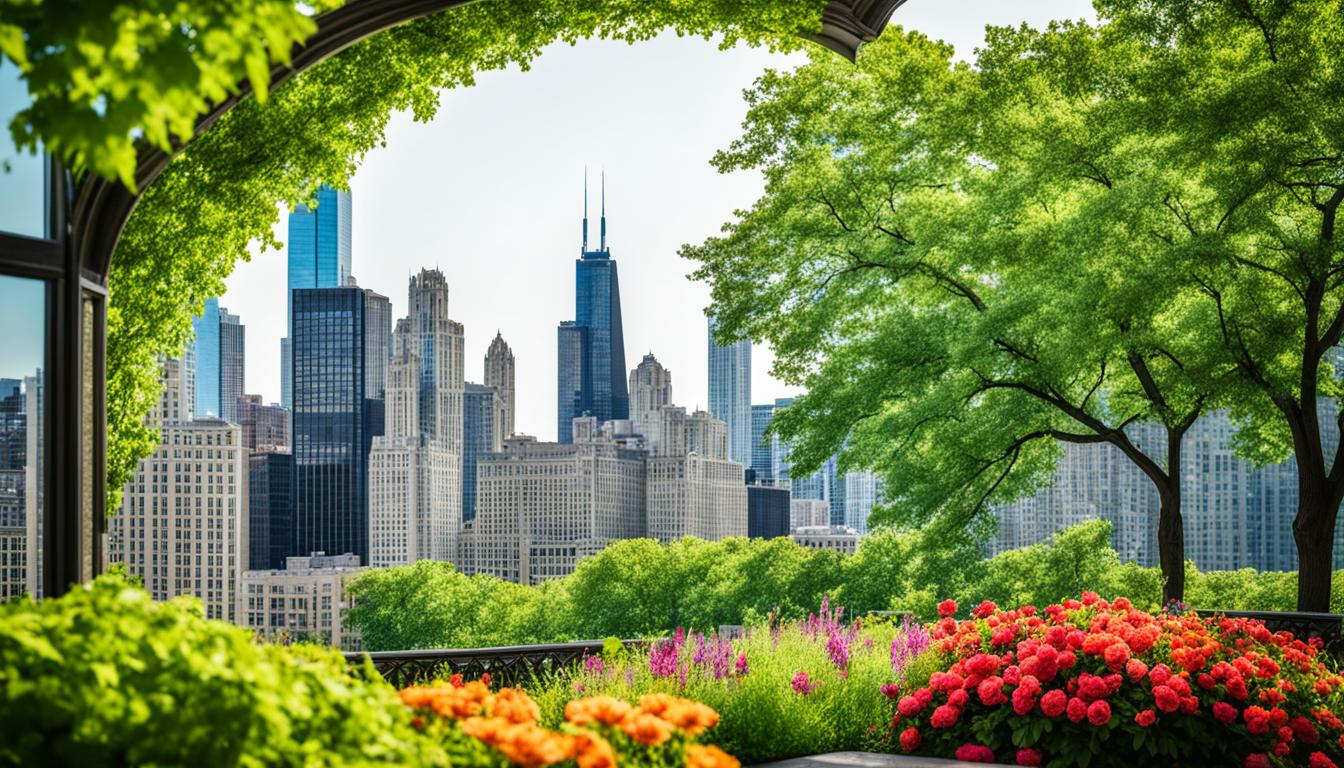
“Photography is the story I fail to put into words” – Destin Sparks Welcome to the vibrant city of Chicago, where every corner offers a captivating story waiting to be captured through the lens. In this article, I’ll take you on a journey to discover the best hidden photography spots, Continue Reading
Best places to photograph in San Francisco
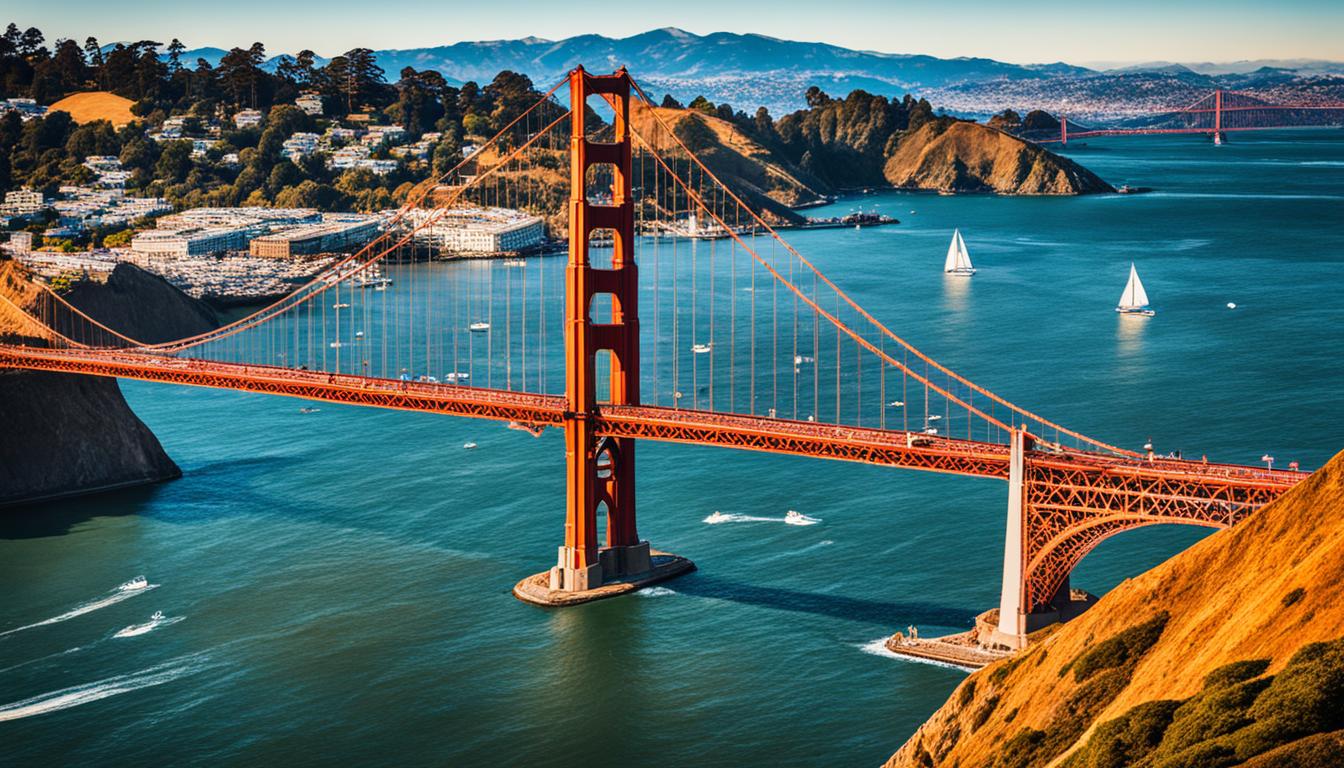
“Photography is a way of feeling, of touching, of loving. What you have caught on film is captured forever… It remembers little things, long after you have forgotten everything.” – Aaron Siskind Welcome to the vibrant city of San Francisco, where every corner is a potential masterpiece waiting to be Continue Reading
Best places to photograph in Istanbul
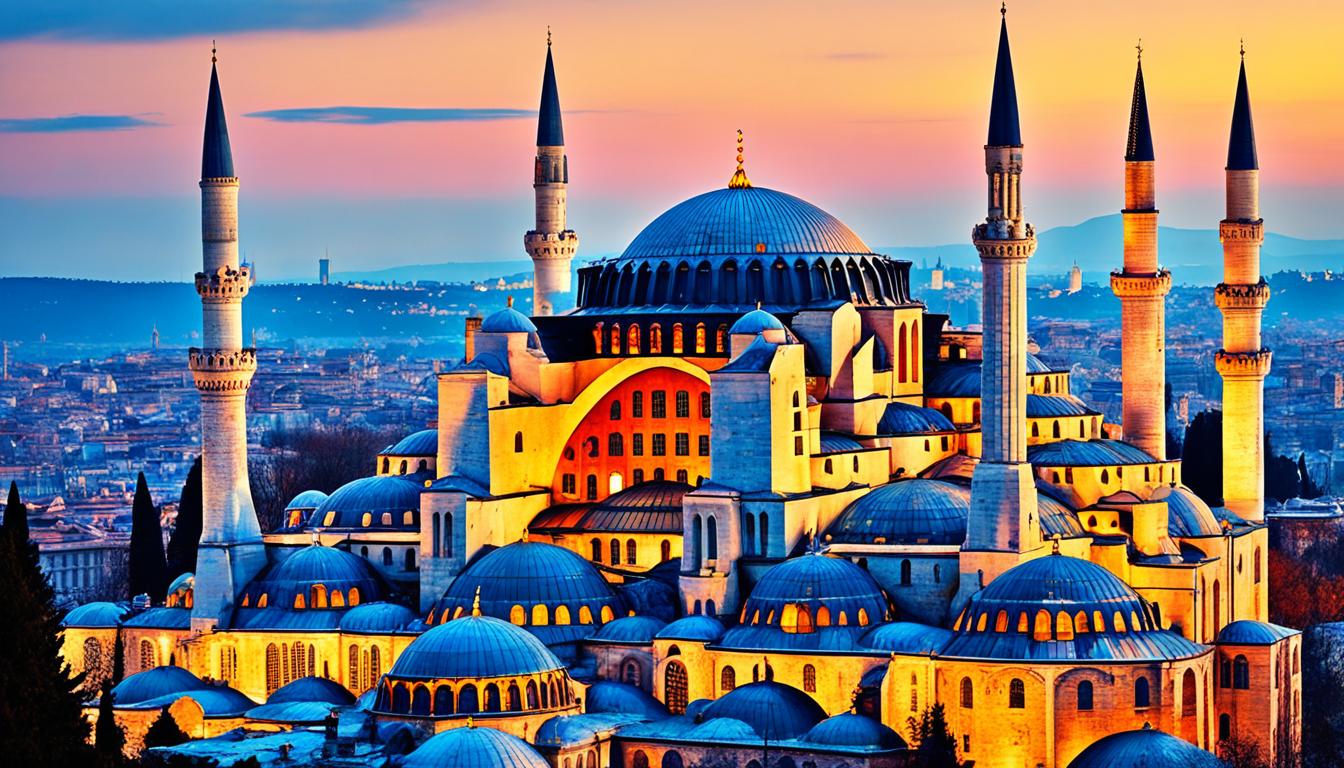
“Photography is the story I fail to put into words.” – Destin Sparks Istanbul, Turkey’s largest city, is a visual feast for photographers seeking to capture its rich cultural heritage and mesmerizing architecture. With its juxtaposition of old and new, East and West, Istanbul offers a myriad of breathtaking locations Continue Reading
Best places to photograph in Marrakech
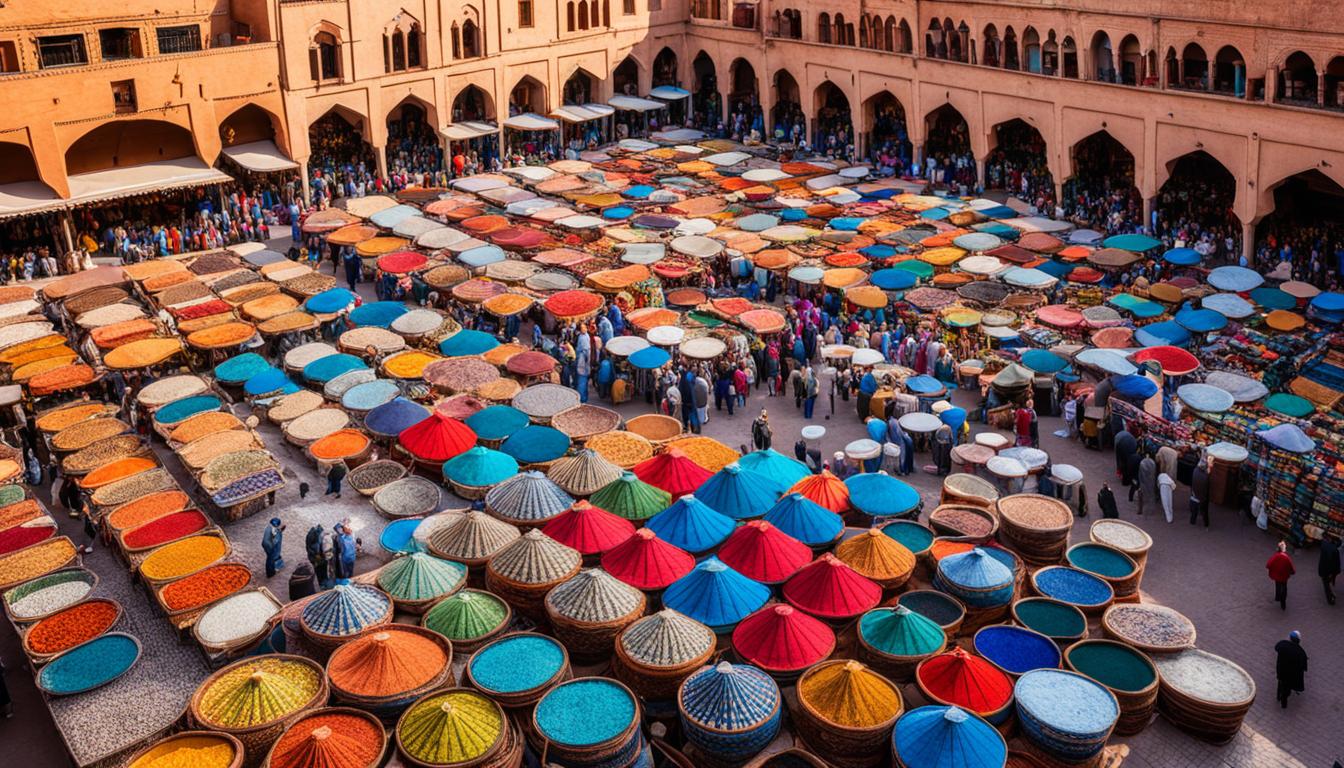
“Photography is the story I fail to put into words.” – Destin Sparks Welcome to Marrakech, a vibrant city filled with stunning architecture and a rich cultural heritage. As a photographer, capturing the essence of this enchanting destination is a captivating experience. From the bustling souks to the pink-washed alleys Continue Reading
Best places to photograph in Barcelona
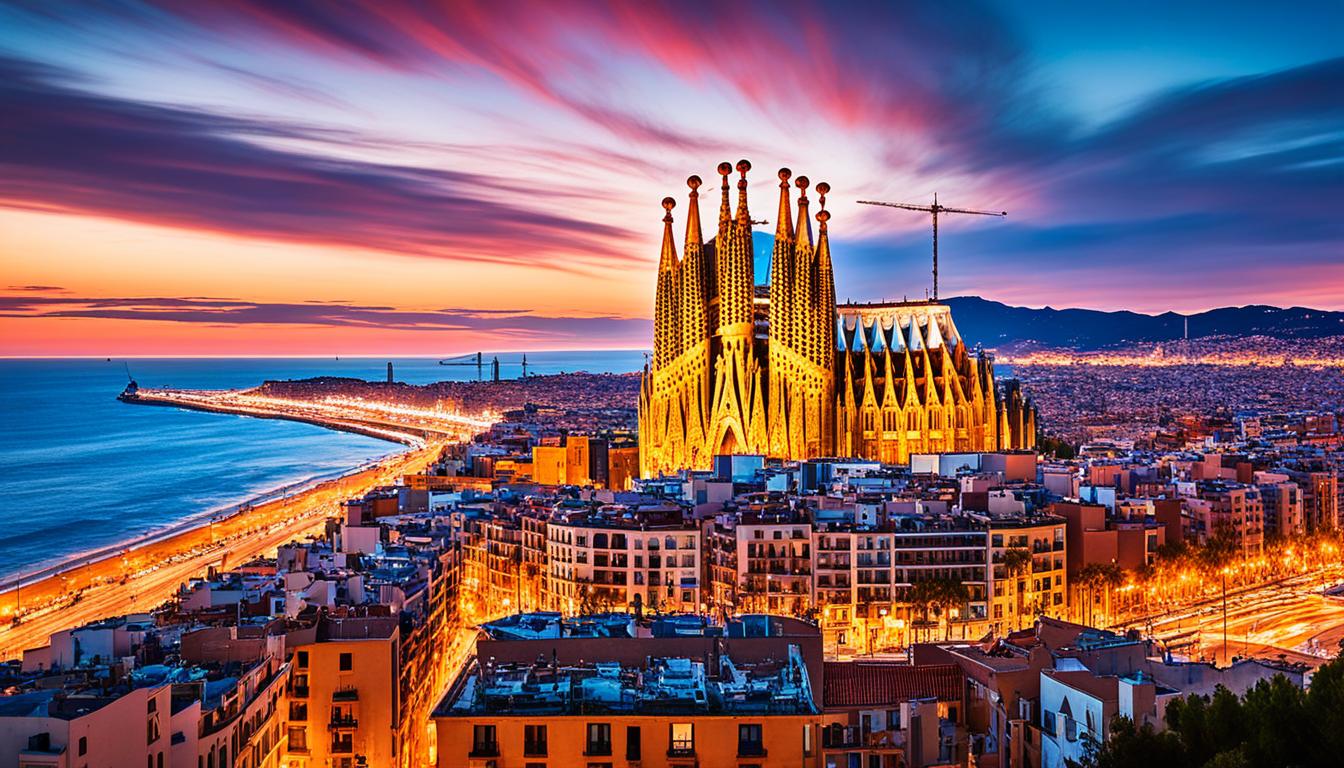
“Every artist dips his brush in his own soul, and paints his own nature into his pictures.” – Henry Ward Beecher Barcelona, a vibrant city that pulsates with life, is a photographer’s paradise. From the sun-kissed streets to the stunning architecture, every corner of this city is an opportunity to Continue Reading
Best places to photograph in Prague
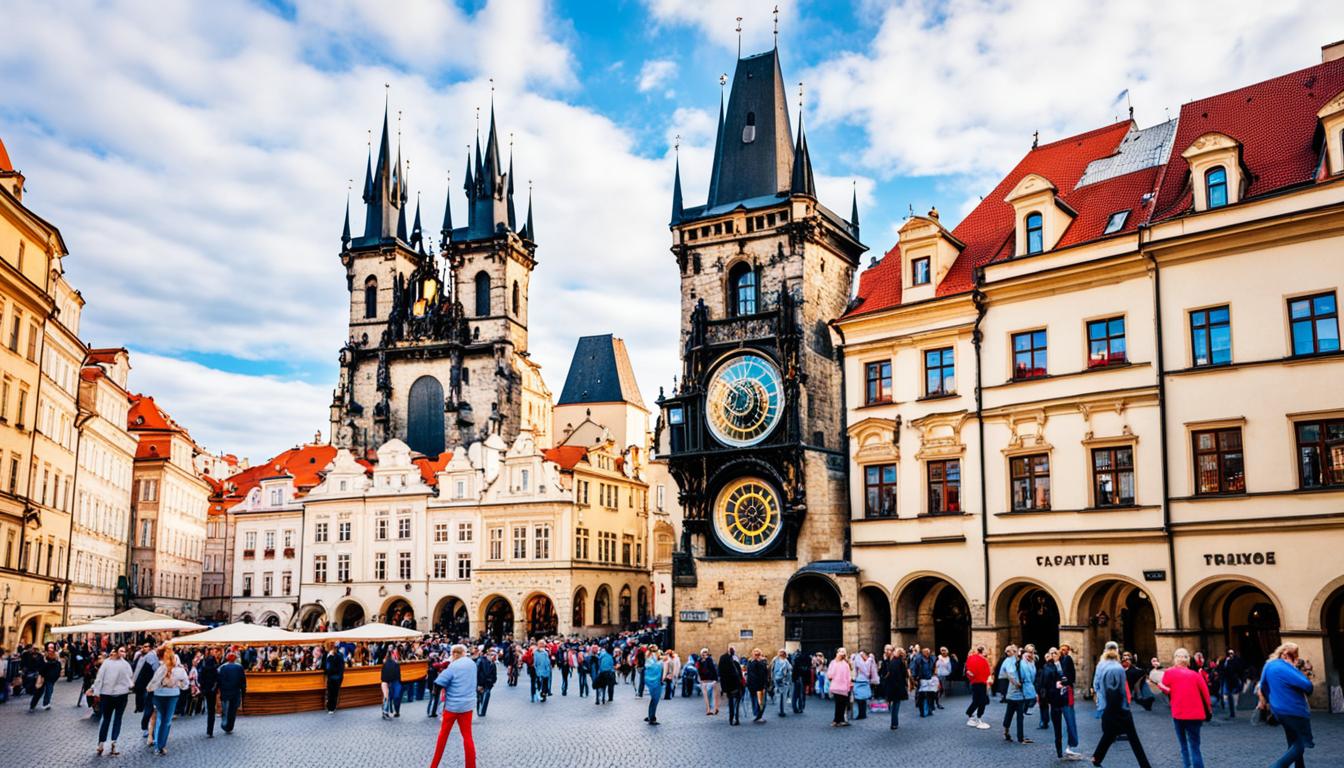
“Photography takes an instant out of time, altering life by holding it still.” – Dorothea Lange Prague, the capital of the Czech Republic, is a city of captivating beauty that beckons photographers from around the world. Its stunning architecture, picturesque streets, and rich cultural heritage make it a paradise for Continue Reading
Best places to photograph in Hong Kong
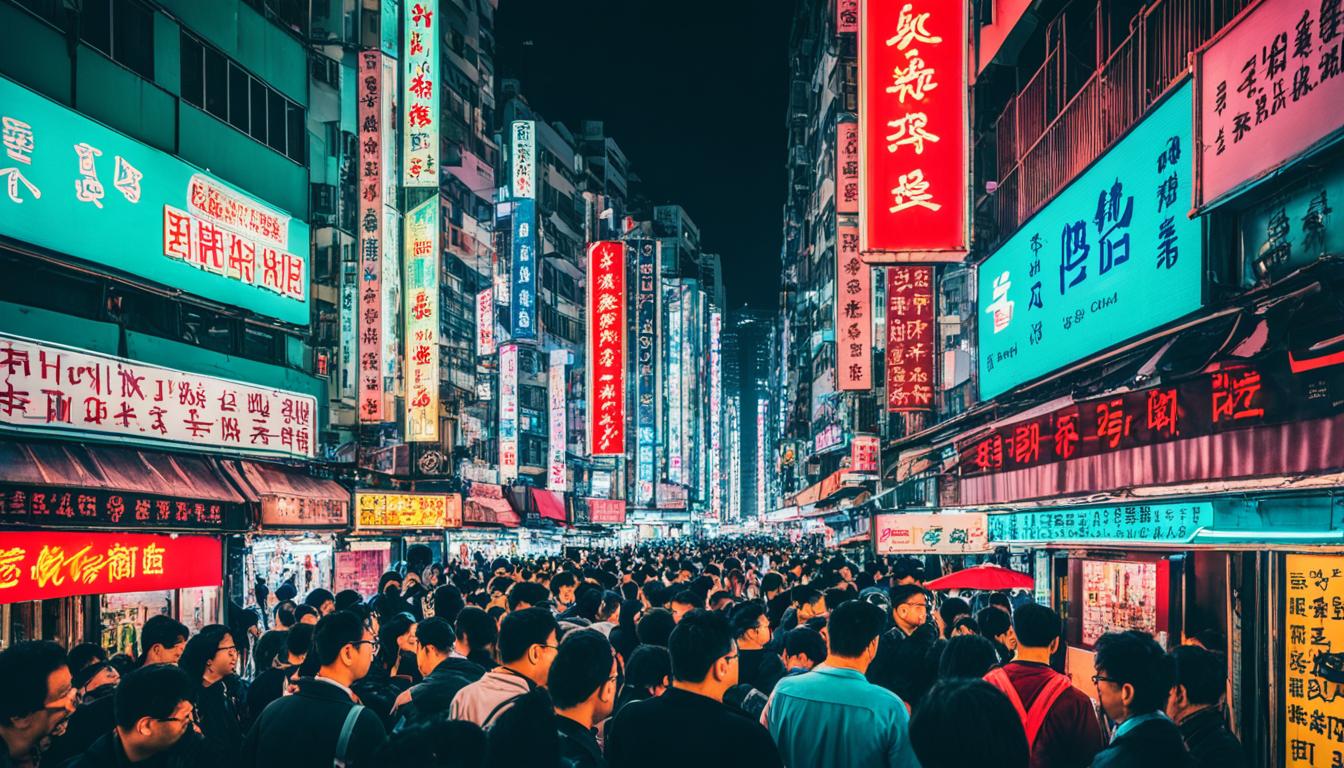
“Photography is the story I fail to put into words.” – Destin Sparks Welcome to the captivating world of photography in Hong Kong. With its dynamic fusion of culture, architecture, and natural beauty, this vibrant city offers endless opportunities for capturing stunning visuals. Whether you’re a professional photographer or simply Continue Reading
Best places to photograph in Sydney
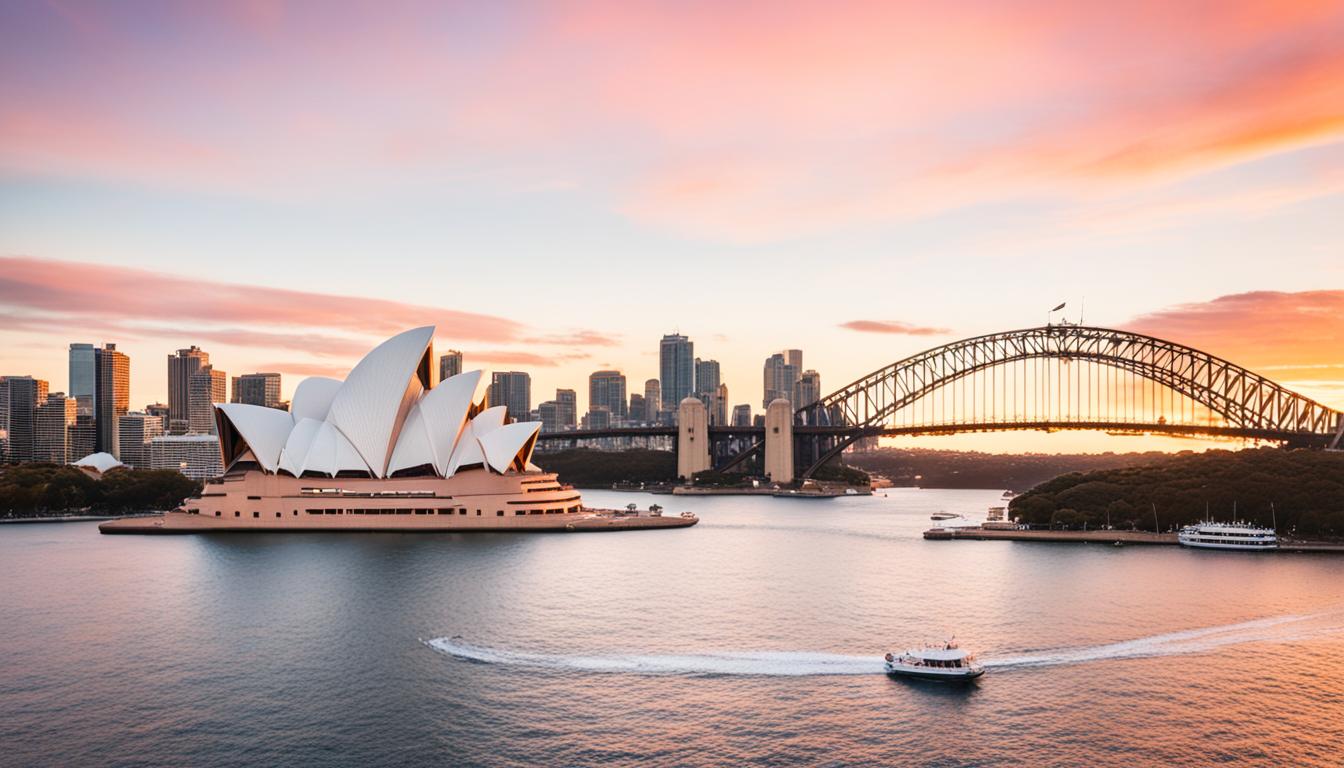
“Photography is a way of feeling, of touching, of loving. What you have caught on film is captured forever… It remembers little things, long after you have forgotten everything.” – Aaron Siskind Sydney, a city of stunning landscapes and iconic landmarks, offers a paradise for photographers seeking to capture moments Continue Reading
Best places to photograph in Tokyo

“Photography is a way of feeling, of touching, of loving. What you have caught on film is captured forever… It remembers little things, long after you have forgotten everything.” – Aaron Siskind Tokyo, the bustling capital city of Japan, is a photographer’s dream. With its blend of traditional and modern Continue Reading
Best places to photograph in New York City
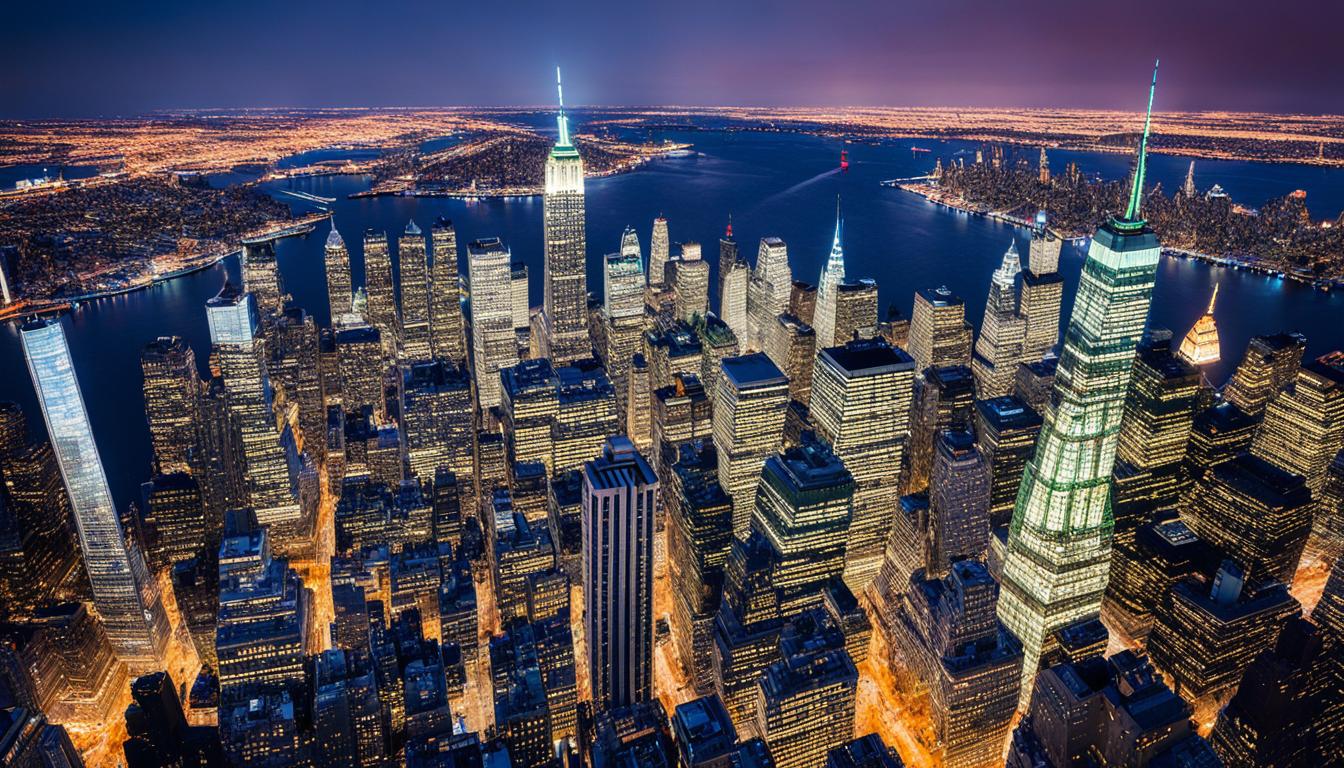
“Photography is a way of feeling, of touching, of loving. What you have caught on film is captured forever… it remembers little things long after you have forgotten everything.” – Aaron Siskind New York City, the concrete jungle of towering skyscrapers and bustling streets, is a photographer’s paradise. Seemingly at Continue Reading
Best places to photograph in London
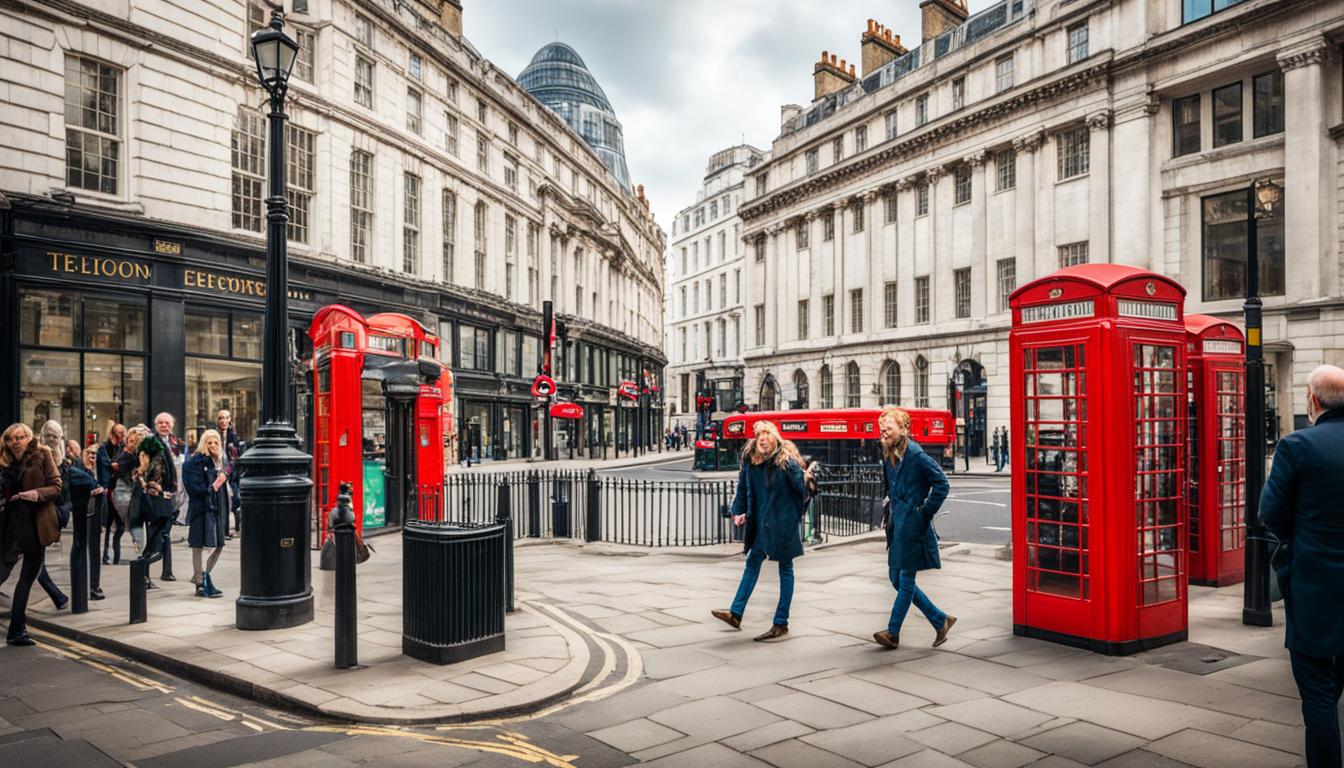
“Photography is a way of feeling, of touching, of loving. What you have caught on film is captured forever… It remembers little things, long after you have forgotten everything.” – Aaron Siskind London, the vibrant capital of England, is a city rich in history, culture, and breathtaking sights. From iconic Continue Reading
Best places to photograph in Rome

“Every artist dips his brush in his own soul, and paints his own nature into his pictures.” – Henry Ward Beecher Greetings, fellow photography enthusiasts! Welcome to a guide on the best places to photograph in Rome, where centuries of history and culture blend seamlessly with breathtaking scenery. As a Continue Reading