Confirmation Code: GHDCNBF4426301

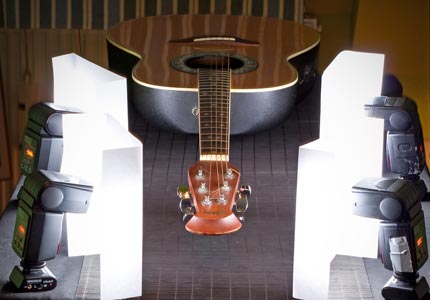
Hey you guys!in this post I’ll instruct you how to shoot very good shots of your product using just one small camera flash ,in this case I used a Canon 580EXII in a photek brolly which is the most powerful lighting modifier on budget that I know!I use here a 46 inch brolly (the nick name for an umbrella softbox).I don’t remember how much i cost me a couple of years ago,when my friend Chen went to the B&H and bought this piece for me (thanks Chen).
So get in and see the rest of this tutorial and more examples!I have two variations for this product photography setup : in the first setup I use only the brolly, while in the second one I add a reflector on the opposite side of the brolly light for some more fill light.As you’ll soon see the brolly gives a very big light source and therefor a very good light quality!
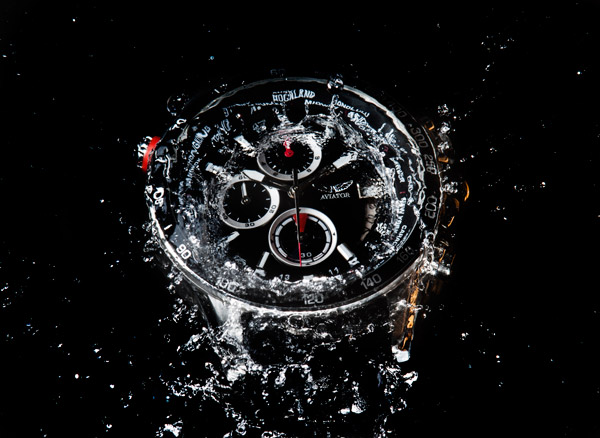
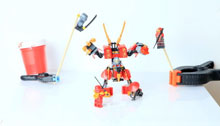
So this is the first set:

The set details:
- Camera: Canon 40D set to – iso500,1/125th sec , f1/7.1.This is my basic start for most of the time when I use a brolly or a light modifier that as some loose of light.
- Light: a Canon 580EXII set to 1/4th full power in a big and nice 46” photek brolly (there are cheaper brands on Ebay if you want to start with something else).
- Setup background: a piece of paper roll taped to the door (if you tape it to the wall get in mind you’ll have to paint the wall every time you take some pictures…).
This is it,lets what we have:


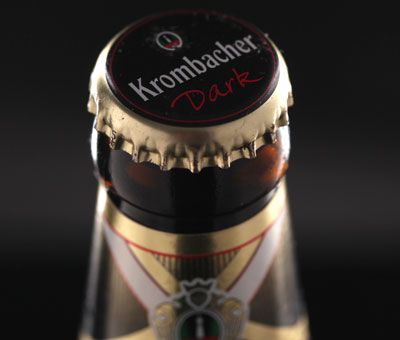
As I used a big brolly,the shadows are relatively small,but if the annoys you,here is the second set where I added a white foam board as a reflector:

If you’ll try hard you’ll see that the shadows on the products left is smaller.on the shoe point the shadows beneath the shoe are less visible:


Well this is all,I hope you got something out of this tutorial.
Please if you have some suggestions,feel free to put your comments below.

The pictures are good over all,but I can hardlly see the diffences while using the reflctor and not…
Good job and continue sharing!
Hey
Its pretty hard to see the differences,yes I know it.
Keep in mind that the brolly is very big (in relative to the size of the products) so you get a very good light control.
You could see the difference while examinig the shoe picture very close:
in the picture without the reflector the point of the shoe is darker than the point of the shoe with the reflector.
By the way no photoshop in those pictures what so ever.