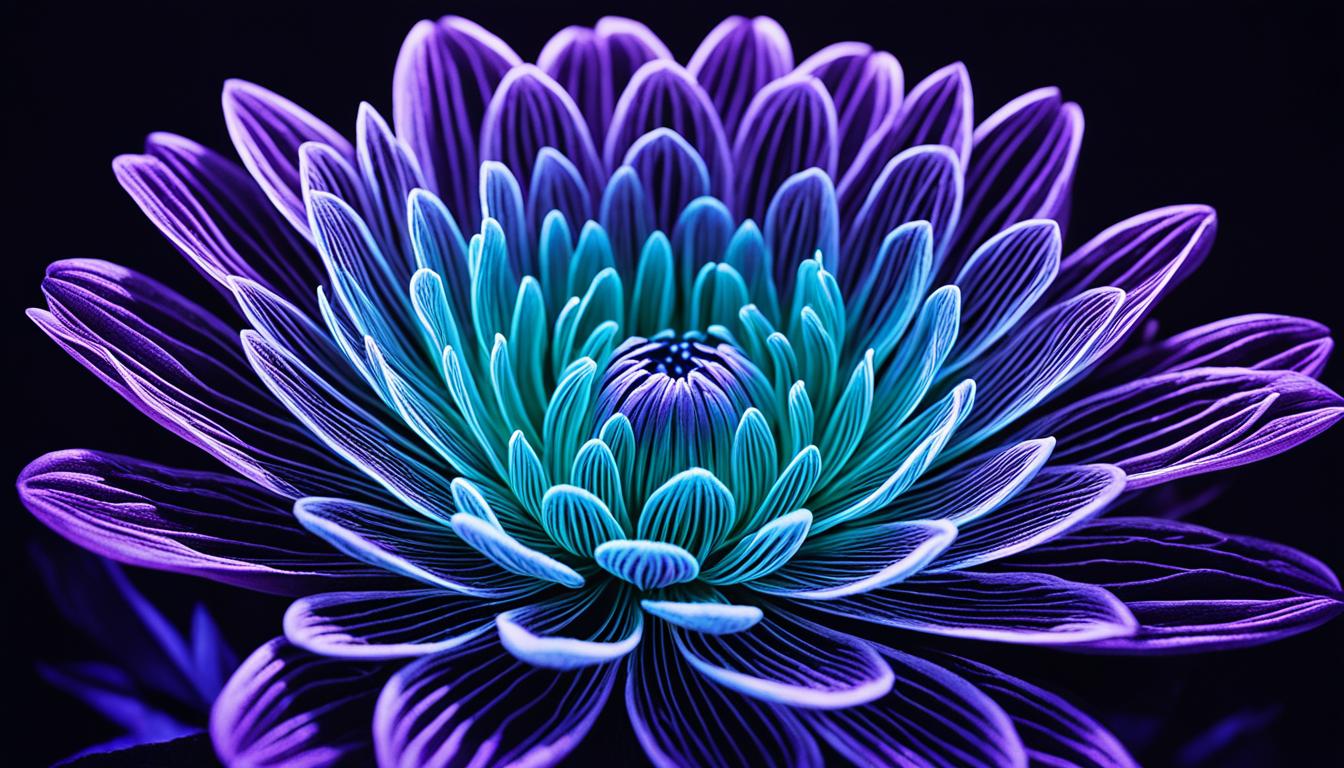
Embark on a visual journey like no other with the enigmatic world of black light photography. This awe-inspiring medium allows photographers to play with the invisible spectrum, turning ordinary subjects into intriguing artistic expressions. Whether delving into it for the first time or looking to refine your existing skills, our black light photography tips, techniques, and ideas are designed to guide you towards creating images that are not just photographed but felt. Step into the vibrant realm where the normal rules of light do not apply and prepare to capture the unseen magic that awaits.
From setting up your space to mastering post-processing, every element you employ plays a critical role in the final outcome of your work. Leveraging the right black light photography techniques is instrumental in achieving that surreal glow and colorful vibrancy that makes these images so captivating. And when it comes to inspiration, black light photography ideas are endless, inviting you to experiment with materials, subjects, and compositions that react beautifully under UV light. Join us as we illuminate this fascinating niche of photography and help you unlock your creative potential.
Key Takeaways
- Understand the fundamentals of black light to effectively harness its potential in photography.
- Proper setup of your photography space enhances the surreal effect of black light.
- Experiment with various black light photography techniques for unique and compelling images.
- Invest in the correct equipment and understand the camera settings crucial for black light photography.
- Draw from a myriad of black light photography ideas to keep your work innovative and fresh.
Understanding the Basics of Black Light Photography
Delving into black light photography basics requires an appreciation for the unique interplay between light and color. This black light photography introduction heeds the cardinal rules of capturing the unseen glow that can elevate your images from the ordinary to the extraordinary. At its core, black light, or ultraviolet light, is a creative accomplice that can transform your photographic work with a surreal ambiance.
Black light operates at a wavelength just beyond the human eye’s perception, yet its effects are anything but invisible when it interacts with fluorescent materials. As a photographer, your role is to harness this unseen wavelength and capture how it illuminates certain substances. This reactiveness to UV light is precisely what brings a distinct dimensionality to your shots—an enchanting luminescence that glows with vibrant colors under the shroud of darkness.
Let’s unpack the science behind this phenomenon. Fluorescent substances absorb the ultraviolet light and then re-emit it almost immediately, but at a longer wavelength which we can see. This effect of fluorescence is the star of the show in black light photography. It permits you to create images imbued with an incredible energy and dynamic color that are impossible under standard lighting conditions.
Before we detail the equipment and settings ideal for this genre, it’s pivotal to remember the main character in our photographic narrative: the black light. Our foray into black light photography basics would be remiss without acknowledging the versatility of this medium. From highlighting specific areas of a subject to the full immersion of a scene, black light can weave an impressive array of emotions and stories into your photos.
| Property | Effect in Photography | Tips |
|---|---|---|
| Invisibility | Creates a surreal environment as the light source is not directly visible. | Use darkness to accentuate the subjects you wish to highlight. |
| Reactivity | Induces fluorescence in certain materials, making them glow. | Focus on subjects that contain fluorescent colors for maximum impact. |
| On Film | Allows capture of vibrant and unexpected colors that are not perceivable to the naked eye. | Experiment with different materials and surfaces to explore their photographic potential under UV light. |
In this guide to black light photography basics, we provide a window into the unseen and often under-appreciated science of UV light, set to revolutionize not just how you take photos, but how you perceive the intersection of light, color, and artistic expression. A proper black light photography introduction points you towards the uncharted terrains of creativity, where the glow is waiting to be captured.
Black Light Photography Tips: How to Set Up Your Space
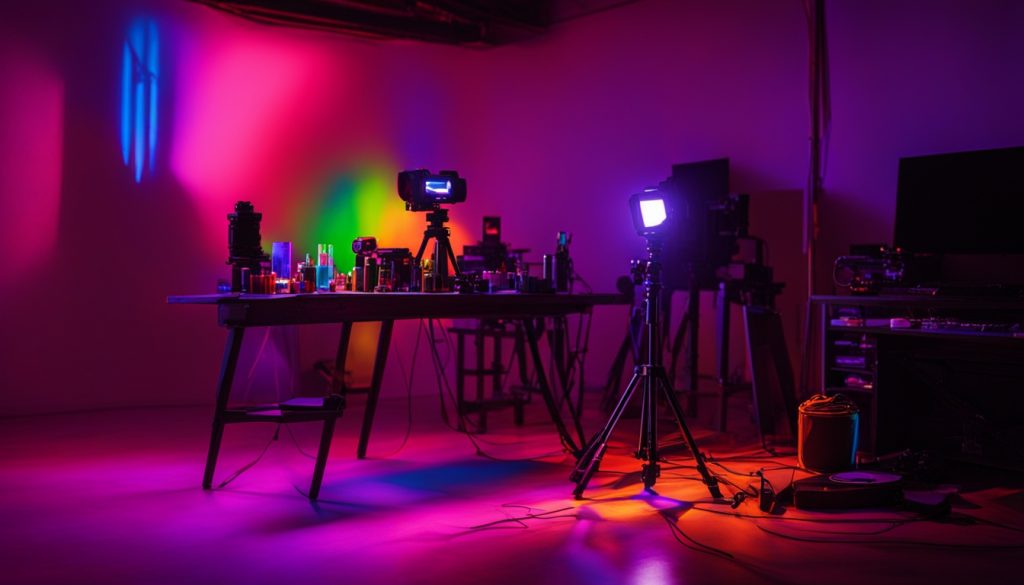
Preparing the ideal black light photography setup begins with choosing an appropriate location. This can transform an ordinary scene into a surreal dreamscape that captivates the viewer’s imagination. Understanding the interplay between your black light photography equipment and the chosen environment is paramount. Below are key factors to consider while prepping your space.
Choosing the Right Location
When scouting for the perfect black light photography location, look for spaces with minimal ambient light to ensure the black lights’ effect is pronounced. Dark backgrounds and reflective surfaces can also add depth and dimension to your images. Indoor settings usually provide more control over lighting conditions, making them ideal for this type of photography.
Setting Up Your Black Lights for Optimal Effect
Positioning your black lights strategically is crucial for highlighting your subject while creating dramatic contrasts. Place the lights at varying angles to explore how they react with fluorescent materials. Test different configurations to see which setup emphasizes the visuals you aim to enhance.
- Direct your black lights from a side angle to accentuate textures.
- Adjust the distance from your subject to balance luminosity and shadow.
- Utilize multiple black light sources to create an even, vibrant glow.
Safe Practices When Handling Black Light Equipment
While setting up your black light photography equipment, always prioritize safety. Use protective gear if necessary, and be mindful of the heat generated by light sources, especially if positioning them near flammable materials. Always ensure your setup is stable to prevent equipment from toppling over during the shoot.
| Equipment | Maintenance | Safety Tips |
|---|---|---|
| Black Light Bulbs | Regularly inspect for damage. | Handle with care to avoid breakage. |
| UV LED Panels | Keep dust-free for optimal performance. | Position out of direct contact to avoid burns. |
| Fluorescent Tubes | Clean gently to maintain brightness. | Securely mount to prevent falls. |
Note: Your black light photography setup is not just about equipment and location; it’s also a creative playground. Experiment with different materials, like white clothing or neon paints, to see how they fluoresce under UV light. The possibilities are endless, so let your imagination lead the way!
Capturing the Glow: Black Light Photography Techniques
The allure of black light photography lies in its ability to reveal the unseen, transforming the ordinary into a luminous spectacle. Here we dive into a couple of essential black light photography techniques and share some practical black light photography shooting tips to help you capture that enchanting glow and create striking images bursting with vibrant colors.
To begin with, mastery of long exposures is key to black light photography. This allows for the full effect of the UV light to saturate the sensor, resulting in the vivid glowing effects that are the signature of this style. Mount your camera on a tripod and opt for exposure times that could range from several seconds to minutes, depending on the intensity of your black light and the desired black light photography effects.
- Light painting is another creative technique that can add drama to your photos. By moving a handheld UV light source during a long exposure, you can draw attention to specific elements within the frame or create fanciful trails of light.
- Multiple exposures can also enhance the complexity of your images. This involves combining several photos taken with different focus points or from various angles, which when blended, result in a more nuanced and layered effect.
Here are a few black light photography shooting tips to keep in mind as you experiment with these techniques:
- Always use a manual focus to avoid the autofocus system struggling in the low light conditions typical of black light photography.
- Use a remote shutter release or your camera’s timer to prevent any camera shake during long exposures.
- Experiment with different materials and objects, as some may react to UV light in unexpected ways, resulting in more dynamic images.
By exploring these black light photography techniques and incorporating these shooting tips, you’ll be well-equipped to capture the mesmerizing effects that only black light can unveil. Keep practicing, and remember that the beauty of this form of photography often lies in the experimental and unexpected outcomes it can yield.
Essential Equipment for Black Light Photography
In the scintillating world of black light photography, where vibrant colors pop and ordinary subjects turn into luminescent masterpieces, the right equipment is paramount. Before diving headfirst into this unique form of art, one must gather the appropriate tools to transform vision into reality. Beyond the camera and the subject, the selection of specific black light photography equipment plays a critical role in the output of your images. Let’s delve into the components that will equip you for achieving arresting fluorescent effects.
Selecting the Right Black Light Sources
When it comes to black light sources, variety and quality determine the caliber of your photographs. Fluorescent tubes are preferred for their even light distribution, making them ideal for studio settings. On the other side, LED panels offer portability and ease of use, suitable for on-location shoots. UV flashlights, though, are the tool of choice for precision and small-scale illumination. They are particularly useful for highlighting specific areas or for light painting techniques. Whichever source you choose, ensure it emits sufficient UV light to excite the fluorescent subjects in your compositions.
Camera Settings and Gear for Fluorescent Effects
Getting the camera settings right is crucial for capturing the ethereal glow of black light photography. Set your camera to a high ISO to increase sensitivity to light without compromising on shutter speed. This is essential to avoid blurring, especially when photographing human subjects. A tripod is an invaluable piece of gear that stabilizes your camera for sharp, clear images and is nearly indispensable when experimenting with longer exposures. Moreover, consider a remote shutter release to eliminate camera shake completely.
Filters and Lenses for Enhanced Imagery
While your camera and light sources lay the foundation for black light photography, filters and lenses are the fine brushes with which you paint the details. Filters for black light photography can modify the light entering your lens, intensifying the fluorescence, or adding creative effects to your images. Additionally, lenses with a wide aperture will help in low light conditions, allowing more light to hit the sensor and enabling a shallower depth of field for dramatic, artistic portraits. Remember, the right combination of filters and lenses can elevate your black light imagery from good to extraordinary.

