Delve into the realm of shadows and embrace the quiet allure of dimly lit scenes with our expert low light photography tips. Unveil the secrets to capturing mesmerizing images when the sun sets or in the hushed ambience of indoor environments. We guide you through mastering the nuanced art of shooting in low light, using fundamental camera settings and revolutionary techniques that ensure every click resonates with clarity and depth.
Elevate your visual storytelling as you navigate the dusky corridors of photography where the challenge of the dark is met with creativity and skill. Learn how low light photography techniques open up a world of possibilities for photographers willing to step out of sunlight and into the shadows. Let these insightful tips illuminate your path to stunning photography even when light is scarce.
Key Takeaways
- Discover essential techniques to enhance photo quality in low light.
- Understand camera settings critical for reducing noise and blur.
- Explore the right equipment needed for shooting in low light conditions.
- Learn how to capture sharp images despite challenging lighting.
- Gain insights on optimizing ISO and balancing aperture and shutter speed.
Understanding the Challenges of Low Light Photography
The pursuit of capturing the essence of a scene when light is scarce can be likened to an artist trying to paint without a full palette of colors. Photographers often encounter the challenges of low light photography, which can impose creative limits and technical obstacles. Here, we explore the difficulties and uncover solutions to enable photographers to thrive in the dimmest environments.
Overcoming the Need for Adequate Lighting
Low light conditions often result in photographers grappling with the need for more light. Artificial lighting sources can intrude on the natural atmosphere you may wish to preserve, while a complete reliance on ambient light may not provide the luminance needed for a sharp, well-exposed image. One viable solution is to maximize the capability of your camera to absorb available light, usually through wide apertures and slower shutter speeds—a delicate balance to strike to avoid unwanted side effects.
Dealing with High ISO and Noise
In low light, raising your camera’s ISO setting seems like the immediate fix to brighten an image. However, this increase often comes at the cost of low light photography difficulties such as digital noise. The granular appearance that noise produces can detract from the sharpness and clarity of an image. Combating this challenge might involve leveraging noise reduction features in post-processing or utilizing the more sophisticated noise performance of modern cameras.
Managing Shutter Speed and Motion Blur
To capture enough light, photographers might slow down the shutter speed, but this makes camera shake and motion blur more prominent, especially in hand-held photography. Tripods and image stabilization technologies can aid in reducing blur, while understanding the limits of hand-holdability and motion within your frame may guide you in picking the appropriate shutter speeds for crisp images in low light scenarios.
Each of these challenges presents an opportunity for photographers to refine their skills and to get creative with solutions. With the right approach, the once daunting challenges of low light photography become gateways to crafting evocative and dramatic imagery that harness the subtleties of shadows and light.
The Best Camera Settings for Low Light Conditions
Finding the right balance in low light camera settings is a dance of precision and creativity. Venturing into manual mode opens up a world of possibility for photographers, especially when navigating the dimly lit scenarios where automatic modes often falter. Let’s dive into how to adjust your settings for optimal low light photography.
Mastering Manual Mode for Greater Control
When auto mode cannot grasp the subtleties of low light, manual mode comes to the rescue. By manually adjusting ISO, aperture, and shutter speed, photographers gain direct control over the exposure triangle. This triad of settings is the cornerstone of crafting the exact aesthetic you’re aiming for in low light conditions.
Optimizing ISO for Quality and Noise Reduction
Raising the ISO is a common tactic to compensate for low light, but it’s a double-edged sword due to the noise it can introduce in your photos. The key here is optimizing the camera settings for low light photography by finding the highest ISO that gives you usable images without unacceptable noise levels. Recognizing this ceiling is crucial and varies with each camera model.
Aperture and Shutter Speed Balance
An open aperture lets in more light, which is desirable in low light photography. Pairing this with a slower shutter speed allows for a longer exposure, capturing more light without increasing ISO. Nevertheless, watch out for motion blur; if your subjects are moving, this tactic requires a steady camera, potentially employing the use of a tripod.
Here’s an overview of the manual settings for better control:
| Setting | Purpose | Low Light Adjustment |
|---|---|---|
| ISO | Controls sensor’s sensitivity to light | Increase up to camera’s noise threshold |
| Aperture (f-stop) | Determines the amount of light allowed through lens | Open up to the widest available |
| Shutter Speed | Duration that camera’s shutter remains open | Longer exposures to capture more light |
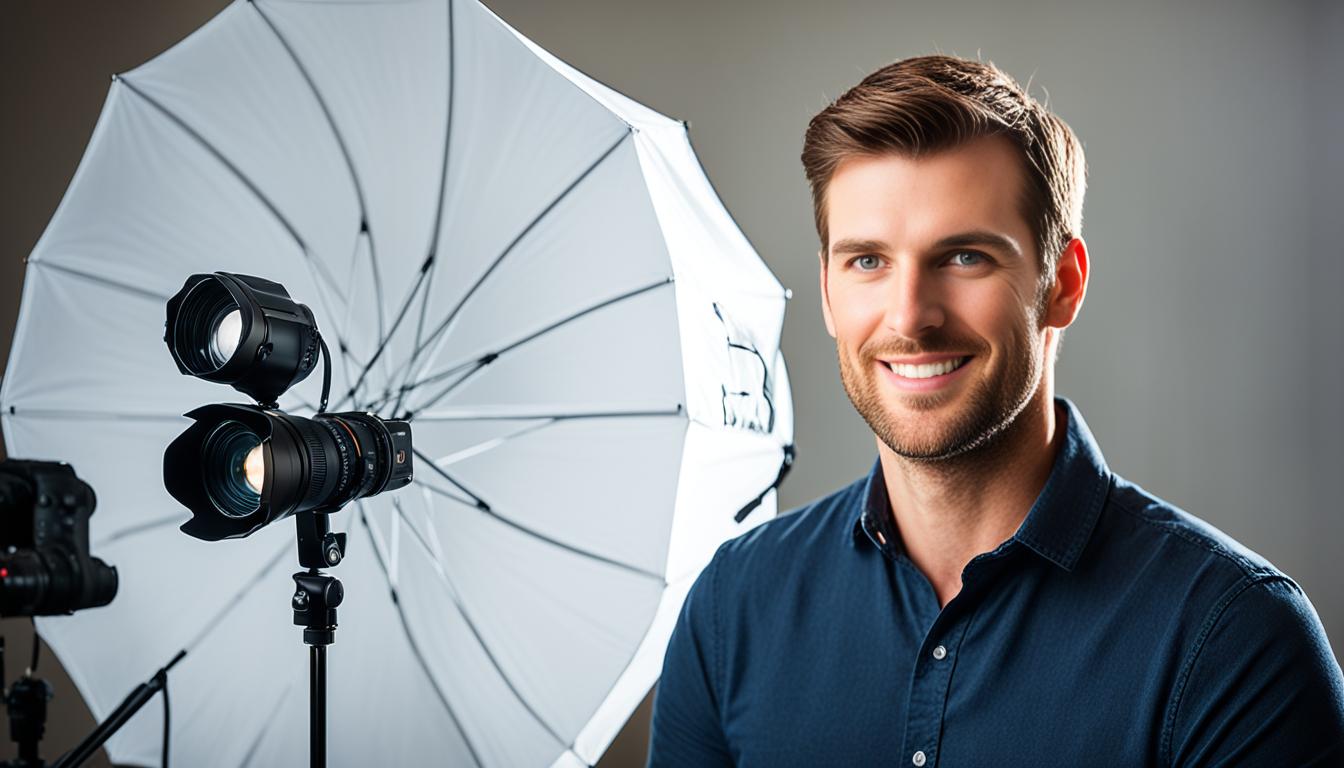
The following image demonstrates the dramatic impact proper camera settings can have in low light scenarios:
In summary, understanding and leveraging manual camera settings for low light photography are fundamental to mastering the art. With careful consideration and practice, your images will retain their quality and allure, even as daylight fades or the lights dim.
Essential Low Light Photography Equipment

For photographers seeking to capture the essence of the night or the subtleties of dimly lit scenes, certain pieces of equipment are non-negotiable. These tools are designed to enhance performance and improve the quality of images taken under challenging light conditions. Below, we detail the crucial gear for any low light photography enthusiast.
Investing in a Fast Lens
Selecting the best lens for low light photography can make a substantial difference in your results. A fast lens typically has a wide aperture, such as f/1.4, f/1.8, or f/2.0, which allows more light to hit the sensor, resulting in clearer and brighter images in low light conditions. Premium brands like Canon, Nikon, and Sony offer a range of lenses that are perfect for this purpose.
Utilizing Tripods for Stability
In the world of low light photography equipment, tripods are foundational. They allow photographers to utilize longer exposure times without the risk of camera shake. This is crucial in low light settings where even the slightest movement can result in a blurred image. Whether you’re capturing star trails or a bustling city at night, tripods for low light photography are indispensable for achieving sharp, stable shots.
Exploring External Light Sources
While the previous tools aid in capturing available light more effectively, sometimes the scene requires additional lighting. External light sources such as flashguns, LED panels, or even reflectors can be used to artfully illuminate subjects in the dark, opening a whole new realm of possibilities for creative expression.
| Equipment Type | Use in Low Light Photography | Examples |
|---|---|---|
| Fast Lens | Allows more light into the camera for better exposure | Canon EF 50mm f/1.8, Nikkor 35mm f/1.8, Sony FE 85mm f/1.8 |
| Tripod | Provides stability for longer exposures without blur | Manfrotto Befree Advanced, Gitzo GT1544T, Vanguard Alta Pro 263AB |
| External Light | Enhances subject illumination and adds creative effects | Neewer 660 LED Panel, Godox V1 Flash, Westcott 5-in-1 Reflector |
Equipping yourself with the right low light photography equipment is more than a matter of convenience—it’s about potential. With a toolkit comprised of a fast lens, a sturdy tripod, and versatile external light sources, photographers can defy the darkness and create captivating images that resonate with clarity and depth.
Low Light Photography Techniques for Sharp Images
Securing sharp images in low light presents a mixture of challenges and creative opportunities for photographers. Thankfully, there are proven low light photography techniques that can significantly enhance the sharpness and quality of your photos under such difficult conditions. From the way you focus to the gear you use, each aspect plays a critical role in the outcome of your photography.
Patience and precision in adjusting camera settings are pivotal for low light photography success.
In the realm of focusing, most cameras struggle to lock onto subjects when the light is not adequate. One helpful technique is to use a flashlight or any other light source to momentarily illuminate your subject, allowing your camera to focus before turning the light source off to take the picture. This tactic is particularly effective when combined with manual focus to refine the sharpness.
Image stabilization is another key feature to utilize for sharp images in low light. Many modern cameras and lenses come equipped with this technology, allowing you to capture clearer images at slower shutter speeds without the blur caused by slight movements. When shooting handheld, make sure to enable your camera or lens’ stabilization feature for the best results. For times when a tripod is used, it’s often recommended to turn this feature off to prevent any potential interference with image clarity.
Finally, employing manual focus assist tools such as magnification or focus peaking can be extremely helpful, especially when dealing with subjects that lack contrast.
To give a clearer picture on how to apply these low light photography techniques, here’s a practical example:
| Scenario | Technique/Tool Used | Benefit to Low Light Photography |
|---|---|---|
| Dimly lit Indoor Event | Manual Focus with Assist Tools | Increased control over focus on specific subjects. |
| Nighttime Cityscape | Tripod and Image Stabilization Off | Elimination of camera shake for long-exposure photography. |
| Low Light Wildlife | Flashlight for Focus, then Manual Shoot | Temporary target illumination for precise focus before the shot. |
| Evening Portrait | Stabilization On with Handheld Shot | Sharper images despite potential hand movements. |
By leveraging these low light photography techniques, photographers can embrace the challenges of dim environments and turn them into opportunities for capturing stunning, sharp images in low light. Each technique, when practiced and mastered, serves as a powerful tool in the low light photographer’s arsenal, ensuring that the captured images remain vivid and crisp, no matter the lighting conditions.
Low Light Photography Tips for Beginners

Welcome to the exciting world of low light photography, where dim settings become a canvas for your creativity! This beginner’s guide to low light photography is tailored to help you get comfortable with shooting in less-than-ideal lighting conditions. Mastering the art of low light photography can open up a whole new realm of possibilities, whether it’s capturing the ambiance of a candle-lit dinner or the vibrant nightlife of a bustling city.
Starting with Basic Camera Handling Skills
The cornerstone of capturing great low light photos begins with how you handle your camera. Steadiness is key. Use both hands, keep your elbows tucked in, and if possible, lean against a stable surface to minimize shake. Here are some low light photography tips for beginners looking to achieve crisp, clear shots without the blur:
- Use a sturdy grip to hold the camera steady.
- Practice breathing techniques to reduce movement while shooting.
- Experiment with your camera’s timer or remote shutter release for hands-off operation.
Learning to Read and Adapt to the Light
One of the quintessential aspects of becoming proficient in low light photography is understanding light characteristics and how they can affect your photos. Beginners should always observe the quantity, quality, and direction of available light. To adjust to varying light conditions, remember the following:
- Increase ISO sensitivity to capture more light at the expense of some noise.
- Widen aperture to allow more light to reach the camera sensor.
- Explore your camera’s exposure compensation to fine-tune the brightness of your image.
Creative Use of Silhouettes and Shadows
Low light settings are perfect for playing with silhouettes and shadows, adding mystery and drama to your photographs. By positioning your subject against a brighter background and adjusting your exposure to the background light, you can capture beautiful silhouettes that tell a subtle story. Follow these beginner’s guide to low light photography tips for using silhouettes and shadows to your advantage:
- Identify interesting shapes and forms to silhouette.
- Use shadows to create depth and perspective in your images.
- Experiment with the contrast and black levels in post-processing to enhance silhouettes and shadows.
Low light photography offers a unique set of challenges, but with practice and these fundamental tips, beginners can capture stunning and atmospheric images. So, grab your camera and let the low light guide your creative journey!
Advanced Post-Processing Tips for Low Light Photos
Optimizing your low light images during the editing phase is just as crucial as the techniques used during the shoot. From refining visual details to correcting the color balance, post-processing can dramatically improve the outcome of your photography. We’ll take a deep dive into effective strategies for editing low light photography that can help elevate the quality of your images.
Effective Noise Reduction Strategies
One of the first steps in post-processing low light photos is reducing noise without losing important details. Software such as Adobe Lightroom and Photoshop offer noise reduction tools that, when used correctly, can preserve the integrity of your image. It’s important to adjust both the luminance and color noise sliders to find the right balance that lessens grain while maintaining sharpness.
Enhancing Details without Overexposure
In our quest to bring out more details in editing low light photography, it’s easy to overdo adjustments and accidentally overexpose the image. Using adjustment layers to selectively enhance shadows and mid-tones is a key technique. The ‘Shadows/Highlights’ tool in Photoshop, for instance, can be particularly useful, allowing for precise control over the darker regions of an image without affecting properly exposed areas.
Color Correction in Dim Lighting
Low light photography often requires precise color correction to compensate for the unnatural color casts that dim lighting can produce. Tools like the ‘Curves’ and ‘HSL/Color’ panels in your editing software can be employed to fine-tune the colors, ensuring they are as close to what the human eye would perceive under natural lighting conditions.
Remember, subtlety is key – it is easy to over-edit a photo, so always step back and review your changes with fresh eyes.
Following these advanced post-processing tips for low light photos will not only correct common issues but also help you develop a deeper understanding of the editing process, ultimately enabling you to create stunning, high-quality images even when shooting in less than ideal lighting conditions.
| Editing Step | Purpose | Tool/Feature |
|---|---|---|
| Noise Reduction | Minimize grain while retaining detail | Luminance & Color Noise Sliders |
| Shadow Enhancement | Reveal details in darker areas without overexposure | Shadows/Highlights Tool |
| Color Correction | Adjust colors to appear more natural in dim light | Curves & HSL/Color Panels |
Choose the Best Camera for Low Light Photography
When journeying into the realm of low light photography, selecting the best camera for low light photography transforms from a preference to a necessity. With the myriad of low light camera options available, it’s essential to understand the nuanced features that can elevate your photography from good to remarkable. Sensor size, ISO performance, and autofocus capabilities in dim conditions are the key factors that make or break your low light imagery.
Large sensor sizes are synonymous with better low light performance as they have the capability to capture more light, leading to less noise at high ISO settings. A camera’s ISO performance is indicative of how well it can handle shooting at higher sensitivities without compromising on image clarity. The graininess typically associated with higher ISO levels can detract from an image, but the latest advancements mean this no longer spells disaster. Low light autofocus capability is another critical consideration; the best camera for low light photography should quickly and accurately focus, even in the most challenging lighting conditions.
| Feature | Importance | Benefit |
|---|---|---|
| Sensor Size | High | Allows more light for less noise and better image quality |
| ISO Performance | High | Enhances clarity and detail in images at high sensitivities |
| Autofocus in Low Light | High | Ensures sharp focus even in reduced lighting conditions |
Ultimately, the quest for the best camera for low light photography is a personal one. It depends on the genres you delve into and the conditions in which you predominantly shoot. However, by keeping these considerations in mind, you can choose from the range of low light camera options available and find a reliable tool to serve your creative prowess, ensuring that even in the dimmest environments, you can capture the world as you see it—full of detail and color.
Low Light Photography Tips
Welcome to the illuminating world of low light photography where every shadow and silhouette tells a story. Mastering the art of shooting in low light not only enhances your technical skillset but also expands your creative possibilities. From the eerie glow of a cityscape to the intimate ambiance of candlelit scenes, each setting offers a unique chance to capture the essence of moments often unseen. Below, we explore key tips and tricks dedicated to refining your low light compositions.
Embracing the Grain: Aesthetic Use of High ISO
One of the most revered low light photography tricks is to use a high ISO setting to one’s advantage. While higher ISO can introduce grain, it can also lend a textured quality to your photos that is both atmospheric and artistically pleasing. Embracing the grain rather than shunning it can add a layer of richness to your images that resonates with the viewer.
Timing Your Shots for Optimal Natural Light
Capturing natural light during the ‘golden hours’ at dawn or dusk can elevate your low light photography. While the light is subdued, it is also dynamic, painting the sky with hues that provide a natural and soft light source for your subjects. Timing your shots during these periods can create images with depth and dramatic appeal.
Navigating Focus in Low Visibility Settings
Focusing can be challenging when shooting in low light. Utilize manual focus to take control when auto-focus fails. Live view mode on digital cameras can aid in magnifying your subject to ensure sharp focus. Also, consider using wider apertures to allow more light in, aiding both exposure and focus.
For a quick reference, here’s a table with useful settings and the impact they have on your low light photos:
| Setting | Low Light Impact | Tips |
|---|---|---|
| ISO | Increases sensitivity to light | Balance higher ISO with noise reduction techniques |
| Aperture | Controls depth of field and light ingress | Use wider aperture to allow more light |
| Shutter Speed | Affects exposure time and motion blur | Longer exposure captures more light; use a tripod to stabilize |
The realm of low light photography beckons with its distinctive challenges and opportunities. By employing these low light photography tips, embracing the grain at high ISO, timing your shots to catch the waning light, and focusing with intention, you can capture the nocturnal nuances that make low light scenes truly spectacular.
Conclusion
In wrapping up our journey through the essential strategies for capturing captivating images in dim settings, we arrive at this pivotal conclusion which underscores the significance of wielding your camera’s manual settings with prowess, selecting the optimal equipment for lighting challenges, and implementing a host of innovative techniques. This intricate tapestry of skills, once mastered, promises to greatly enhance your low light photography pursuits. As we recap, remember that the mastery of your camera’s settings—understanding the symbiotic relationship between ISO, aperture, and shutter speed—is paramount in overcoming the ubiquitous hurdle of scarce light.
Undoubtedly, the equipment you choose lays the foundation for remarkable low light photography. With a fast lens as your ally and a sturdy tripod as your steadfast companion, you can transcend the tribulations posed by dim environments with confidence. Moreover, the flexibility provided by external light sources can transform a poorly lit scene into one brimming with potential. Integrating these vital elements into your practice will enable you to produce consistently sharp, well-exposed photos, even as daylight wanes.
The wealth of techniques detailed throughout this exploration serves as a roadmap to excellence in the realm of low light imagery. From implementing noise reduction strategies during post-processing to embracing the character of high ISO, these methods nurture your artistic vision. In essence, the summary of low light photography tips provided herein empowers you to not only endure the challenges of low lighting but to thrive within them, capturing the subtlety of shadows and the nuance of nightfall with finesse. Armed with this knowledge, you are more than prepared to delve into the world of low light photography and illuminate it with your unique perspective.