Welcome to our comprehensive guide on real estate photography checklist that will help capture stunning property images. Whether you’re a professional photographer or a homeowner looking to take great photos for a listing, this essential guide will provide you step-by-step tips and techniques on executing a successful real estate photo shoot.
Capturing high-quality real estate photographs is crucial in captivating potential buyers and generating sales. As a photographer, you want to deliver results that showcase the property’s best features and convey its true essence. With this checklist, you’ll be able to achieve optimal results and improve your photography skills.
Key Takeaways
- Having the right equipment and lenses is key to capturing great real estate photos.
- Preparing the property before the photoshoot is crucial in achieving visually appealing images.
- Lighting plays a vital role in capturing high-quality real estate photos, and taking advantage of natural light and adding artificial lighting can be the difference maker.
- Framing and composition are essential in creating visually appealing real estate photos.
- Post-processing and retouching can enhance and polish your real estate photos.
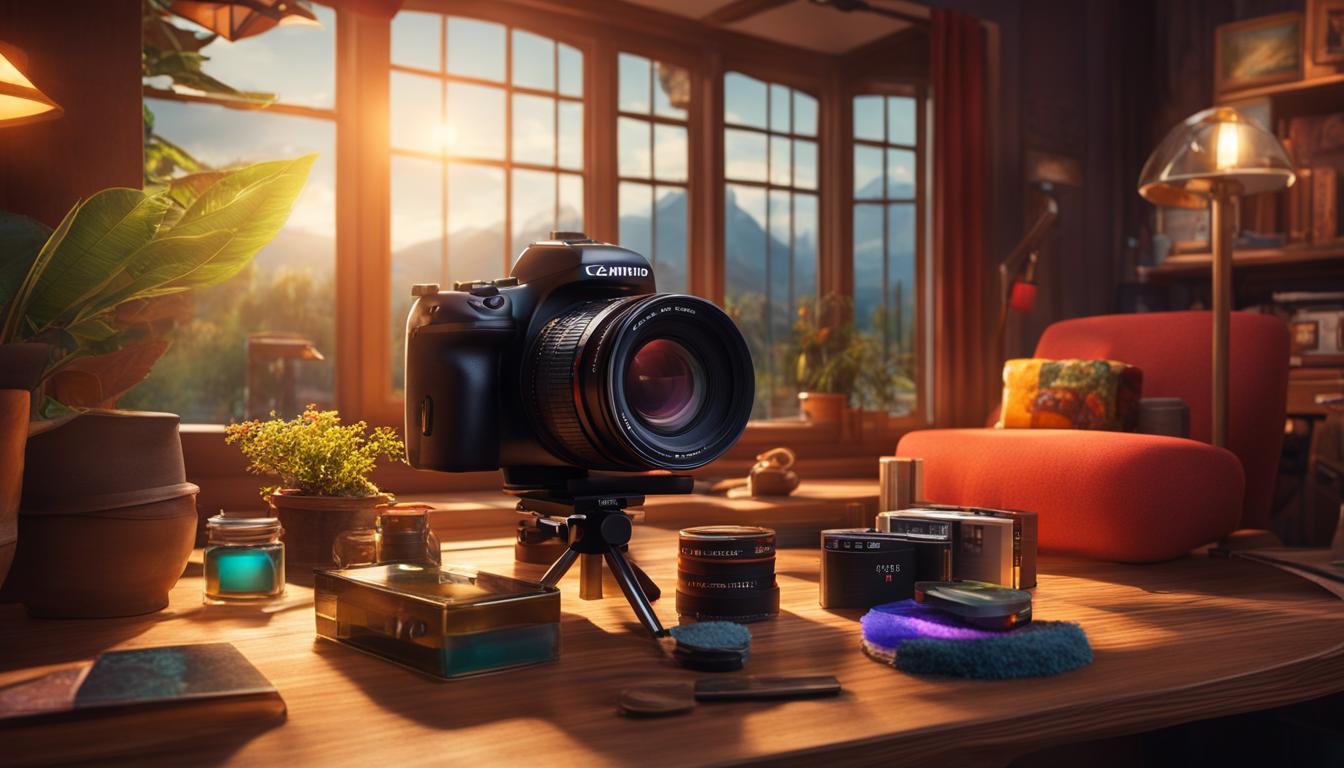
Choosing the Right Equipment
To capture stunning real estate photos, it’s crucial to start with the right equipment. The right camera gear and lenses can make all the difference in the quality of your images.
We recommend investing in a DSLR camera with a high-resolution sensor and low-light capabilities. This will allow you to capture sharp and detailed images even in challenging lighting conditions.
Another essential upgrade is a wide-angle lens. This will help you capture expansive interior shots and provide a realistic representation of the property’s size and layout.
When it comes to lenses, we suggest choosing high-quality glass that can produce sharp, distortion-free images. Consider investing in prime lenses with a fixed focal length for optimal image quality and reduced distortion.
Preparing the Property
Preparing the property is a crucial step before taking photos. It’s important to stage the property, declutter, and set the right atmosphere for the photoshoot. Creating an inviting and clean space is essential for capturing stunning real estate visuals.
Start by removing any personal items or clutter from the property, such as family photos or excess furniture. A clean and clutter-free space will allow buyers to envision themselves living in the property.
Next, stage the property to highlight its best features. Consider adding fresh flowers or decor that complements the property’s style. However, avoid going overboard with decorations that may distract potential buyers from the property’s true features.
Finally, set the right atmosphere for the photoshoot. Make sure all the lights are on and the curtains or blinds are open to let in natural light. Consider playing soft music to create a relaxing ambiance. By preparing the property, you’ll have a great foundation for capturing stunning real estate visuals.
Utilizing Proper Lighting Techniques
When it comes to real estate photography, lighting can make or break your photos. Proper lighting can help highlight the best features of the property while poor lighting can leave the photos looking dull and unappealing. In this section, we’ll guide you through various lighting techniques to ensure your photos are well-lit and visually appealing.
Utilizing Natural Light
Natural light is one of the most important sources of lighting when it comes to real estate photography. It is typically the most flattering type of lighting and can help create a warm and inviting atmosphere for the photos. To use natural light, it’s recommended that you shoot during the daytime when there is plenty of light coming in through the windows. It’s also a good idea to open the curtains and blinds to add more light.
However, natural light can also create harsh shadows or bright spots if it’s not used correctly. To avoid this, it’s helpful to use reflectors or diffusers to bounce or soften the natural light. This will help ensure an even distribution of light throughout the room.
Adding Artificial Lighting When Necessary
Sometimes, natural light is not enough, and you may need to use artificial lighting to brighten up the room. When using artificial lighting, it’s important to use the right type of bulb to create the desired effect. Incandescent bulbs, for example, can create a warm and cozy atmosphere, while fluorescent bulbs can create bright and crisp lighting. It’s also essential to position the lighting in the right place to avoid creating unnecessary shadows or reflections.
Additionally, it’s a good idea to invest in external flashes or studio lighting if you frequently take real estate photos. External flashes can help illuminate the room without casting harsh shadows, while studio lighting can provide a more controlled and consistent lighting setup.
By following these lighting techniques, you’ll be able to achieve properly lit rooms and beautifully capture the property’s best features.
Framing and Composition
A well-composed photograph is essential for stunning real estate visuals. In this section, we’ll explore framing and composition techniques that will enhance your property images. By finding the right angles and capturing essential elements, you will be able to create visually appealing photos that showcase the property’s best features.
When framing your shots, it’s important to consider the property’s layout and proportions. Use lines and patterns to guide the viewer’s eye towards essential elements and create a sense of flow through the image. Additionally, pay attention to the placement of objects in the frame and use the rule of thirds to create a balanced composition.
The use of leading lines can also be effective in drawing the viewer’s eye towards the main focus of the image. For example, the lines of a fence or pathway can lead towards a garden or pool area. Utilizing a wide-angle lens can help capture the entire space while also creating a sense of depth and dimension.
By using these framing and composition techniques, you’ll be able to create captivating real estate photos that accurately depict the property’s features and appeal to potential buyers.
Editing and Retouching
Great real estate photography doesn’t stop at the moment of shooting. Editing and retouching your images is crucial to making them look polished and professional. Here are some essential techniques and software to help you enhance your real estate photos:
Adjusting Exposure
Exposure is one of the most crucial aspects of photography, affecting the brightness and contrast of your image. Use software, such as Adobe Lightroom or Photoshop, to adjust the exposure and bring out shadows and highlights. But be careful not to overdo it! An overly bright or dark photo can look unrealistic and unappealing.
Removing Blemishes
When it comes to real estate photography, stray objects or blemishes can be distracting and take away from the property’s appeal. Use the clone stamp tool in your editing software to remove any unwanted objects and make the image look more pristine.
Color Correction
Color plays a vital role in the overall feel of a photo, making them look cool or warm. Make use of tools like the HSL panel to adjust specific hues, saturation, and luminance to bring out rich colors that match the property’s character.
Remember, editing should only enhance the original photograph, not completely change the property’s appearance. Keep in mind that potential buyers will want an accurate representation of the space they are considering buying.
Retouching
Retouching goes beyond basic editing, helping to give the image a more appealing look. For instance, you can use retouching techniques to enhance specific parts of the property or add small details that make the image stand out. Use tools like Healing Brush in Adobe Photoshop to improve and refine the image to make it look more inviting and attract potential buyers.
Investing in the time and effort to edit and retouch your real estate photography is worth it. It will help your photos stand out from the competition and make your properties look even more attractive to potential buyers.
Showcasing Outdoor Spaces
When it comes to real estate photography, capturing the exterior of a property and its surroundings is as important as taking photos of the interiors. Potential buyers want to know what the outdoor spaces look like and how they can utilize them. Therefore, it’s essential to pay attention to the exterior shots, including landscapes and outdoor amenities.
Start by scouting the property for the best angles to capture the entire outdoor space. Consider the time of day and weather conditions to get optimal natural lighting. Avoid taking photos during harsh daylight or overcast conditions, which can create unflattering shadows or dull lighting.

Once you have the ideal lighting and angle, add visual interest by including elements such as gardens, patios, or decks. These features highlight the property’s potential for entertainment and offer a unique selling point for the buyers.
Remember to keep the outdoor spaces well-maintained and clean. Remove any clutter, debris, or dead plants to create a polished final image. By following these tips, you can showcase the outdoor spaces effectively and make them as appealing as the interiors.
Conclusion
Thank you for taking the time to read this essential real estate photography checklist guide. By following the tips and techniques outlined in this article, you’ll be able to capture visually appealing property images that will attract potential buyers.
Remember, choosing the right equipment, preparing the property, utilizing proper lighting techniques, framing and composition, editing and retouching, and showcasing outdoor spaces are all important steps in real estate photography. Don’t overlook any of these steps, as they’ll help you create breathtaking visuals that will help sell each property.
We hope that this guide has been informative and helpful. If you have any questions or comments, feel free to leave them below, and we’ll get back to you as soon as we can.
Happy shooting!


