Low light conditions present unique challenges and opportunities for capturing wildlife at dusk and dawn. Whether you’re on a safari or exploring nature close to home, understanding the techniques and problems associated with shooting in low light can greatly enhance your wildlife photography.
It’s important to be prepared with the right equipment, like cameras and lenses with sufficient reach, as well as lightweight tripods and camera harnesses. Additionally, knowing how to adjust your camera settings, such as choosing the right shutter speed and aperture, can help you capture stunning images in low light.
Key Takeaways:
- Low light conditions offer unique opportunities and challenges in wildlife photography.
- Having the right equipment, such as cameras, lenses, tripods, and camera harnesses, is essential.
- Adjusting camera settings like shutter speed and aperture is crucial for capturing stunning images in low light.
- Understanding the different types of lighting and their impact on wildlife photography can add depth and interest to your images.
- Consider the role of external lighting, such as flash photography, and whether it enhances the desired outcome.
Tips for Shooting in Normal Low-Light Conditions
When it comes to capturing stunning images in normal low-light conditions, such as sunrise, sunset, or indoor spaces with artificial lighting, it’s important to know the right camera settings and techniques. By following these tips, you can improve your low-light photography skills and capture vibrant and well-exposed shots.
Shoot at Faster Shutter Speeds
To avoid blurry images in low light, it’s essential to use faster shutter speeds. A shutter speed of 1/50th to 1/100th of a second is ideal for handheld photography. However, if your subject is moving quickly, you may need to use even faster shutter speeds to freeze the action.
Set the Widest Aperture
Setting the widest aperture of your lens, such as f/1.8, allows more light to enter the camera, making it easier to capture well-exposed images in low-light situations. This wider aperture also helps create a shallower depth of field, allowing you to create beautiful bokeh effects and emphasize your subject.
Utilize Auto ISO
To compensate for low light conditions, consider using the Auto ISO feature on your camera. Auto ISO adjusts the ISO sensitivity based on the available light, ensuring proper exposure. This feature can help you maintain the right exposure levels without constantly adjusting the ISO manually.
Take Advantage of Image Stabilization
If your camera or lens has built-in image stabilization (IS) or vibration reduction (VR), make sure to utilize it when shooting in low light. Image stabilization can help minimize camera shake and improve the sharpness of your images, especially when shooting handheld.
– Use faster shutter speeds
– Set the widest aperture
– Utilize Auto ISO
– Take advantage of image stabilization
By applying these tips and techniques, you’ll be better equipped to capture sharp, well-exposed images in normal low-light conditions. Experiment with different camera settings and don’t be afraid to push the boundaries of your equipment to achieve stunning results.
Techniques for Shooting in Very Dark Conditions
In very dark conditions, such as nighttime or when capturing the Milky Way, photography can be a challenge. However, with the right techniques and equipment, you can still capture stunning images in these dimly lit environments.
To begin with, it’s essential to stabilize your camera using a tripod or other stabilizing tools. Since longer shutter speeds will be necessary to gather enough light, any movement can result in blurry images.
In terms of camera settings, manual mode offers the most control over your exposure. By adjusting the shutter speed, aperture, and ISO, you can tailor your settings specifically to the dark conditions you’re shooting in.
TIP: When shooting in very dark conditions, try using a wider aperture, such as f/2 or wider. This allows more light to enter the camera sensor, increasing the chances of capturing a well-exposed image.
TIP: Increasing the ISO can help compensate for the lack of light, but be mindful of the potential noise introduced. Modern cameras are capable of handling higher ISO values with minimal impact on image quality.
Experimenting with long exposures and stacking multiple images can also produce stunning results. By allowing your camera to capture light over an extended period, you can reveal the intricate details of the night sky or create mesmerizing light trails.
Remember, shooting in very dark conditions requires patience and practice. Take the time to familiarize yourself with your camera’s settings and experiment with different techniques to achieve the desired outcome.

Examples of Long Exposure Settings for Milky Way Photography
| Shutter Speed | Aperture | ISO |
|---|---|---|
| 20 seconds | f/2.8 | 3200 |
| 25 seconds | f/2.8 | 6400 |
| 30 seconds | f/2.8 | 12800 |
When photographing the Milky Way, long exposure settings are typically required to capture the faint light of the stars. The table above provides some starting points for your camera’s settings, but feel free to adjust them based on your specific conditions and desired results.
Different Types of Lighting for Wildlife Photography
Different types of lighting can enhance or change the mood of your wildlife photography. Understanding and utilizing different lighting techniques can significantly elevate the quality of your low-light wildlife images. Let’s explore some key types of lighting and how they can impact your photographs.
1. Golden Hour Light

The golden hour light, which occurs during sunrise or sunset, is often considered the best light for photography. The warm, soft, and golden tones create a magical atmosphere, adding depth and richness to your wildlife images. To make the most of this lighting, position yourself to take advantage of the low warm frontal light, which can minimize contrast and highlight the natural beauty of your subjects.
2. Sidelighting
Sidelighting is an effective technique for accentuating textures and providing separation from the background in your wildlife photographs. By positioning yourself in relation to the light source, you can create stunning highlights and shadows, adding dimension and depth to your images. This technique works particularly well in low light conditions, as it helps bring out intricate details and create a three-dimensional effect.
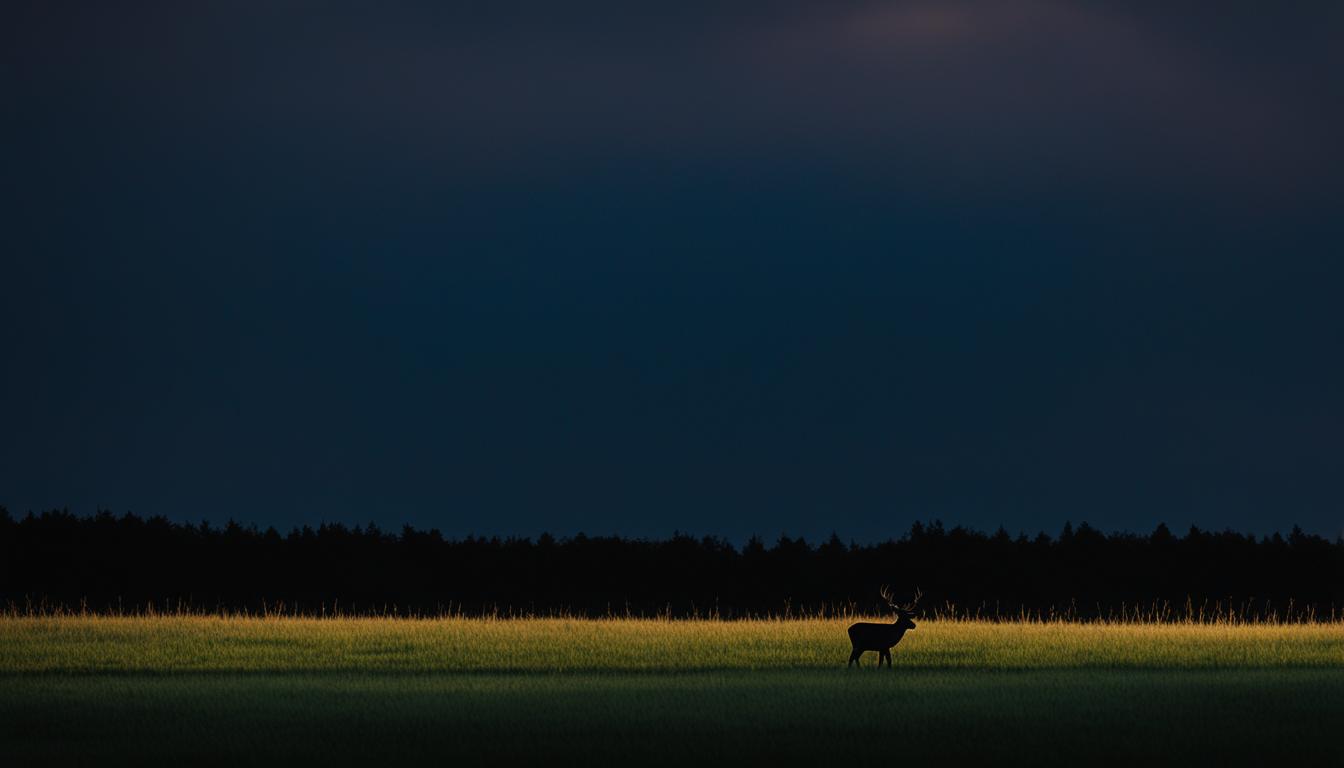
3. Backlighting
Backlighting is a popular technique used to create dramatic and artistic effects in wildlife photography. By shooting directly into the light source, you can create striking silhouettes, highlight feather textures, and achieve a sense of depth. Backlighting can add a sense of mystery and emphasize the shape and structure of your subjects, resulting in visually stunning images.
4. Soft, Diffused Light
Soft, diffused light is incredibly versatile and can be achieved in various ways. One way is by utilizing high grey clouds acting as a natural softbox, creating a gentle, even illumination. This type of lighting is perfect for capturing intricate details, delicate subjects, and creating a soft and ethereal atmosphere in your wildlife photographs.
5. Blue Hour Light
The blue hour light, which occurs before sunrise or after sunset, can yield low-intensity soft light with a cool blue hue. This unique lighting offers a tranquil and serene atmosphere, perfect for creating moody and evocative wildlife images. Playing with the contrast between warm subjects and the cool, soft light can create visually captivating compositions.
Experimenting with different types of lighting can add depth, interest, and a touch of magic to your wildlife photographs. By understanding the characteristics and possibilities of each lighting type, you can elevate your low-light photography techniques and create captivating images that truly showcase the beauty of wildlife.
The Role of External Lighting in Low Light Photography
While natural light is often preferred for wildlife photography, there can be situations where adding external lighting can be beneficial. The use of external lighting techniques such as flash photography and flash extenders can help fill shadows, reduce contrast, and provide more even lighting in low light conditions.
Flash photography involves using a burst of artificial light to illuminate the subject and enhance the overall exposure. It can be particularly useful when capturing wildlife in low light situations, as it helps to freeze motion and create a well-lit image. Flash extenders can be used to extend the reach of the flash, allowing you to illuminate subjects at greater distances without compromising image quality.
However, it’s important to note that with the advancements in camera sensor technology and post-processing techniques, the need for artificial lighting in low-light conditions has diminished. Modern cameras are capable of handling high ISO values, which helps to capture more light and minimize noise in low light situations. Additionally, post-processing software offers effective noise reduction tools to further enhance image quality.
When considering the use of external lighting, it’s essential to assess the specific requirements of each situation and determine whether the addition of artificial lighting will enhance or detract from the desired outcome. Factors such as the natural lighting available, the intended mood or atmosphere of the photograph, and the behavior of the wildlife subject should all be taken into account.
Ultimately, the decision to use external lighting techniques in low light photography should be based on careful consideration and experimentation. While there are instances where it can greatly benefit the final result, it is equally important to recognize the beauty and challenges that come with capturing wildlife in the natural low light environment.
| Pros of External Lighting in Low Light Photography | Cons of External Lighting in Low Light Photography |
|---|---|
| Helps fill shadows and reduce contrast | Can create an unnatural or artificial look |
| Provides more even lighting | Requires additional equipment and setup |
| Freezes motion and enhances image sharpness | May startle or disturb wildlife subjects |
| Allows for greater control over lighting conditions | Can be challenging to balance with ambient light |
Table: Pros and Cons of External Lighting in Low Light Photography
Overall, the role of external lighting techniques in low light photography is to enhance and supplement the existing natural light available, providing photographers with more control over the lighting conditions and allowing them to capture stunning wildlife images in challenging low light environments.
Conclusion
Low light wildlife photography presents both challenges and opportunities for photographers. Understanding the techniques discussed in this article, including adjusting camera settings, utilizing different types of lighting, and considering the role of external lighting, can help you capture stunning wildlife images in low-light conditions. It is important to be prepared with the right equipment and to experiment with different settings and lighting techniques.
By mastering the art of low light wildlife photography, you can create captivating images that showcase the beauty of nature. Remember to always be patient and persistent, as it takes practice to perfect this craft. With time and dedication, you can overcome the challenges posed by low light and discover the immense satisfaction of capturing wildlife in the shadows.
So, next time you find yourself in a low-light situation, don’t be discouraged. Embrace the opportunity to create unique and compelling wildlife photographs. By implementing the tips and techniques from this article, you’ll be able to overcome the challenges of low light and create stunning imagery that tells a story. Enjoy the process and let your creativity shine in the world of low light wildlife photography.
FAQ
What are the unique challenges and opportunities of low light wildlife photography?
Low light conditions present unique challenges and opportunities for wildlife photographers. Understanding the techniques and problems associated with shooting in low light can greatly enhance your wildlife photography.
What equipment do I need for low light wildlife photography?
It’s important to be prepared with the right equipment, like cameras and lenses with sufficient reach, as well as lightweight tripods and camera harnesses.
What camera settings should I use in normal low-light conditions?
To avoid blurry images in low light, it’s essential to shoot at faster shutter speeds. Setting the widest aperture of your lens allows more light to enter the camera. Using Auto ISO can help compensate for low light by adjusting the ISO to maintain proper exposure.
How do I photograph in very dark conditions?
In very dark conditions, it’s crucial to use a tripod or other stabilizing tools, as longer shutter speeds will be necessary to gather enough light. Manual mode allows for full control over camera settings. Experimenting with long exposures and stacking multiple images can help capture stunning night sky shots.
What are the different types of lighting for wildlife photography?
Different types of lighting, such as golden hour light, sidelighting, backlighting, and soft diffused light, can enhance or change the mood of your wildlife photography.
Should I use external lighting in low light photography?
While natural light is often preferred for wildlife photography, there can be situations where adding external lighting can be beneficial. Flash photography and the use of flash extenders can help fill shadows and reduce contrast.
How can I improve my low light wildlife photography?
By understanding the techniques discussed in this article, adjusting camera settings, utilizing different types of lighting, and considering the role of external lighting, you can capture stunning wildlife images in low-light conditions.


