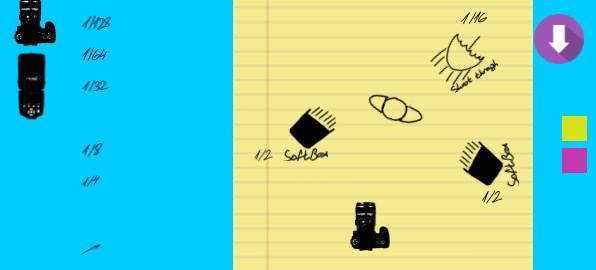
Hi, This is something that I wanted to do for a long time, the problem with me is that I want to do it alone, that’s why it took me so long… This is the first version of Diyphotogrpahystuff’s Lighting Diagram Creator, it’s not a rival to Strobox, or other services, Continue Reading
DIY projects
Learn how to build easy DIY project we use on this site to amazingly improve your photography skills!
DIY Camera Bag or Purse
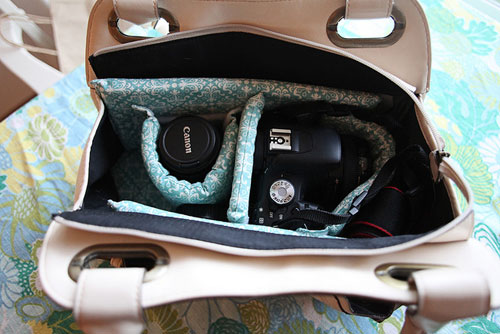
Hi, this time I wanted to share with you an old post you might have missed, Its about how to make you own custom fashion camera bag. The idea published on Abi’s blog (here) from Portland Orlando who is running a photography and fashion shop. You can see the final Continue Reading
Photoshop Funny Solutions

Ever had the feeling that after you finnished a photo session there is a lot of photoshop to be doing with your model? Here are some examples of funny mistakes and how to photoshop them!! Any thoughts about it? Do you have your own photoshop shortcuts?
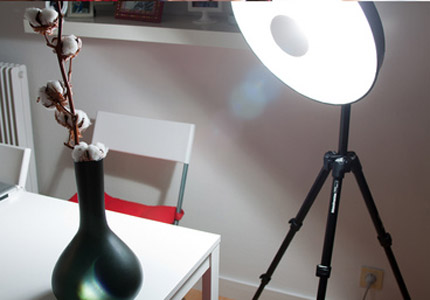
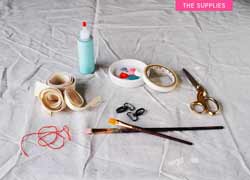
The 1$ BeautyDish or Less
I found this “project” on Kirsty Wiseman’s site, Kirsty writes and designs scrapbook pages for craft magazines in the UK and her site is ranked number 9 in the UK for crafty blogs, so if you are into crafting, Kirsty’s is a great place for you. This post is for you Continue Reading
Diy SoftBox or how to recycle a metal cookie box

Hi, I here is a video about how to use a cookie metal box and upgrading it to a small flash softbox. Advantages: As its made of metal, the inner panel is already a great silver reflector. Disadvantage: I’m don’t like to cut those thin metal boxes, leaving the edges Continue Reading
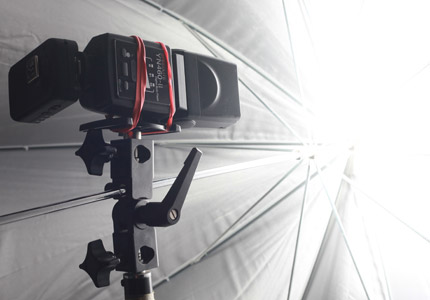
Horizontal Flash Holder – 3 bucks per unit!!!
Hi posted a DIY project some weeks ago about a damn straight forward way for attaching your flash to a tripod horizontally, this time I want to show you a much better way, but you’ll have to put in “some work”: Why I need a horizontal flash holder? There are three Continue Reading
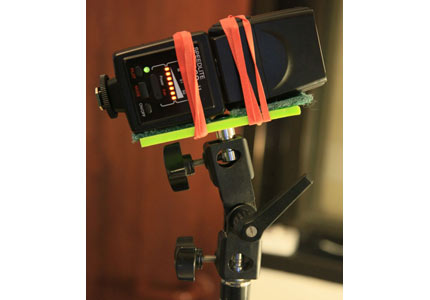
DIY Spring Clamp Flash Holder
Sometimes when you are in a tight/small location or in case you don’t have enough studio flash stands or where to stand them, you have to improvise. There is a budget solution to that. I saw on eBay , some stores that sells a small spring clamp with a screw Continue Reading
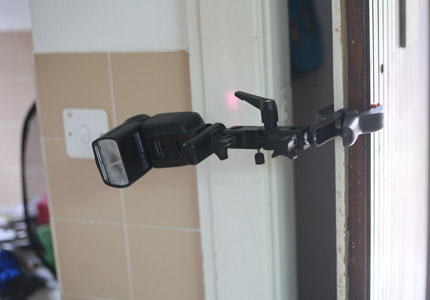
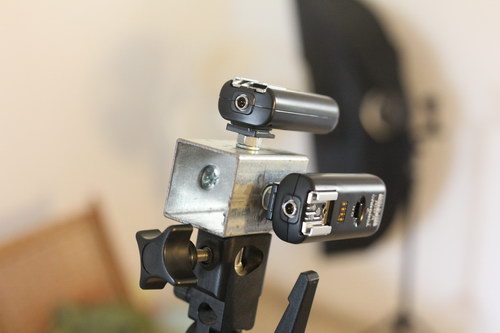
Horizontal Flash Holder/Adapter
Hi folks! I did a video on how to attach/mount horizontally off camera flashes to lighting diffusers and attaching them to radio triggers. This hack will help you a lot in three common problems ,if it helped you solve more problems, pls share it with us: If you use radio Continue Reading
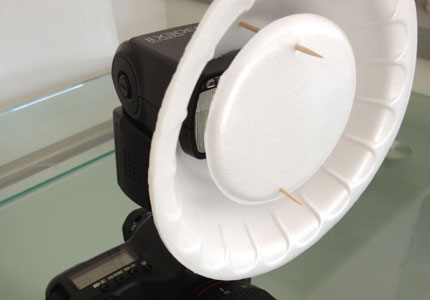
The Easiest Beauty Dish Ever – Linard Benoit’s trick
I first heard of Linard Benoit when contacted Marton Gorka about his article here, then I started to search who this guy is, well his his website can’t open on my computer, so I continued searching and found his flickr page and galleries. Well, this dud is god damn talented!!! He Continue Reading
DIY Camera Strap
Hi, summer time is here and the kids are at home for some long and exhausting weeks, so you have to keep them busy. Very fast you’ll find out that you are out of ideas how to keep them busy. Recently, my big one got our pocket camera as a Continue Reading
Follow Focus DIY Budget Solutions
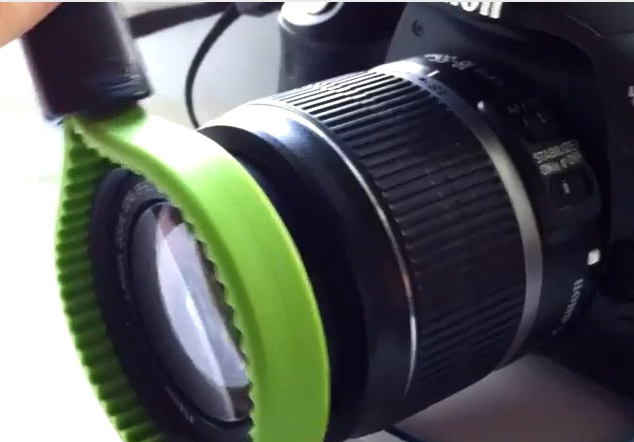
If you have been tyring to do some video photography with your DSLR youl’d probably already found out that the focusing motor of your lens makes a lot of noise that is heard loud and clear on the soundtrack of your video. Not only noise, many DSLR cameras can’t really Continue Reading
DIY Dual/Multiple Flash Bracket
This time I want to talk about another popular project in the DIY Photography filed, thats multiple flashes bracket.Above is my design for multiple flash bracket. It is made of a metal rectangle that makes the trigger brackets holder that I got from a local welding workshop leftovers. I asked Continue Reading
A great video on DIY BeautyDish
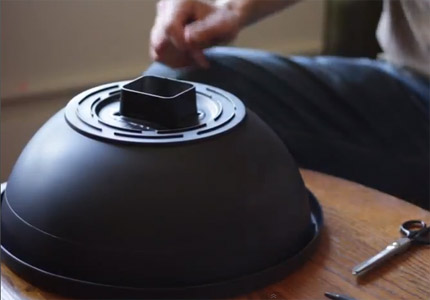
Hi guys, Found this nice video about making your own beauty dish, this guy is actually funny and explains well how to put a beauty dish in some quick steps and a few bucks. Looks to be very easy, So PLS pay a visit to his tube chanel here and Continue Reading
DIY White Canon 50 f/1.8
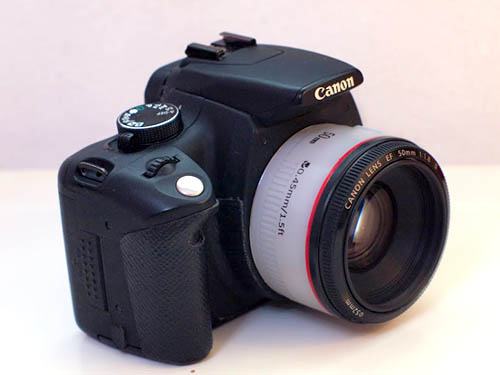
I don’t remember when and where I saw the for the first time (I had this post on draft for some time), you can read the full story at a discussion in this forum. At first glance I wondered if canon made some kind of a rare realise for probably their Continue Reading