
Embarking on the path of event photography can lead to a world where shadows and highlights play significant roles in the story you’re capturing. Low light photography techniques are essential skills that transform these challenges into an opportunity to produce truly stunning imagery. It’s not just about having the best Continue Reading
Tips
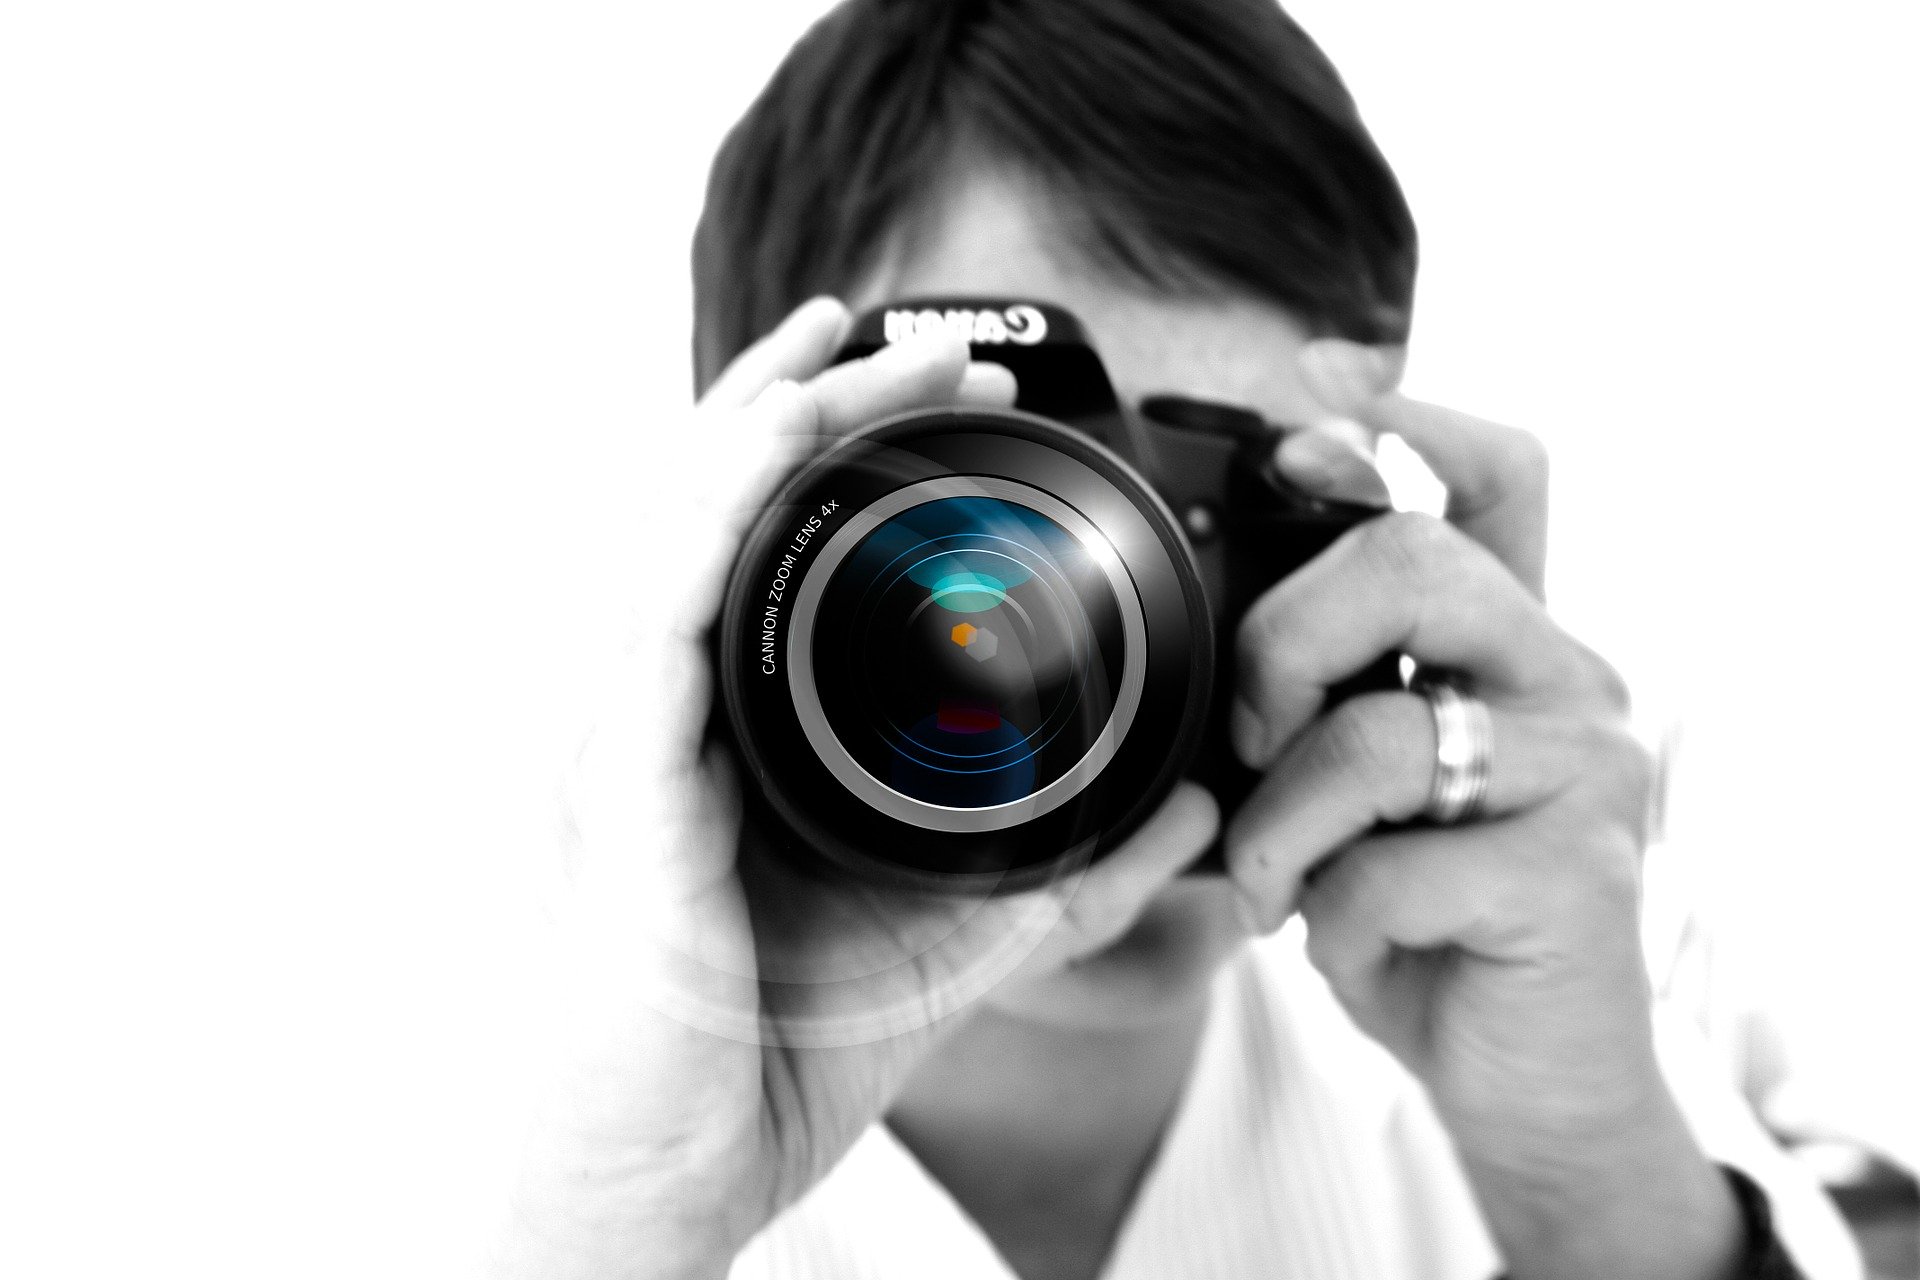
Some things you should know about photography lighting,techniques and photography matters
Essential Church Wedding Photography Lighting Tips
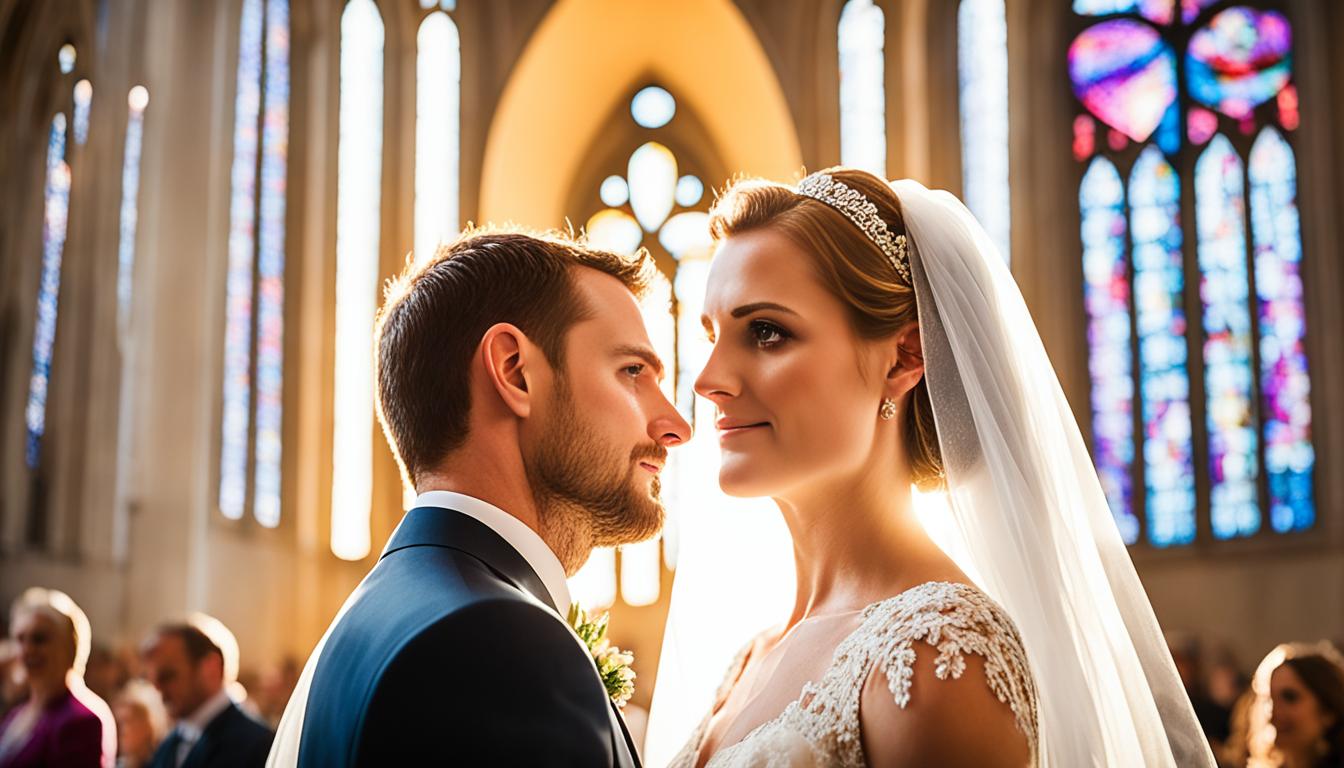
When the vows are said within the enchanting confines of a church, lighting can be the silent artist that turns a moment into a masterpiece. This guide will shed light on essential church wedding photography lighting tips to help you capture the sacred union with the beauty it deserves. Whether Continue Reading
Black Light Photography Tips for Stunning Images

Embark on a visual journey like no other with the enigmatic world of black light photography. This awe-inspiring medium allows photographers to play with the invisible spectrum, turning ordinary subjects into intriguing artistic expressions. Whether delving into it for the first time or looking to refine your existing skills, our Continue Reading
Essential Ambient Light Photography Tips for Pros

Mastering the subtle art of ambient light photography is a journey every professional photographer should embark on. Capturing the essence of a scene relies heavily on how ambient light—whether it be the soft glow of dawn or the neon shimmer of a cityscape at night—is harnessed and portrayed. With the Continue Reading
Expert Low Light Photography Tips for Stunning Shots
Delve into the realm of shadows and embrace the quiet allure of dimly lit scenes with our expert low light photography tips. Unveil the secrets to capturing mesmerizing images when the sun sets or in the hushed ambience of indoor environments. We guide you through mastering the nuanced art of Continue Reading
Brighten Your Shots: Top Photography Lighting Tips
Whether you’re framing a candid moment or preparing for a full-scale photoshoot, understanding and employing the best lighting techniques can transform your work from good to great. Photography is essentially painting with light, and to create that perfect picture, it’s crucial to grasp various lighting tips for photography. This article Continue Reading
10 Photography Tips for Beginners: Boost Your Skills
Starting a journey in photography is as thrilling as it is complex. The photography world may look scary at first. But, with the right tips, it’s full of endless chances. You can start your photography adventure without feeling lost. It’s a journey of finding and growing. We aim to boost Continue Reading
Perfect 6 Hour Wedding Photography Timeline Guide
Welcome to our comprehensive guide on the perfect 6 hour wedding photography timeline. We understand that planning a wedding can be a stressful experience, and ensuring that every precious moment is captured can add to the pressure. That’s why we have created this guide – to help you create timeless memories Continue Reading
Mastering the Light: A Beginner’s Guide to Essential Lighting Setups in Photography

Chapter 1: The Essence of Lighting in Photography Unlocking the Visual Symphony In the realm of photography, light is not merely a tool; it is the brush that paints our visual stories, crafting shadows, highlights, and colors into a cohesive symphony of visual expression. It is the silent narrator Continue Reading
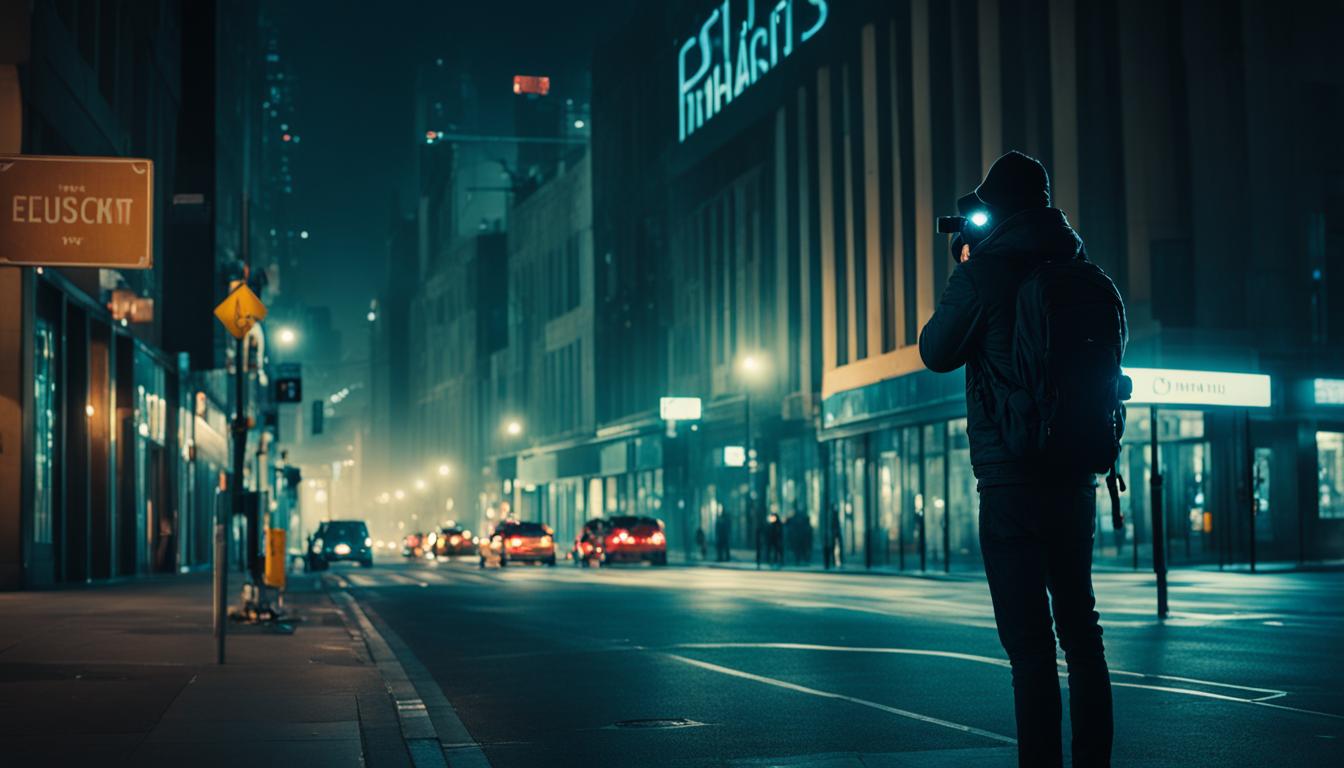
Event Photography Tips From a Professional Photographer in Dubai
Perhaps a family member has asked you to take photos of a holiday party, or your best friend from school wants you to capture moments at their engagement party. Whatever it is, you’ve been asked to be an event photographer, and you aren’t exactly sure what you have to do. Continue Reading
10 Stunning Winter Photography Tips For Newlyweds

Planning your wedding and taking pictures of your special day in winter has a unique charm to it. Pictures taken during the magic of winter are full of romance and warmth. In this article, I am going to give you 10 winter wedding photography tip to employ during your wedding Continue Reading
Hands on Review – Stellar Photo Recovery Premium Software
Hi guys, let me begin with why I decided to review Stellar Photo Recovery Premium software? First, it is the world’s first DIY software that can recover lost multimedia files as well repair corrupt photos and videos! Second, after knowing its utilities, I felt the software should be once looked Continue Reading
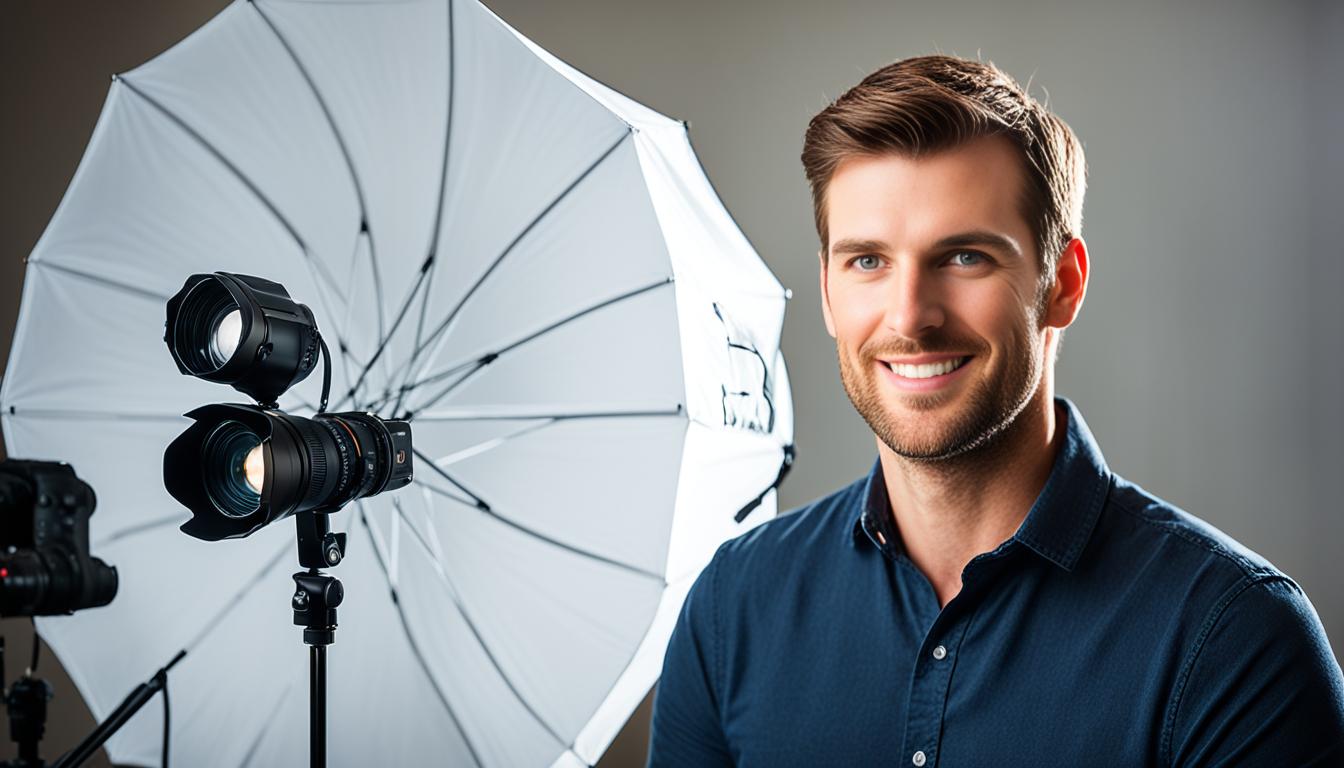
Must-Have Photography equipment
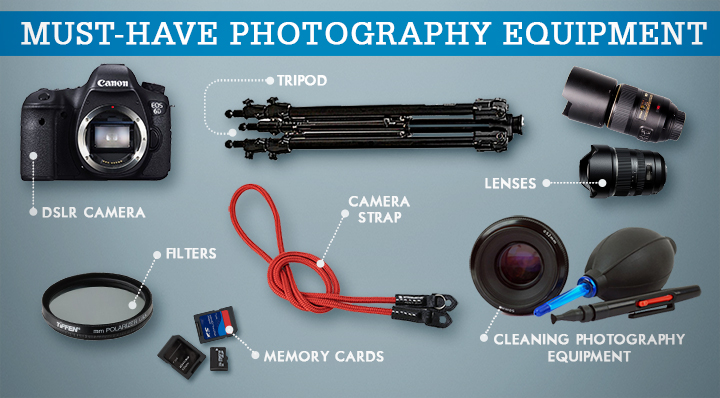
Want to become a good photographer and need to gather essential photography equipment? If you decided to start a photography business, you can be even intimidated by the amount of the photography equipment and its diversity. It is not so easy to choose the right and the most appropriate things Continue Reading

This time I want you guys to meet Mark Castilo from London, Mark tells the story behind this image: Hi everyone! My name is Mark Castillo, I’m a self-taught photographer and I shoot lifestyle, portraits and events. I grew up watching my dad always taking photos; and in 2010 I Continue Reading