Hi, This time I want to show you guys, one of the best product image made with low budget flash units, this shows you guys how easy it is to get superb product image on short budget. I want to introduce you to Hi my name is Selçuk Gülen, born Continue Reading
Stills Photography
Great and easy product photography setups and ideas.
How to Photogrpah Beer Bottles – Part One
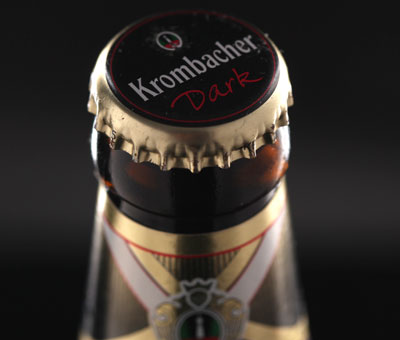
After posting last tutorial on how to photograph wine bottles (never mind , how to finish the bottle 10 minutes later) I wanted to share another technique you can use when photographing bottles or glass objects. This time its about how to photograph beer bottles (I drunk the wine now Continue Reading
How to get a great food image with a smartphone

Hi folks, this time I’d like to introduce you a very talanted photographer ,Chris Cummins based in Kansas City and taking mostly wedding and portrait photography. Chris wanted to share with you some tips about taking great or better images using your mobile, So digg in and take a look!!! Continue Reading
Lego Photography – My First Attempt

Hi , My house is currently full with small little lego part, as my son is now into the lego phase, which is fun, because lego has much more figures and themes compared to the variety I had as a kid. It realy develops the kids coordination and if a Continue Reading
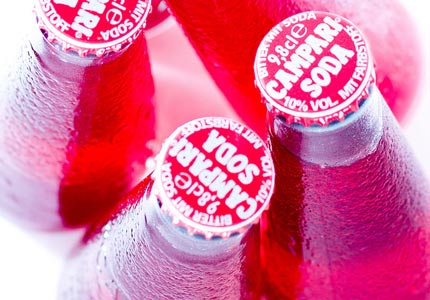
How to Photograph Juice bottles
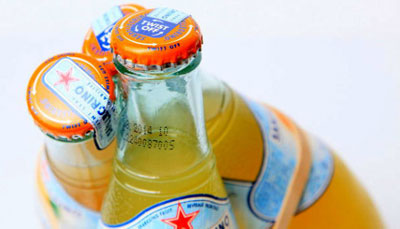
After writing about Dr.Tilo’s photography session in his bath tab ,nothing to sexy, just a nice way to get the white background (in case you keep your bath clean) I really wanted to try this too, so a couple of weeks ago as we where at ikea, I bought those nice San Continue Reading
How To take great beer images!!!
Hi, I usually don’t share here videos made by commercial site/stores and so on, but this time I want to share this video about how to take better beer images. Why I think this video is great or different from the others? It teach me two new things, and improved Continue Reading
How to photograph your Guitar tut
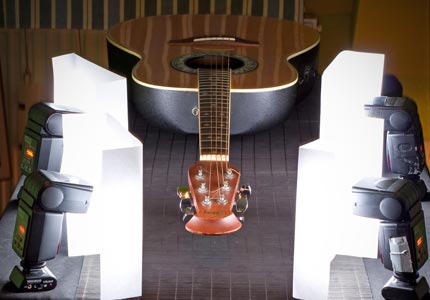
This one is a second tutorial based on Dr. Tilo “Gallo” Gockel photography work, I advise you t o visit his site (here) . Tilo writes in German, but watching the behind the scenes of his works and use Google Translate is pretty much enough to get it. He is Continue Reading
Cookie Photography With Your Pocket Camera
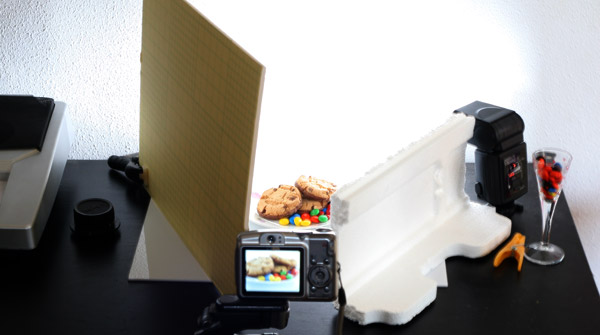
I posted a short tut about cookie photography some time ago , this is a post I really like. I want to show an other angle about food photography and showcase how easy it is to get really clean images and “catalogue” look by using your pocket camera, some white reflectors Continue Reading
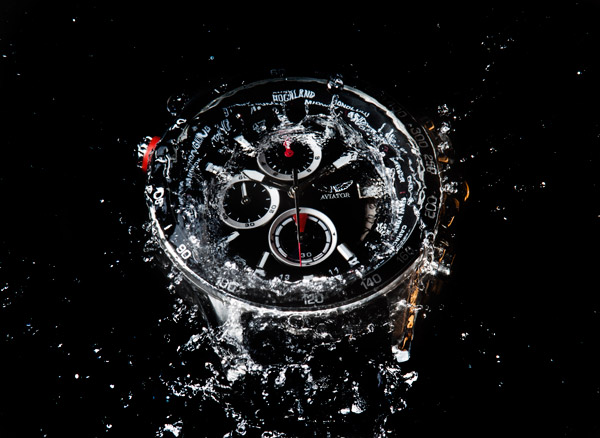
Your New Location : Shooting Soda After Shower
Hi, This time I want to introduce you with a new photographer I got to know recently, His name is Dr. Tilo “Gallo” Gockel and he has a great site (here), one of the best sites I visited for a long time, its in German, but you can learn from the Continue Reading
Supper Easy Product Photography Setup – Using A Shoe Box as Your Table
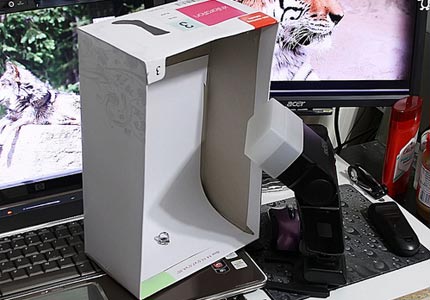
Hi, I’ve seen some easy and quick setups for photographing nice product images, but this one is probably the easiest and affordable I’ve seen in a long time!!! There is not much to say about it: One shoe box. One white paper to be set as a background. Off camera Continue Reading
Mastering Wine and Liquid Splashs Photography
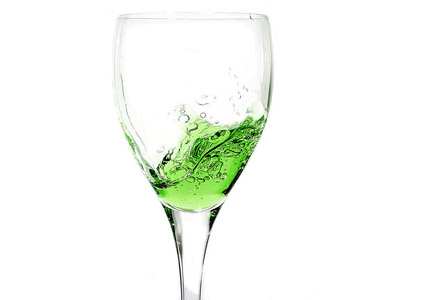
Hi , this tut is from Edward (Ed) Durbin, Ed found a very creative way to create a slider (could watch 10 sec movie at the bottom) on which you can put a wine glass, sliding the glass to the end of the slider’s rail will make it stop and Continue Reading
How To Photograph Reflective Silver Producs
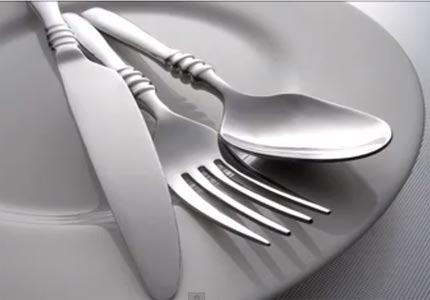
Hi guys, Photographing shiny objects is a very complicated task, some weeks ago I tried to photograph a friend of mine silver jewellery medallions. As we where tyring to learn our way through this, we found it very difficult to get it done perfectly, I mean you can do it pretty Continue Reading
Midnight Cooking – By Márton Gorka
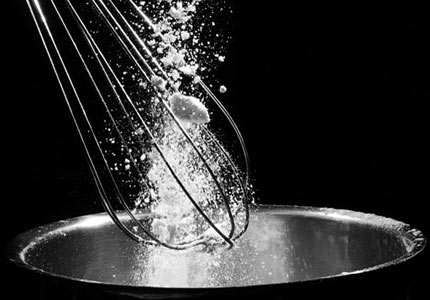
This post is one of my first guest posts ever to diyphotographystuff.info. Its written by Márton Gorka (facebook page) a Hungarian amateur photographer who’s images I saw on flickr and asked him to share some of his wisdom with you guys. The image idea first came up when I saw a Benoit Linard Continue Reading
Food Photography Videos – Two Videos I Digged
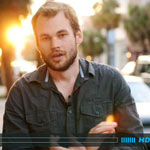
In this video made by Sony Photography department , you’ll watch an interview with pro food photographer Mark Matsumoto. Marc is a freelance food photographer and recipe designer, publisher of the site No Recipe – who is a great source for food photography ideas and inspiration. In this video they talk Continue Reading