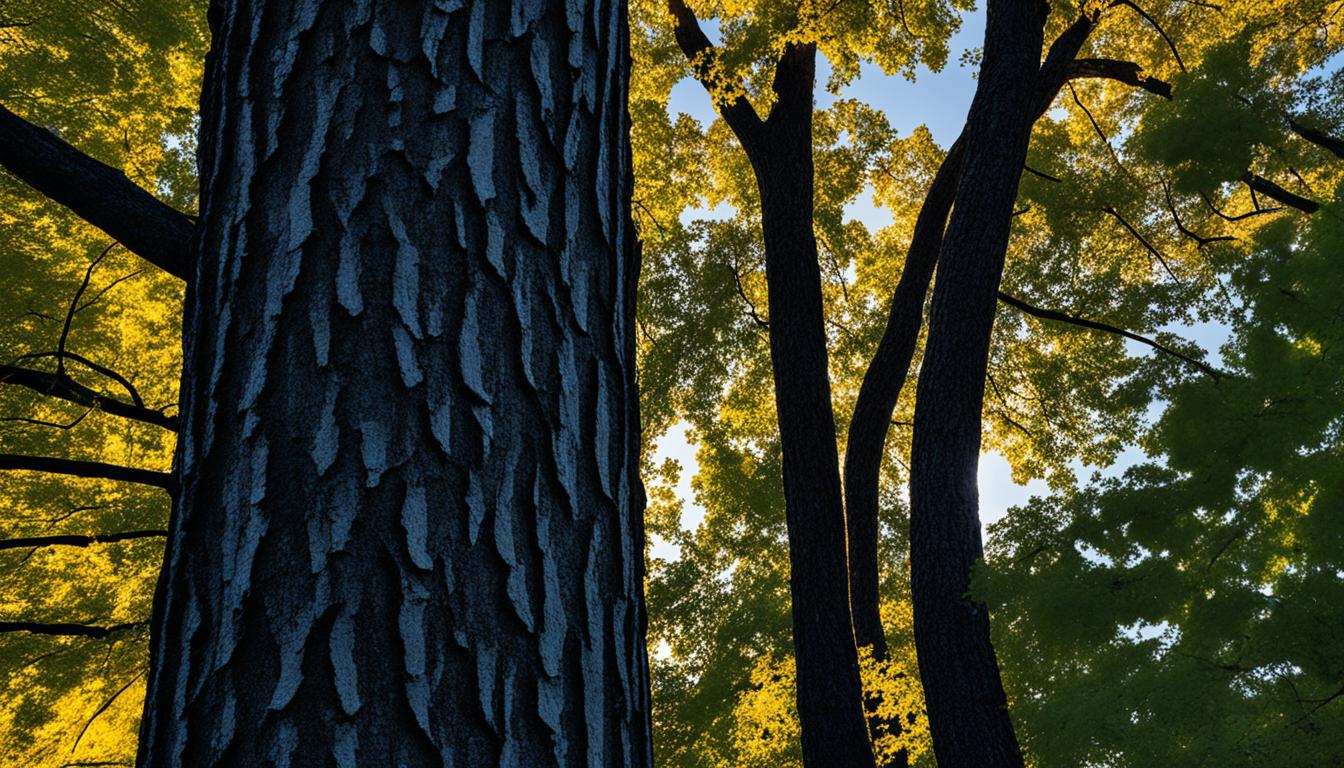
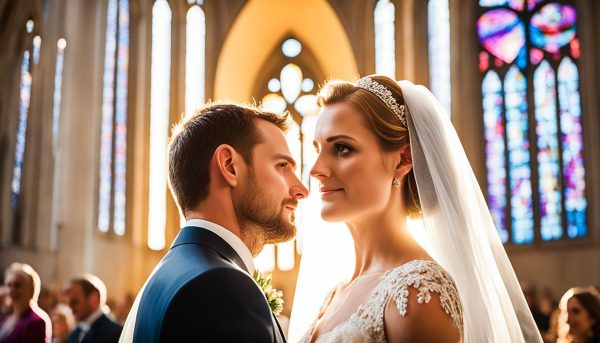
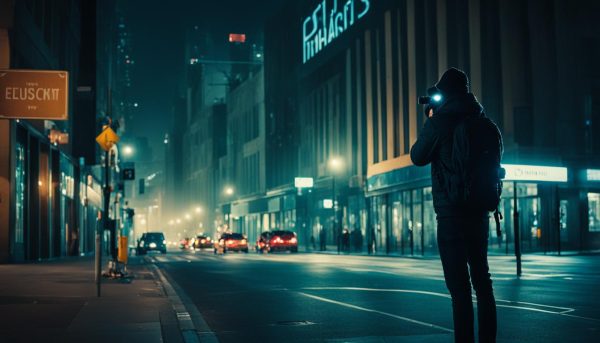
Mastering the subtle art of ambient light photography is a journey every professional photographer should embark on. Capturing the essence of a scene relies heavily on how ambient light—whether it be the soft glow of dawn or the neon shimmer of a cityscape at night—is harnessed and portrayed. With the right ambient light photography tips, natural light photography techniques, and low light photography tips at your disposal, you can transform ordinary shots into ethereal and compelling images that truly resonate with your audience.
Understanding the dynamics of ambient light can seem daunting, but by diving into strategies that enrich your visual narrative, you unleash the potential to develop a signature style that stands out. The interplay of light and shadow not only narrates a story but also sets the emotional tempo of your photographs. Let’s illuminate the nuances of capturing ambient light to convey the depth, texture, and mood that your creative vision demands.
Key Takeaways
- Creative mastery of ambient light can significantly improve photo quality.
- Differentiating between types of ambient light leads to better scene interpretation.
- Maximizing the magic of the golden hour can yield stunning photographic results.
- Optimal camera settings are crucial for capturing ambient light effectively.
- Understanding white balance adjustments enhances mood in photography.
- Advanced exposure compensation techniques can tackle challenging lighting.
Understanding Ambient Light in Photography
Ambient light in photography refers to the natural or artificial light present in a scene before any additional lighting is added by the photographer. Understanding how to effectively use ambient light is pivotal in capturing the essence of your subject and can transform the way your images are perceived.
The Basics of Ambient Light
Ambient light is inherently the lifeblood of a photograph. It shapes the image’s mood, texture, and depth. Be it the golden rays of a setting sun or the soft glow from a candle, ambient light imbues your photographs with a sense of realism and authenticity. When photographers talk about ambient light in photography, they’re discussing this very interplay of available light and how it can be harnessed to create powerful, natural-looking images.
Identifying Types of Ambient Light
Different types of ambient light can create drastically different visuals. For instance, the hard light of midday sun casts strong shadows and offers vivid colors, while the diffused light on an overcast day can minimize shadows and provide a more even tone. Each type of ambient light brings its own set of advantages and is suited for various photographic goals. The skill lies in recognizing and adapting to these conditions to capture the desired effect.
- Direct Sunlight: Intense and sharp, it can add drama but needs to be managed to avoid harsh shadows.
- Shade: Offers a softer, more diffused type of natural ambient light, perfect for portraits.
- Overcast Light: Provides even, diffused light that can reduce glare and soften textures.
Natural vs. Artificial Ambient Light
Natural ambient light, such as sunlight or moonlight, is often preferred for its softness and the ability to capture scenes as they are perceived by the human eye. Conversely, artificial ambient light — like street lights, neon signs, and light bulbs — presents more control and can be manipulated for creative effects, though it may introduce unwanted color casts or contrasts. Mastering both forms of ambient light is key to versatile and dynamic photography.
Pros and cons exist on both sides of the spectrum. While natural ambient light delivers a unique authenticity that is hard to replicate, artificial ambient light offers consistency and reliability. As a photographer, understanding how to work with both sources allows for a broader creative canvas and the ability to shoot under a variety of conditions.
Whether you favor the golden hues of a sunrise or the controlled ambiance of a studio setup, recognizing the characteristics and potential of ambient light is a fundamental skill. As we delve deeper into the intricacies of ambient light in photography, remember that light is not just a medium – it’s the very essence of your image.
Techniques for Mastering Natural Light Photography
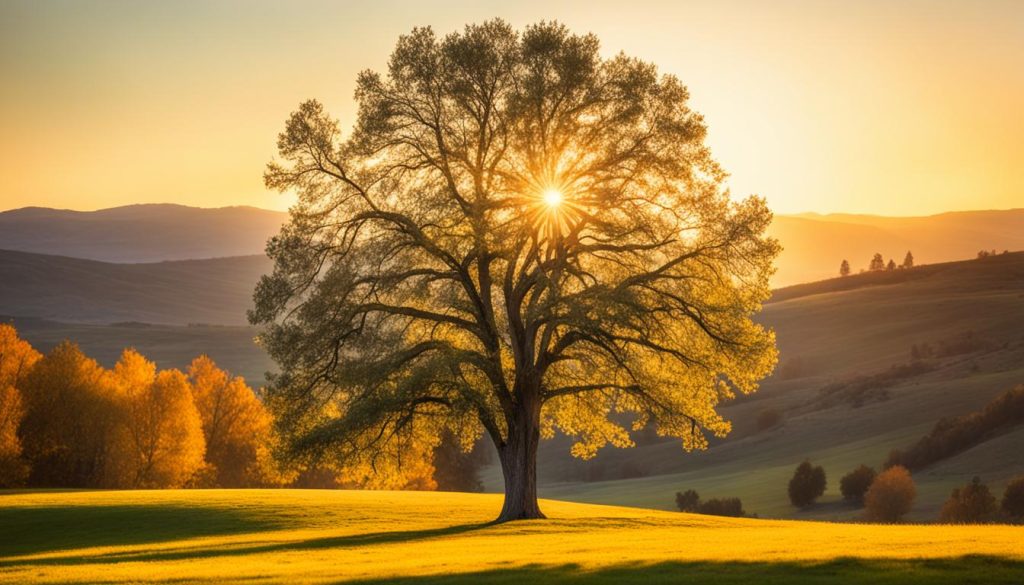
Natural light photography harnesses the sun’s beams to illuminate subjects, creating images that feel alive with depth and emotion. The seamless blend of light and shadow offers photographers a canvas upon which to cast their creative visions. From the enchanting glow of golden hour photography to the artful interplay of light and dark in dramatic shadow photography, there’s a breadth of techniques awaiting your exploration.
Golden Hour Magic
The golden hour, revered by photographers and artists alike, is that magical window after sunrise or before sunset when the sun sits low in the sky, casting a warm, diffused light. This light is coveted for its flattering tones and elongated shadows, which contribute to the depth and texture of the scene. Embracing golden hour photography involves planning and anticipation, but the painterly quality it bestows upon your images is truly unparalleled.
Diffusing Harsh Sunlight
Midday sun can present harsh and unflattering lighting conditions that challenge even the most experienced photographers. By diffusing sunlight, you can transform these conditions into an opportunity for capturing splendid, dream-like images. Employ strategies such as positioning subjects under the canopy of trees or using translucent reflectors to scatter the light evenly. The goal is to soften the intensity, diminish heavy contrasts, and avoid overexposure that can erase details and nuances in your subject’s features.
Shadow Play for Dramatic Effect
Dramatic shadow photography thrives on the strong interplay between dark and light areas. Shadows can be employed to add a sense of mystery, convey emotion, or emphasize certain elements within the photograph. You can experiment with the direction and quality of light to cast intriguing shadows that tell a story or create abstract forms. This technique requires a keen eye for detail and an understanding of how shadows shape the viewer’s perception of the image.
| Technique | Application | Time of Day |
|---|---|---|
| Golden Hour | Enhance warmth and depth | Shortly after sunrise/before sunset |
| Diffusing Sunlight | Softening harsh midday light | Midday |
| Shadow Play | Add drama and contrast | Varies with light direction |
Perfecting the subtle art of natural light photography opens up endless expressive possibilities. As you continue to develop these techniques, your images will not just capture sights but will also evoke the timeless dance of light and darkness that defines our visual world.
Optimizing Camera Settings for Ambient Light
Embarking on the journey of ambient light photography can be an exhilarating experience, especially as you learn to harmonize with the subtleties of natural light. For beginners eager to master camera settings for ambient light, this segment focuses on the essential triad of photography: ISO, shutter speed, and aperture. The interplay between these settings helps create the perfect shot, defining both the mood and clarity of your photos.
Knowing how to adjust camera settings according to the available light can be a game-changer. It starts with ISO, the measure of your camera’s sensitivity to light. For shooting in bright conditions, a lower ISO helps maintain image quality by reducing the grain or “noise”. In contrast, as ambient light diminishes, a higher ISO becomes necessary, though one should be wary of going too high to avoid compromising image sharpness.
Then, there’s shutter speed, which dictates the duration that the camera’s sensor is exposed to light. Capturing dynamic scenes without blur demands faster shutter speeds, while more static or poorly lit scenes might allow for slower shutters. It’s this delicate balance that can freeze a fleeting moment or, conversely, infuse a silky sense of motion into your photograph.
Last but not least, aperture controls the depth of field and the volume of light that hits the sensor. A wider aperture (smaller f-stop number) welcomes more light, ideal for low light conditions or when seeking a shallow depth of field. A smaller aperture (larger f-stop number), on the other hand, is preferred for landscapes or scenarios where detail across various planes is crucial.
Armed with these photography lighting tips for beginners, we must not overlook the art of experimentation. Adjusting one setting will naturally impact the others, so finding a harmonious settings combination is key. Below is a basic guideline to help steer your exploration of camera settings in various ambient light conditions.
| Lighting Condition | ISO | Shutter Speed | Aperture |
|---|---|---|---|
| Bright Sunlight | 100-200 | 1/1000s – 1/2500s | f/8 – f/16 |
| Overcast Day | 400-800 | 1/500s – 1/1000s | f/4 – f/8 |
| Twilight | 1600-3200 | 1/250s – 1/500s | f/2.8 – f/4 |
| Indoor Ambient Light | 800-1600 | 1/60s – 1/125s | f/2 – f/2.8 |
Remember, the table above is a beginner’s compass and not a one-size-fits-all solution. The best results often come from understanding the principles behind these settings and then adjusting them to suit the unique textures and tones of your scene. Aim for a balance that serves your creative vision, and don’t shy away from playing with unconventional settings—you might be surprised at what you can achieve with your camera in different ambient light scenarios.
Ambient Light Photography Tips
Capturing the essence of your subject using ambient light can transform your photography. This segment will offer vital ambient light photography tips along with foundational photography lighting tips for beginners. Whether your scene is bathed in the soft light of dawn or the golden hues of a setting sun, understanding the interplay between ISO, shutter speed, and aperture can elevate the mood and impact of your images.
Balancing ISO, Shutter Speed, and Aperture
To harness ambient light effectively, a balanced approach to setting your camera’s ISO, shutter speed, and aperture is paramount. ISO controls the sensitivity of your camera’s sensor, shutter speed dictates the duration of light hitting the sensor, and aperture affects the amount of light permitted through the lens. By striking a harmonious balance among these three elements, photographers can achieve optimal exposure without compromising on image quality.
- ISO: Keep it as low as possible to reduce noise.
- Shutter Speed: Adjust to control motion blur and ambient light capture.
- Aperture: Select a wider aperture for more light in dim conditions or a smaller aperture for greater depth of field in well-lit scenes.
Utilizing White Balance for Mood
White balance adjustment is a crucial tool for photographers aiming to use ambient light to set the mood of their images. By altering the white balance, you can enhance the warmth or coolness in a photograph, affecting the emotional response it elicits. An accurate white balance ensures colors are true-to-life, while creative adjustments can imprint a specific ambience to your photos.
Exposure Compensation Techniques
Another key aspect of working with ambient light is mastering exposure compensation techniques. This allows photographers to override the camera’s automatic settings to brighten or darken an image. It’s an effective method to quickly adapt to changing light conditions and can be especially useful when the camera’s metering system is fooled by complex lighting scenarios.
| Scenario | Camera Tendency | Exposure Compensation Adjustment |
|---|---|---|
| Backlit Subject | Underexposed Subject | Positive (+) to brighten subject |
| Snowy Landscape | Overexposed Scene | Negative (-) to retrieve detail |
| Indoor with Mixed Lighting | Inconsistent White Balance | Adjust white balance for mood |
To perfect your craft, experiment with these techniques, and understand how each adjustment affects your final image. Embrace the challenge of ambient light photography, and let the environment inspire your creativity.
Using Available Light in Photography Creatively
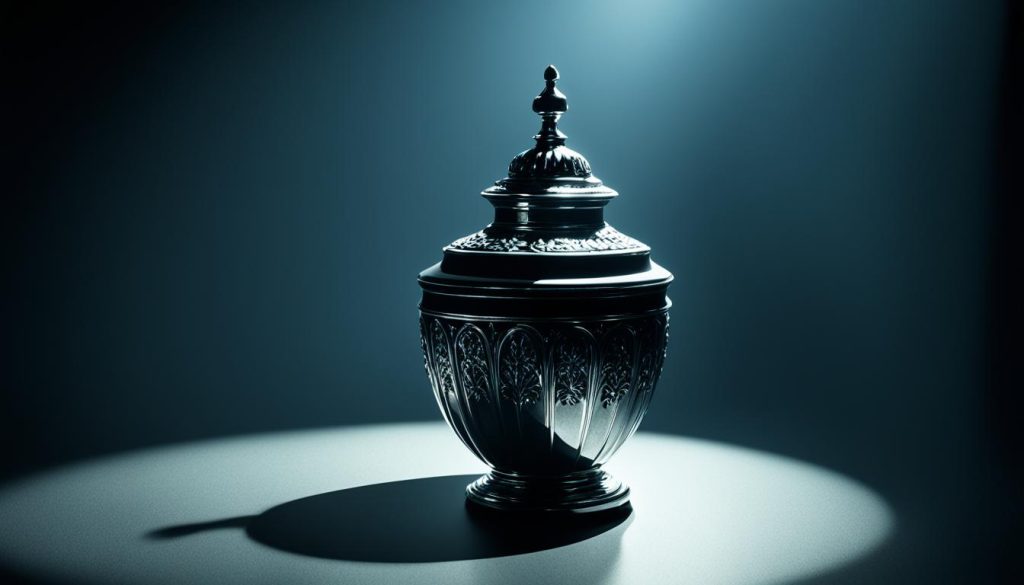
When it comes to using available light in photography, the improvisational art of capturing the subtleties of light cannot be overstated. Harnessing ambient light sources asks of photographers to adapt and employ creative photography lighting techniques that transform ordinary scenes into stunning visual narratives.
Consider the warmth of a sunset bleeding through a window, casting long, dramatic shadows across a room – these moments, naturally occurring and often fleeting, present opportunities for photographers to practice the skill of using available light in photography to its full effect. Street lamps can cook up a noir-esque silhouette, while the flicker of candlelight can narrate intimacy and softness.
- Window Light: A classic and versatile source offering both hard and soft light based on the time of the day and weather conditions.
- Street Lamps: Ideal for moody urban scenes, their often singular and direct light source can create a focal point for dramatic effect.
- Candles: Use the delicate dance of candlelight to evoke emotion and highlight textures in a scene.
More than just sources of illumination, these instances of light can be integral thematic components, enhancing the narrative in your frame. This approach to creative photography lighting techniques requires an open, observant eye, and a readiness to meld with the environment, using its offerings to lead the viewer’s eye and set the emotional tone of the photograph.
Photography is the story I fail to put into words. – Destin Sparks
While exploring ambient lighting, remember that versatility is key. Change your angles, modify your camera settings, and let the existing light shape your compositions. By doing so, you are not just capturing light—you are telling a story; a visual sonnet composed of shadows, highlights, and the gray in-between.
Enhancing Ambient Light in Photos During Post-Processing
Discovering the optimal balance between capturing a scene as it appears and infusing it with artistic expression is a key objective in ambient light photography. One critical element in this balance is enhancing ambient light in photos during the post-processing stage. By leveraging the power of post-processing techniques for ambient light photography, photographers can elevate their images from good to great, ensuring that the mood and atmosphere are not only preserved but also enhanced.
Many software tools are available that cater to the enhancement of ambient light, each offering a range of sliders and presets to fine-tune aspects like exposure, contrast, and color balance. However, it’s essential to keep in mind that the aim is to augment the light in a way that maintains the photo’s natural essence. A thoughtful approach to adjustments helps prevent over-processing, which could otherwise lead to an artificial or forced look.
One effective strategy is to incrementally adjust the exposure, lifting the shadows to reveal detail while being careful not to wash out the midtones and highlights. Another valuable practice includes working with color temperature and tint to recreate the warmth or coolness that was felt on the scene.
Below are some key steps that can be followed to enhance ambient light:
- Start by adjusting the overall exposure to achieve the desired level of brightness without compromising the photo’s dynamic range.
- Utilize highlight and shadow sliders to recover details and subtly enhance the image’s mood.
- Manage the white balance to retain or adjust the ambient light’s temperature, either to match the original scene or to creative effect.
- Refine the image’s contrast and clarity to add depth and definition without overemphasizing noise or texture.
- Employ targeted adjustments using tools like gradient filters or brush tools to selectively enhance areas without affecting the entire photo.
- Experiment with color grading to subtly shift hues and saturation, which can dramatize or normalize the effect of ambient light.
These refinements should be guided by an eye for naturalism and a sense of the story you want to convey through your photograph. Remember, the most effective post-processing is that which feels invisible, leaving viewers immersed in the scene and affected by its light, as if standing there in the moment the shutter was released.
Conclusion
As we encapsulate the essence of our journey through the compelling world of ambient light photography, it is clear that the hues and shades of our surroundings play a pivotal role in the artistry of photography. The ambient light photography conclusion we reach is one of encouragement and empowerment; knowledge and creativity are the hallmarks of a photographer adept in utilizing natural and artificial light to craft breathtaking imagery. Delving into the intricacies of ambient light allows you to wield it, not as a mere backdrop but as an active participant in the storytelling of your visuals.
Our exploration has equipped you with the necessary framework to navigate and harness various lighting scenarios—whether it’s the soft luminescence of golden hour or the challenge of low light conditions. The final words on ambient light photography are, therefore, a reminder: embrace the complexity of light and shadow with an artisan’s touch. The judicious balance of camera settings, the keen perception of light quality, and the deft post-processing refinements are tools at your disposal to transform an ordinary scene into an extraordinary capture.
In conclusion, let the continuum of learning and practice in ambient light photography guide you toward refining your vision and technique. Keep experimenting with the gradients of light, the spectrum of shadows, and the orchestra of colors—they are your palette for painting in light. As you continue to develop and master these skills, may you find in each click of the shutter, a renewed sense of purpose and a fresh perspective on the art of photography.

