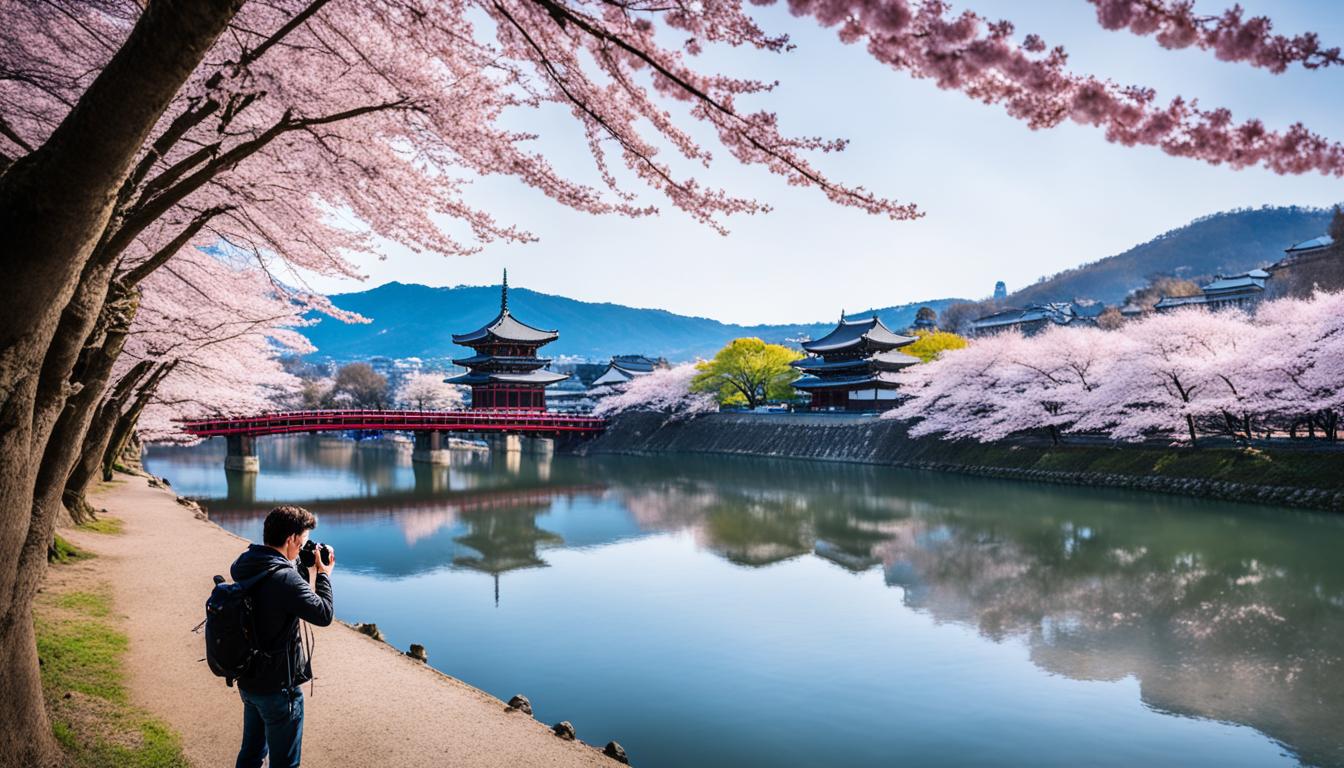
“Photography is a way of feeling, of touching, of loving. What you have captured on film is captured forever… It remembers little things, long after you have forgotten everything.” – Aaron Siskind Kyoto is a city that evokes a sense of timeless beauty and charm. With its rich history, stunning Continue Reading
Samuel M.
Hi,
My name is Moshe Samuel, I'm 38 from Israel, Married to Tami with two amazing photogenic kids Eitan&Naama!!! I'm writing here for the last 3 years and love it!!!
Best places to photograph in Serengeti National Park, Tanzania
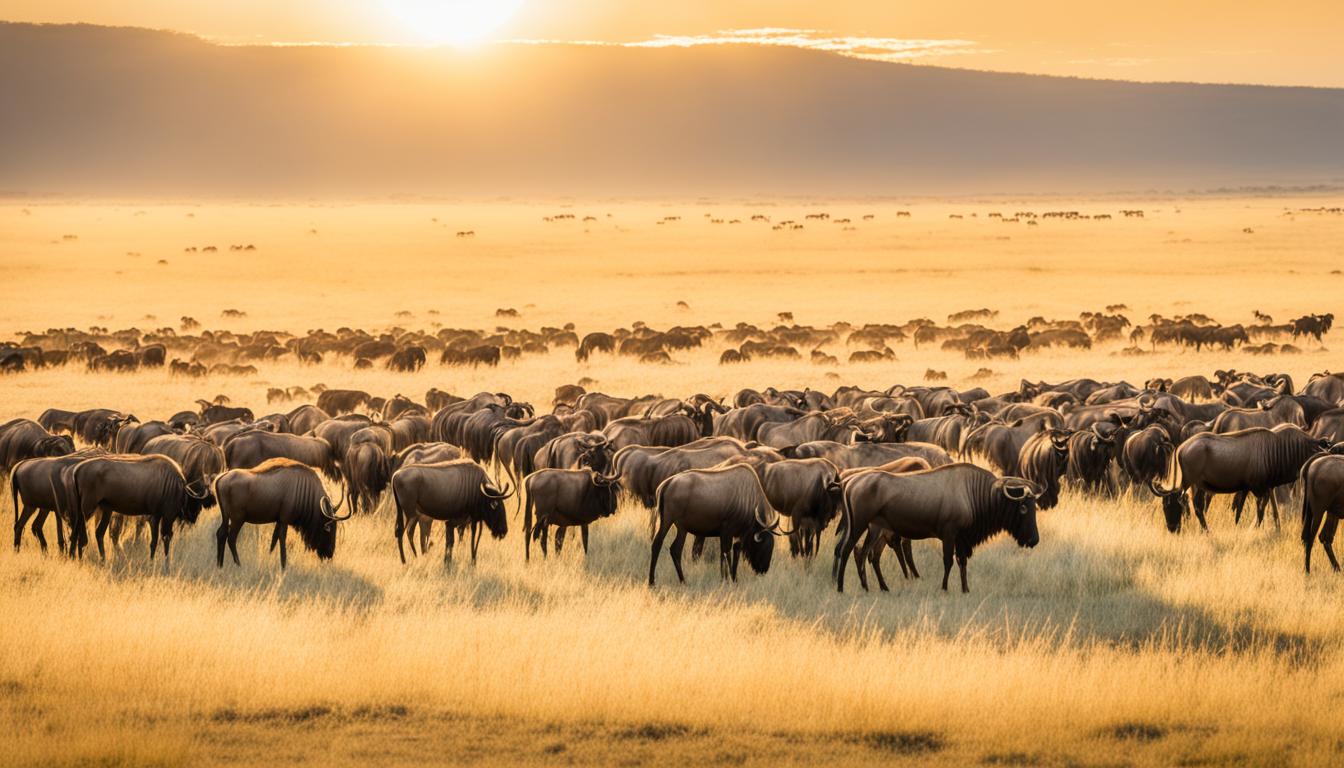
“Photography takes an instant out of time, altering life by holding it still.” – Dorothea Lange Welcome to the awe-inspiring Serengeti National Park, a photographer’s paradise nestled in the heart of Tanzania. Here, amidst the vast plains and captivating wildlife, every click of the shutter captures a frozen moment in Continue Reading
Best places to photograph in Cairns, Australia
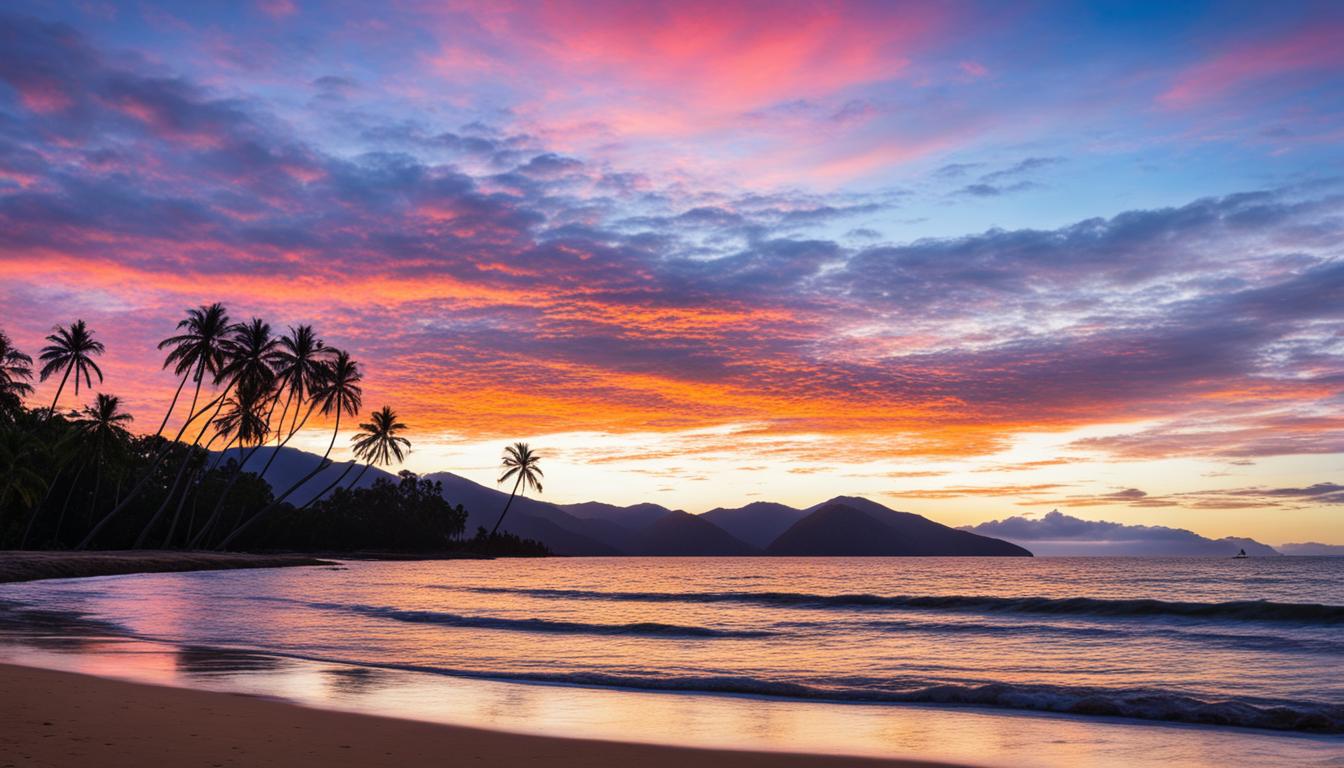
“Photography is the story I fail to put into words.” – Destin Sparks Welcome to Cairns, Australia, where natural beauty and captivating landscapes come together to create a photographer’s paradise. Known for its pristine beaches, lush rainforests, and diverse wildlife, Cairns offers a plethora of stunning photography spots that are Continue Reading
Best places to photograph in Siem Reap, Cambodia
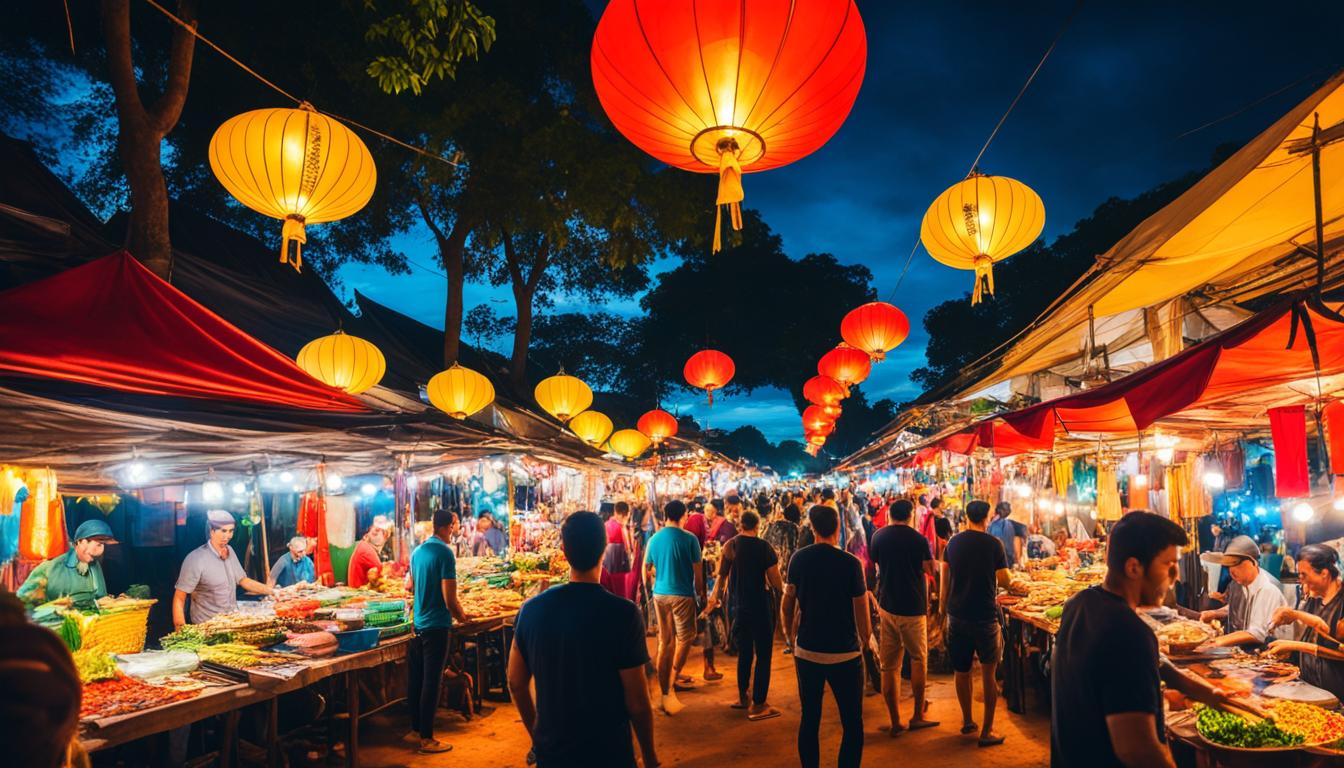
“Photography is a way of feeling, of touching, of loving. What you have caught on film is captured forever… It remembers little things, long after you have forgotten everything.” – Aaron Siskind Siem Reap, Cambodia is a hidden treasure for photographers, offering a perfect blend of ancient temples and vibrant Continue Reading
Best places to photograph in Agra, India
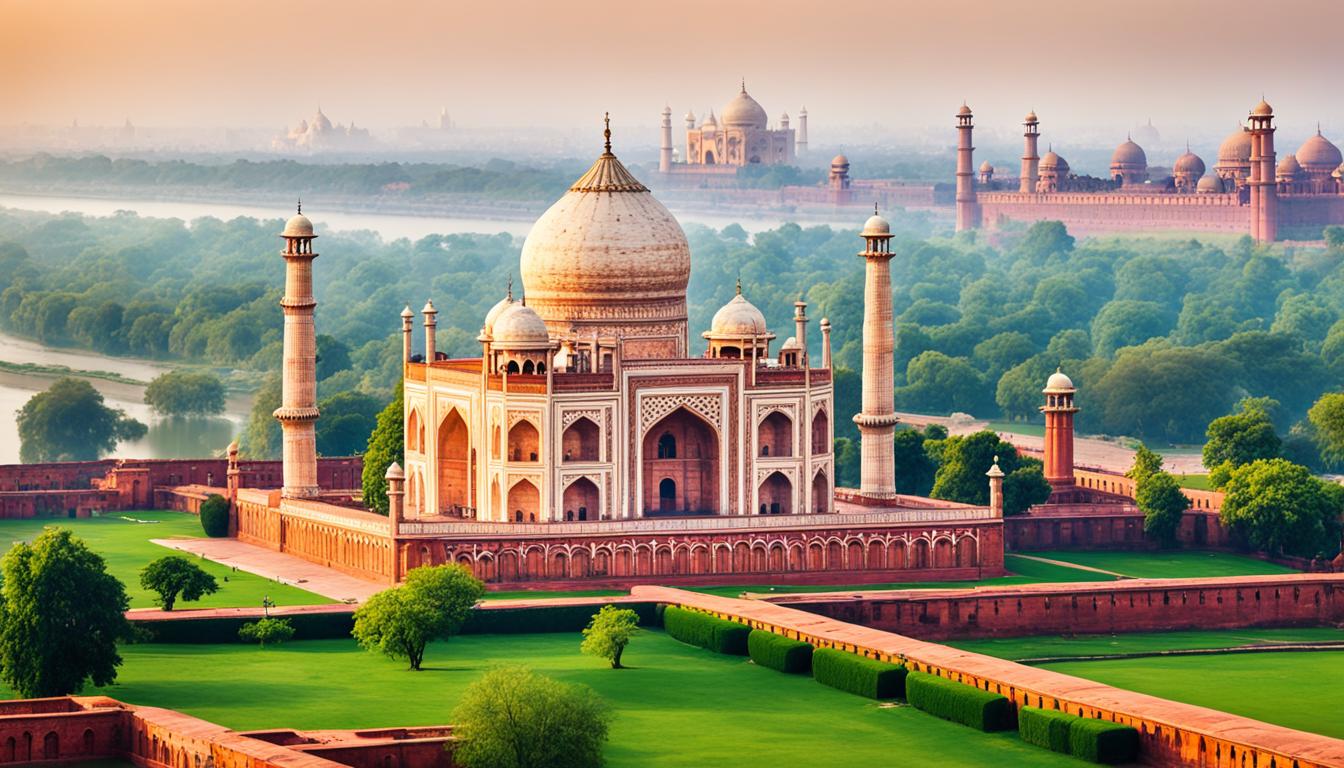
“Photography is a way of feeling, of touching, of loving. What you have caught on film is captured forever… it remembers little things, long after you have forgotten everything.” – Aaron Siskind Agra, India, is a photographer’s paradise. With its rich history and iconic landmarks, this city offers endless opportunities Continue Reading
Best places to photograph in Uyuni Salt Flats, Bolivia
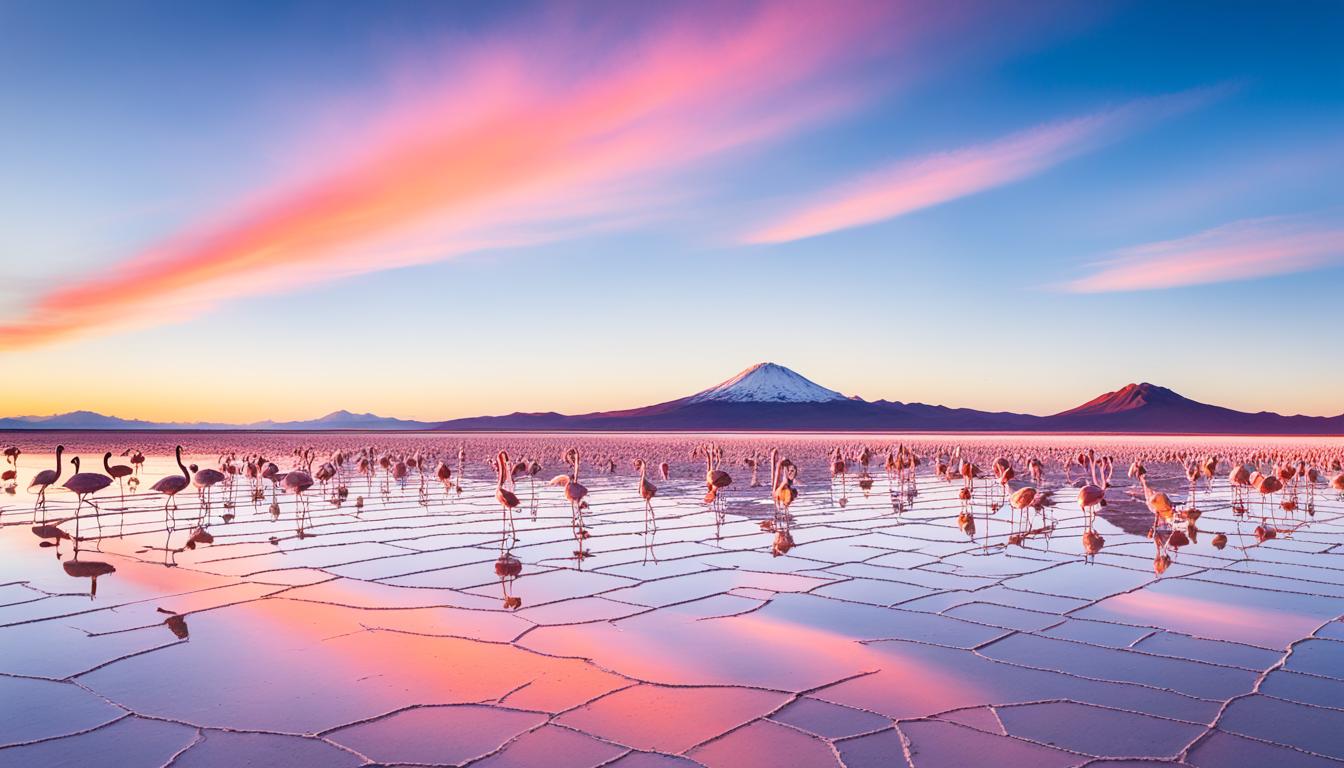
“Photography is a way of feeling, of touching, of loving. What you have caught on film is captured forever… It remembers little things, long after you have forgotten everything.” – Aaron Siskind Welcome to the mesmerizing world of Uyuni Salt Flats in Bolivia, where the ethereal landscapes and surreal beauty Continue Reading
Best places to photograph in Luberon, France
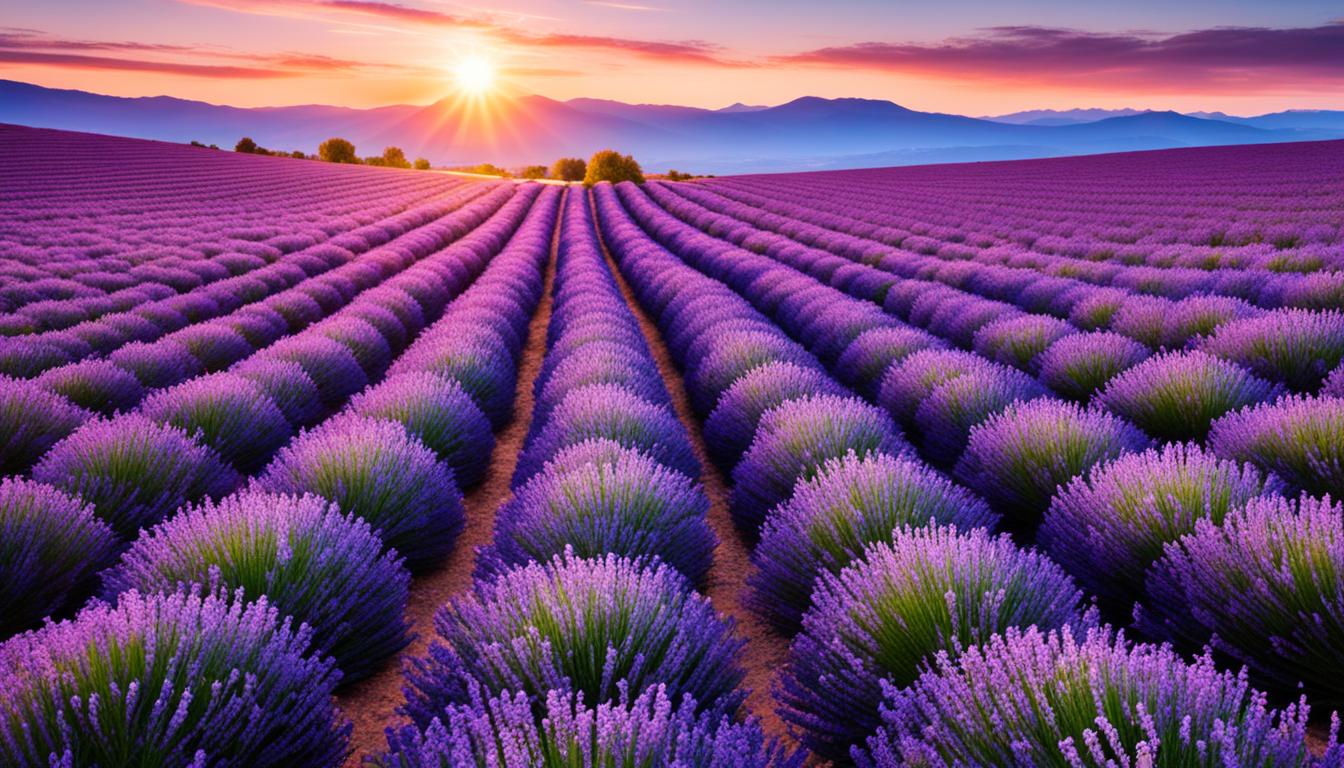
“The camera is an instrument that teaches people how to see without a camera.” – Dorothea Lange Are you ready to capture the beauty of Luberon, France through your lens? From picturesque villages to vibrant landscapes, Luberon offers a plethora of photogenic spots that will leave you in awe. Whether Continue Reading
Best places to photograph in Havana, Cuba
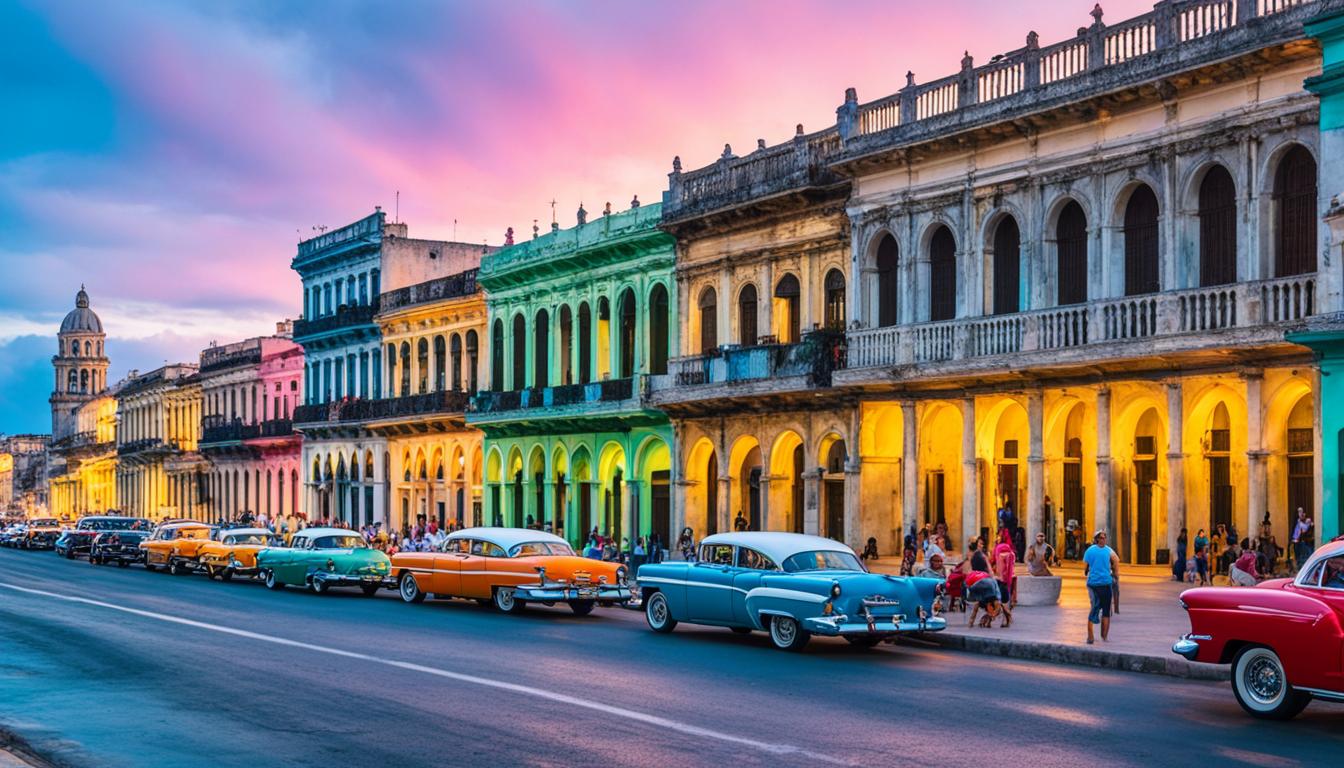
“Photography is the story I fail to put into words.” – Destin Sparks As a professional photographer and tour guide in Cuba, I have compiled a comprehensive list of the best photography locations in Havana. This list includes both popular tourist spots and lesser-known, hidden gems that only locals and Continue Reading
Best places to photograph in Buenos Aires, Argentina
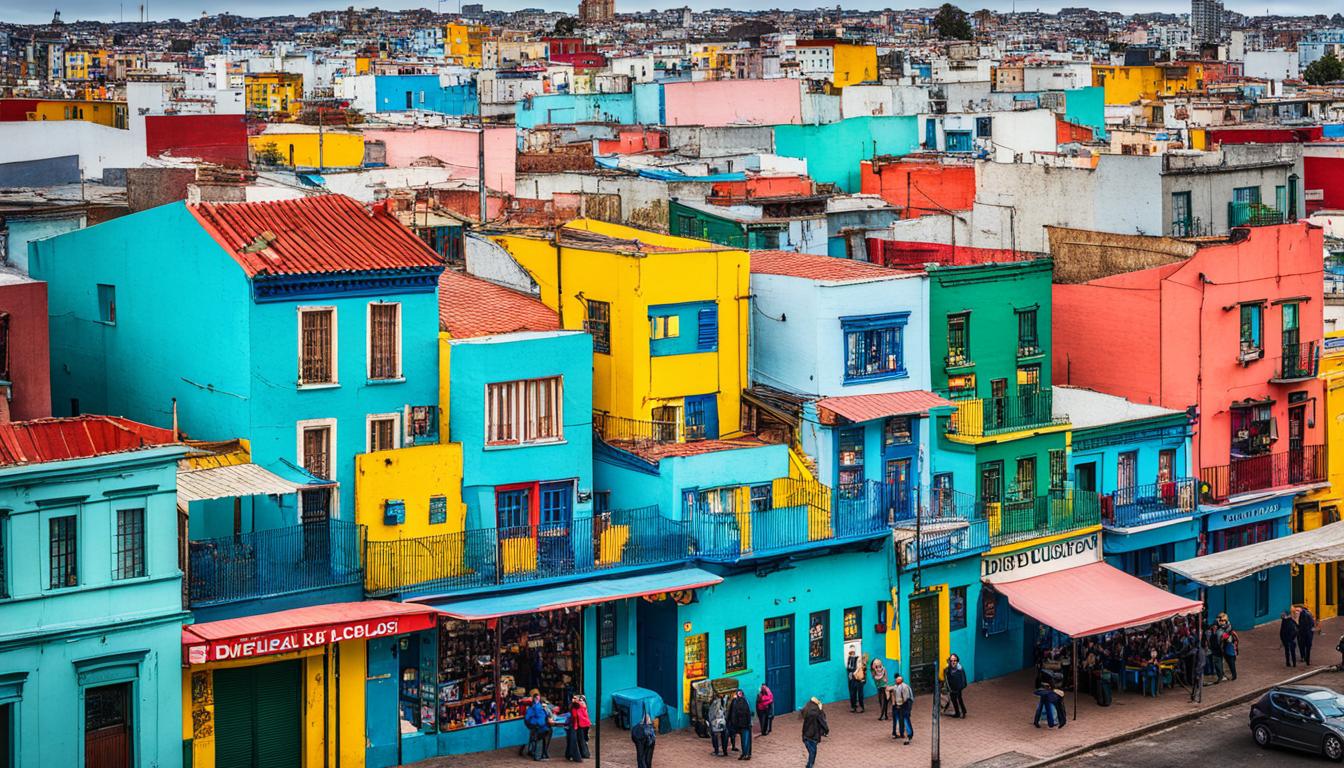
“Photography takes an instant out of time, altering life by holding it still.” – Dorothea Lange Buenos Aires, the capital of Argentina, is a city that breathes life and captures moments frozen in time. It is a photographer’s paradise, filled with vibrant streets, iconic landmarks, and a rich cultural heritage. Continue Reading
Best places to photograph in Vancouver, Canada
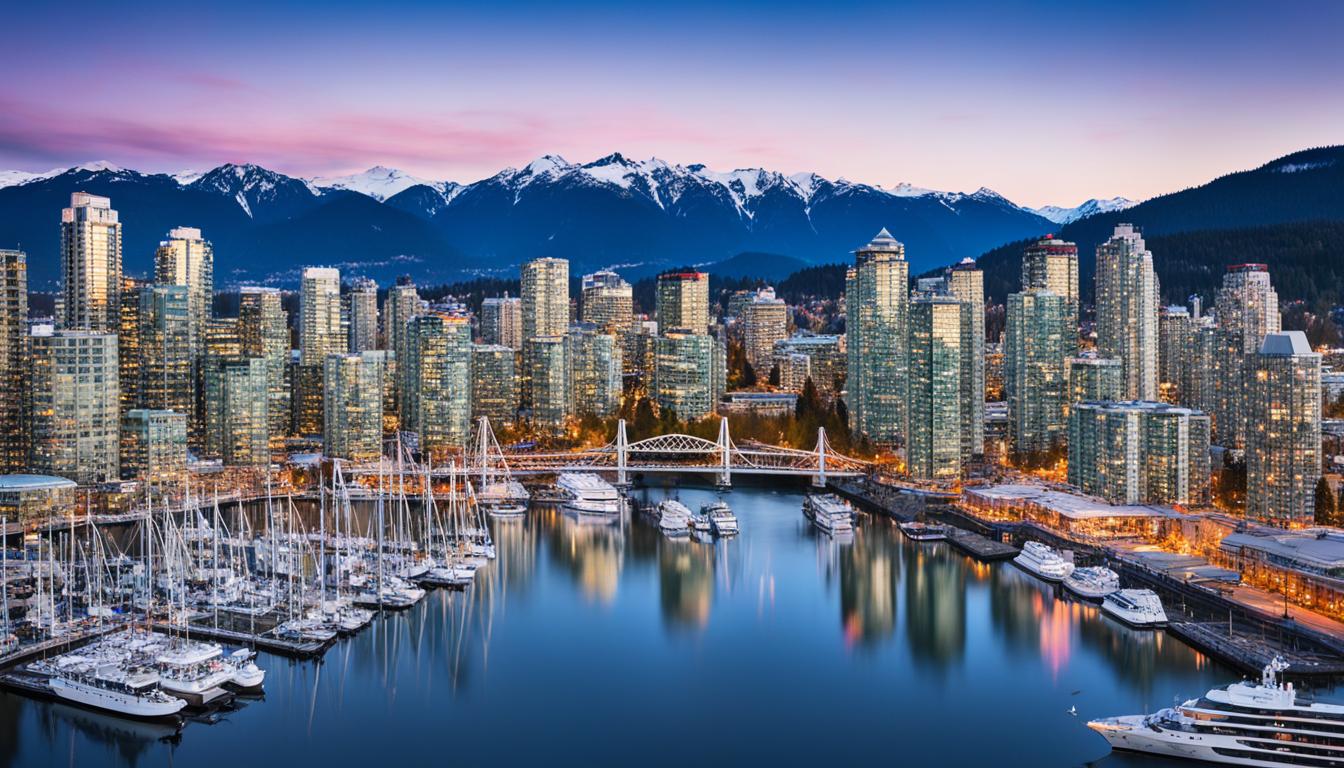
“Photography is the story I fail to put into words.” – Destin Sparks Vancouver, with its stunning natural beauty and vibrant cityscape, offers an abundance of incredible photography locations. From picturesque gardens and iconic landmarks to colorful neighborhoods, the city is a haven for photographers seeking inspiration. Whether you’re a Continue Reading
Best places to photograph in Queenstown, New Zealand
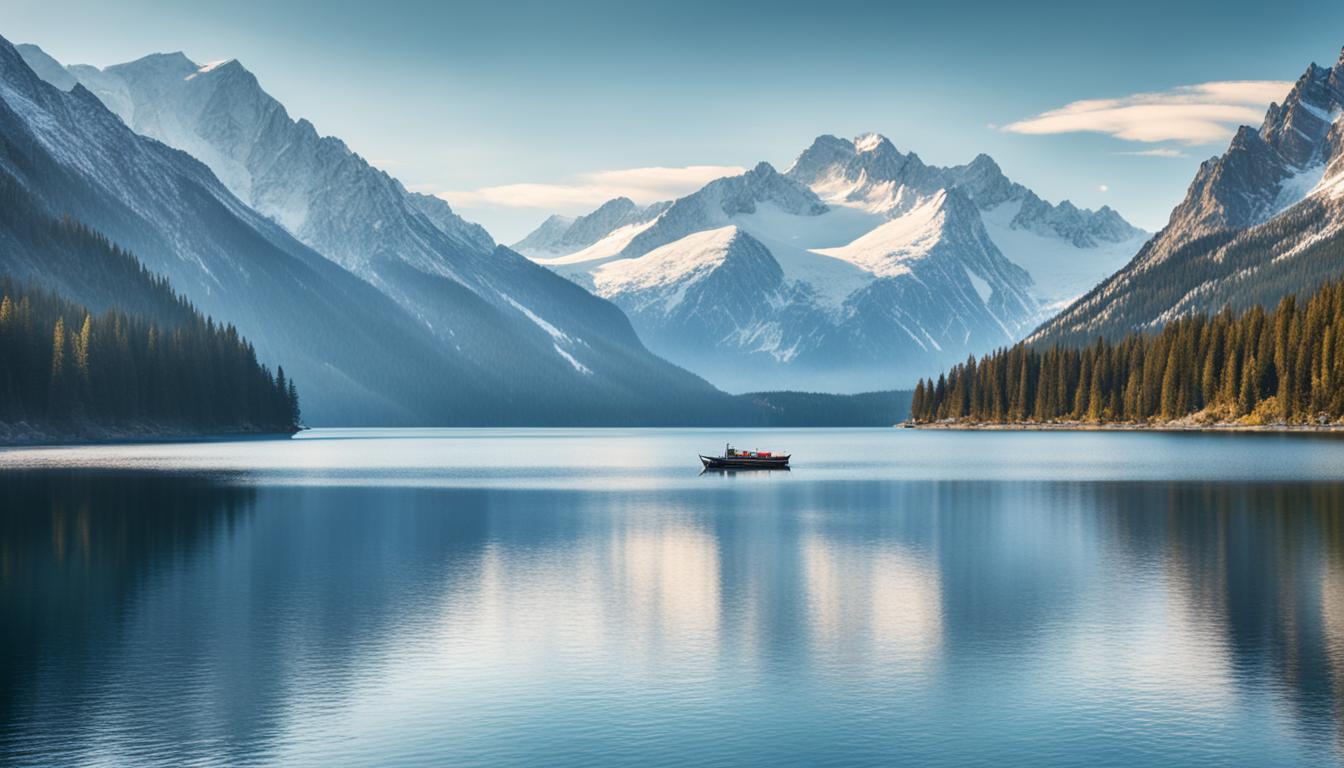
“Photography is the story I fail to put into words.” – Destin Sparks Welcome to Queenstown, New Zealand, a place where stunning landscapes come alive and storytelling through photography reaches new heights. With its majestic mountains, crystal-clear lakes, and vibrant energy, Queenstown is a true paradise for photographers. Whether you’re Continue Reading
Best places to photograph in Iceland
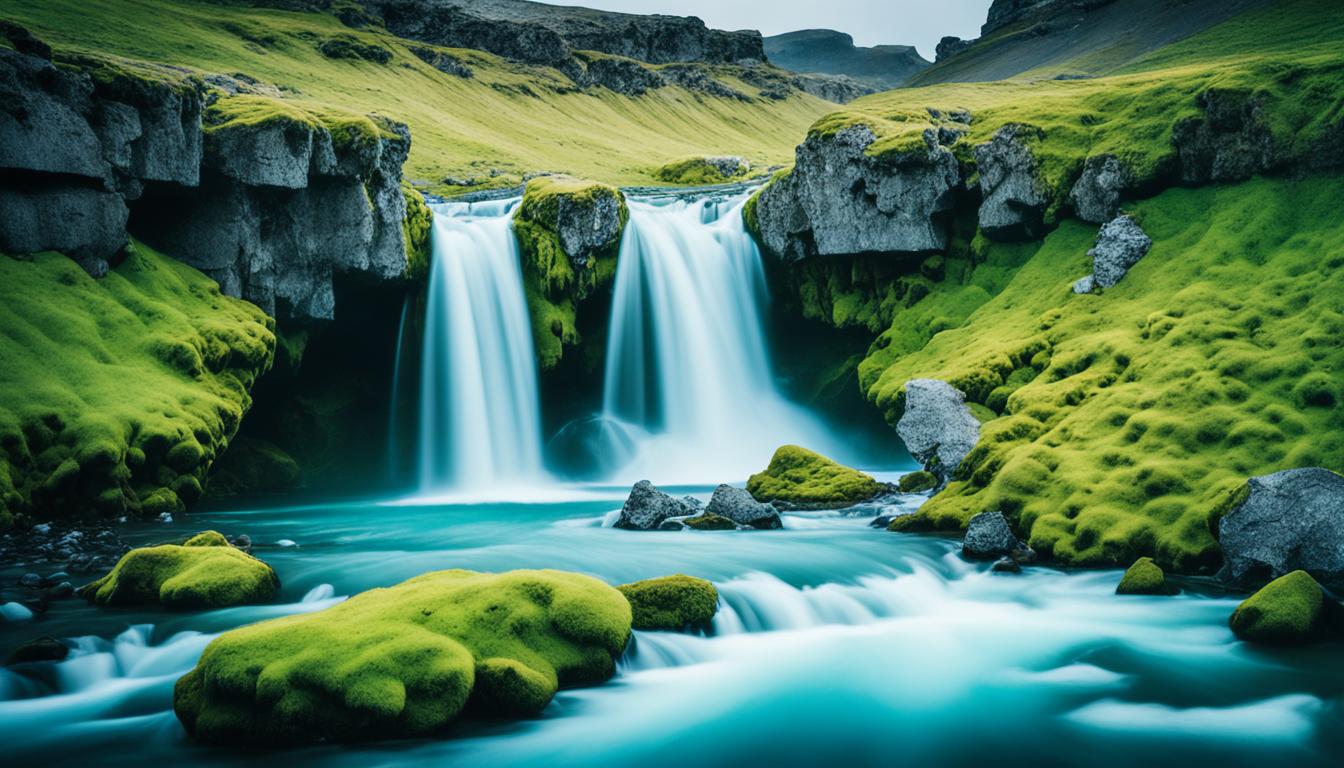
“Photography takes an instant out of time, altering life by holding it still.” – Dorothea Lange With its breathtaking landscapes and natural wonders, Iceland is a haven for photographers seeking to capture the raw beauty of nature. From the glistening glaciers to the powerful waterfalls and the mystical Northern Lights, Continue Reading
Best places to photograph in Cinque Terre, Italy
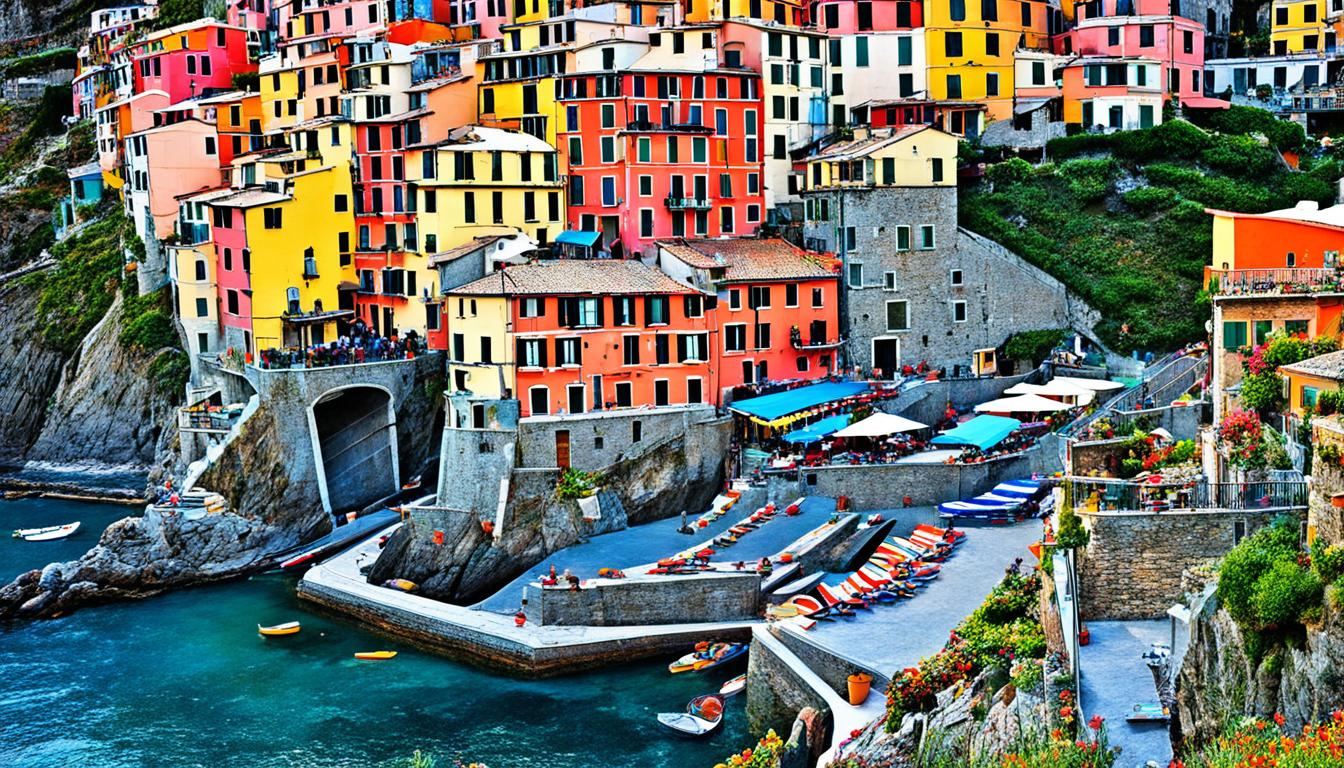
“Photography is the story I fail to put into words.” – Destin Sparks Cinque Terre, Italy, is a photographer’s paradise. With its enchanting coastal villages, colorful houses, and breathtaking views of the Mediterranean Sea, this UNESCO World Heritage Site offers endless opportunities for capturing stunning images. Whether you’re a professional Continue Reading
Best places to photograph in Lofoten Islands, Norway
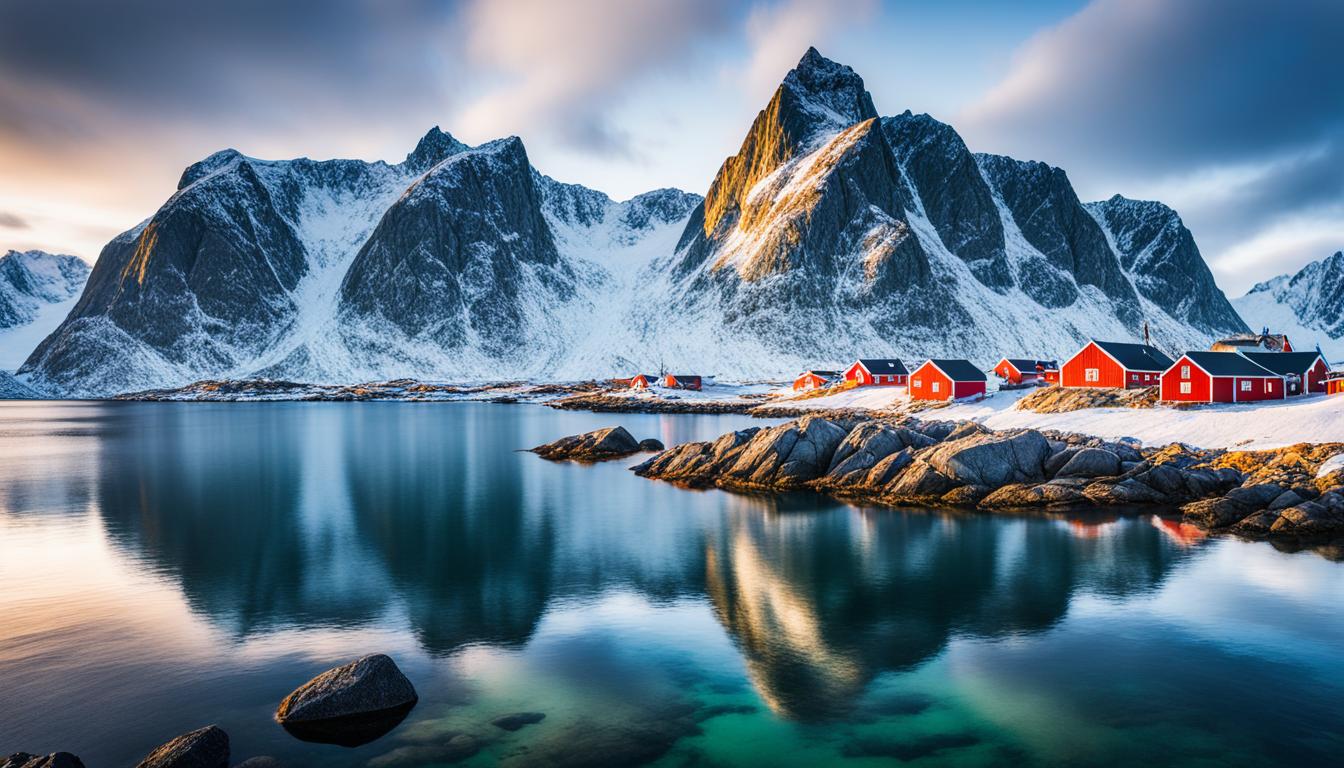
“Photography is a way of feeling, of touching, of loving. What you have caught on film is captured forever… it remembers little things, long after you have forgotten everything.” – Aaron Siskind Welcome to the enchanting Lofoten Islands in Norway, a haven for photographers seeking to capture the essence of Continue Reading