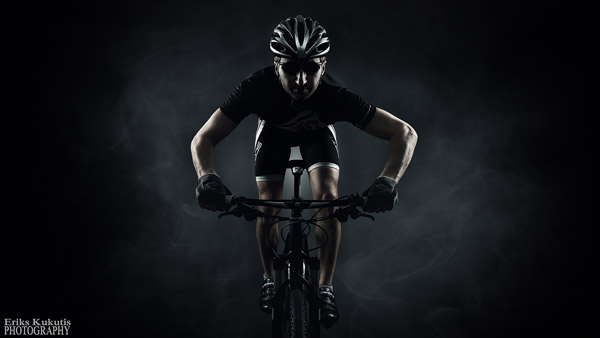
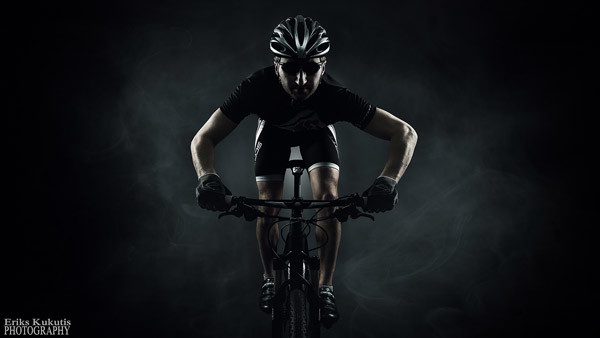
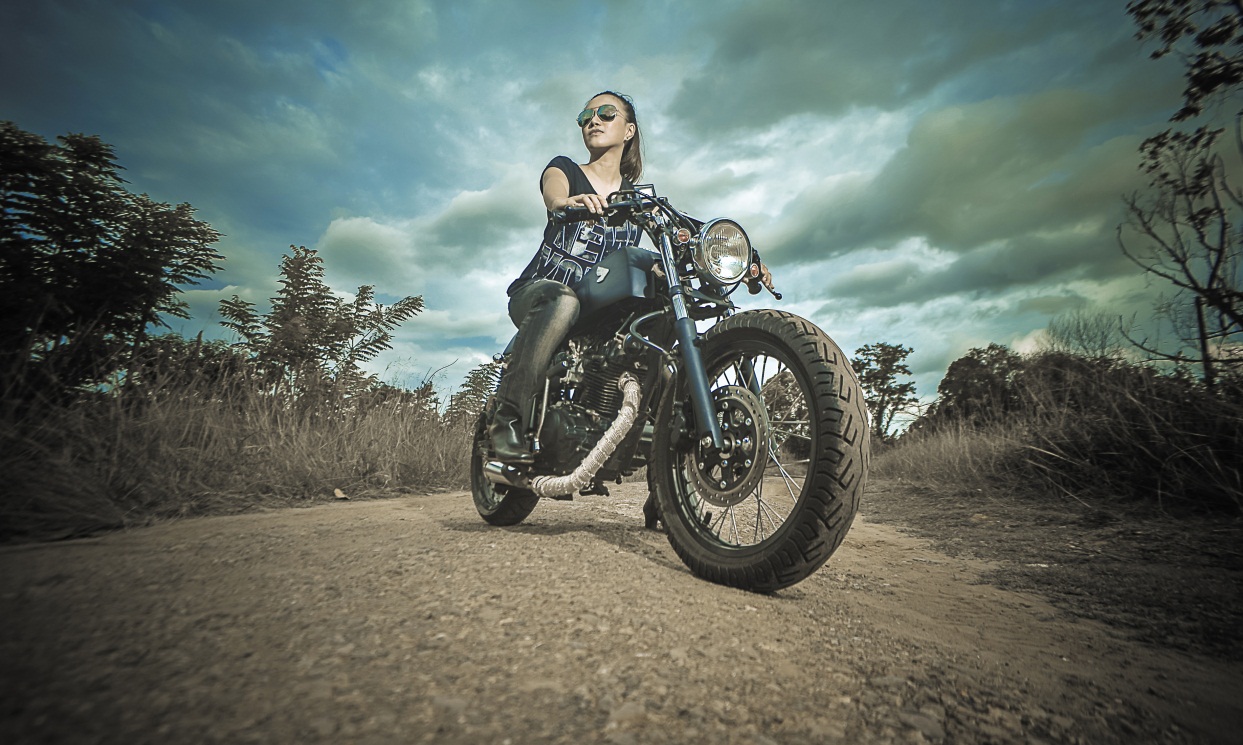
Hi, this time I want to share a tutorial photographed by Eriks Kukutis. Erik posted his image on the Strobist group on Facebook and that how I got to know him. I really like this one and Erik Wrote as a full photo&post production for his cyclist shootout. Want to see more of Eriks’s work ? go and pay a visit to kukutisfoto.lv
First of all I want apologies to you, if I will have some grammar mistake, because English is not my first
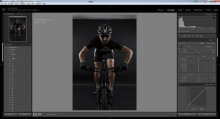
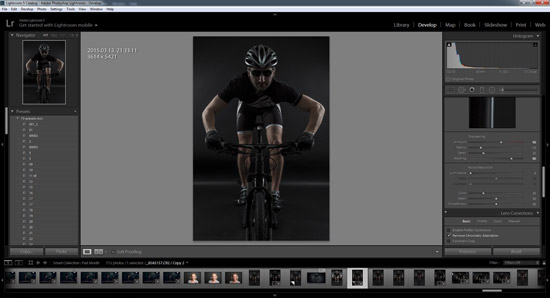
Out of the camera
language.
I wanted to do this image for some time. I was inspired by VonWong and Joel Grimes style. So I asked very close friend of mine who is MTB cyclist if he would pose for this type of shot…
I took this shot in my apartment, In room aprox 4,5m x 4,5m. I got the black paper background and stick it to the wall (but you basicly can do it on any background, because you will make cut of the object anyway) I used black background because I wanted to get this feel\style of picture right away in camera so I could understand if I’m there…
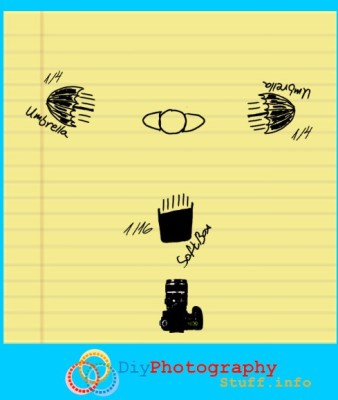
Three Lighting setup – home studio
Lighting and setup:
I shot this picture with:
Canon 5D mark III, canon 24-70 f2,8 II
ISO 50, 38mm, F8, 1/125sec
It was a 3 light setup: I used two Yongnuno 560 flashes with umberellas on the side and slightly back to get this rim light. And I used one Yongnuno 568II flash with 42cm beautydish in front and above the object to get this cool lightning on his helmet.
Basically I set camera and exposed to ambient light (1/125sec helps blocking ambient light and makes this shot dark) And then I added the side Flashes and finaly front light. You can see above the RAW Image what I got straight out of camera into the Lightroom 5 Editing The Image in LR5
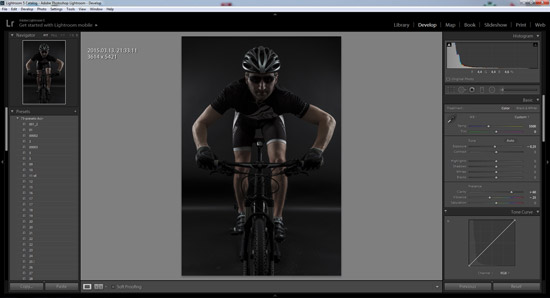
First step I did after imported this picture in LR5 I cropped it so I was confortable to edit it and there were as less obstructive elements in the shot as possible.
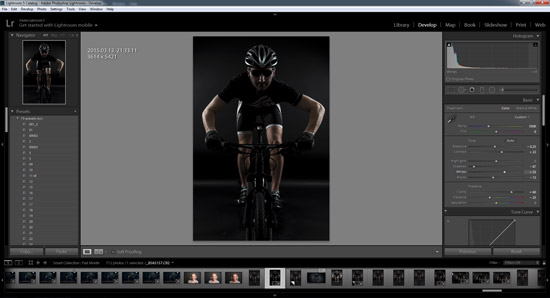
First LR editing
Second step I lower exposure, pulled up clarity and desaturate it a little bit.
Next step I Sharpened the image and put the Masking on sharpness by pressing Alt key so that the sharpening was effecting just little of my object. And also checked Remove Chromatic Aberration box ( I used to to that to all my images) I didn’t checked Enable profile correction because it would took of a vignetting an make picture brighter.
vignetting and brightening
After those steps I just played with Highlight, shadow, white, black and contrast sliders. My aim was to make it a little bit contrasty and darker.
Final tweaks – adding contrast and darkening
And that was basically all I did in LR5. In reality I experimented with settings, and those were the settings with what I came accross in the end.
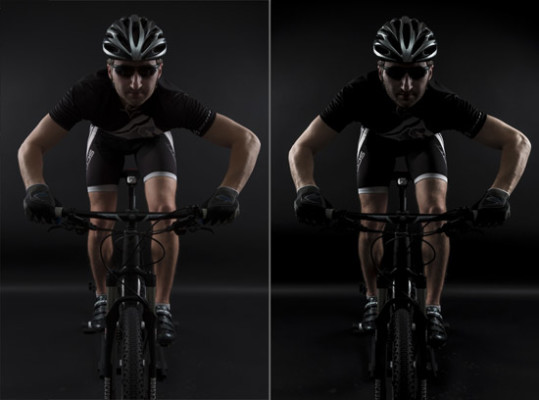
Before/ After (LR5)
Moving on andediting ehe image in CS6
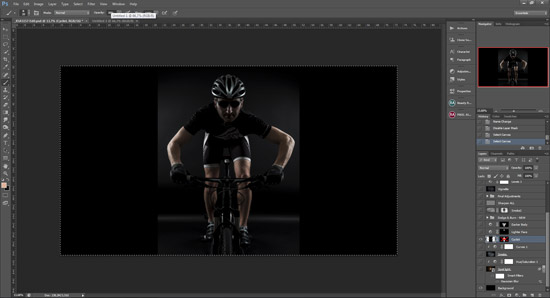
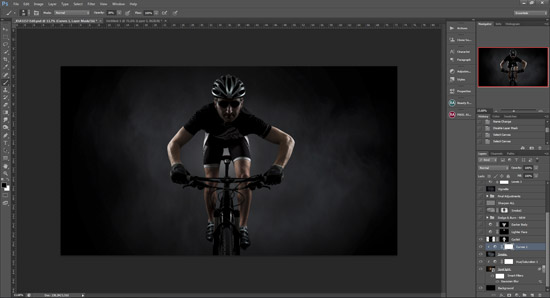
After I did my basic adjustmets in LR5 I opened the image in CS6.
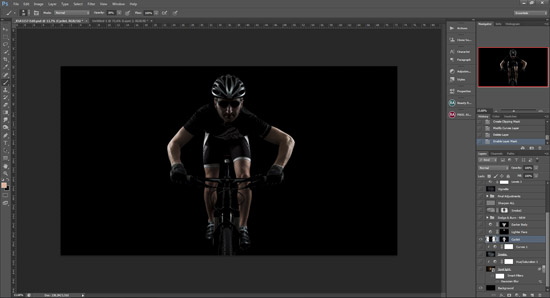
First thing I wanted to do is expand the canvas size. So I expanded the canvas size and put the layer below the picture and filled it with solid black color. So I got Two layers Background and Cyclist
canvas size solid black
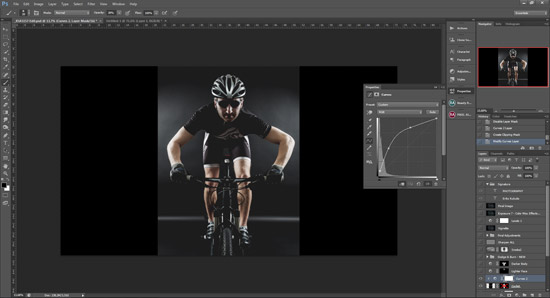
Next thing I needed to do is make a cut out of my object ( so I can add spot light and some texture on the background behind my object). As you see the image pretty dark and in some areas there’s hard to see where to make cut out. So I made Curves adjustment layer above my cyclist layer and made a cliping mask so that the adjustments I made to the curves layer were affected only on cyclist layer. To make clipping mask just click on curves layer, hold down the Alt key and click between Cyclist and Curves layer. After that just make your image brighter by adjusting Curves layer so you could make better cut out.
As that is done you can start to make cut out. There a lot of ways how to do it. I used pencil tool and paint brush. Just try to make good, clear cut out. And after you have done it you can delete curves adjutment layer. In the end it should look something like that.
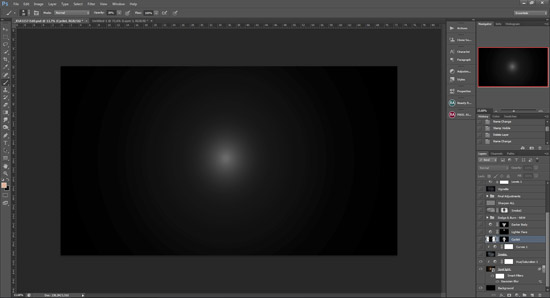
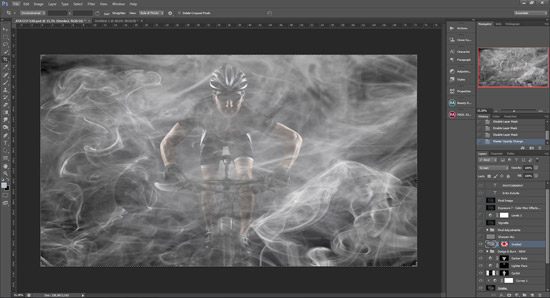
Next thing is to add spot light behind the subject and add some texture to it.
There are also lot of ways how to add spotlight I used PS plugin (Red Giant Software- knoll light factory). I added spotlight and desaturate it by using Hue/sat adjustment layer as clipping mask to spot light. I also converted this spotligt layer to smart object so I could edited it any time I want.
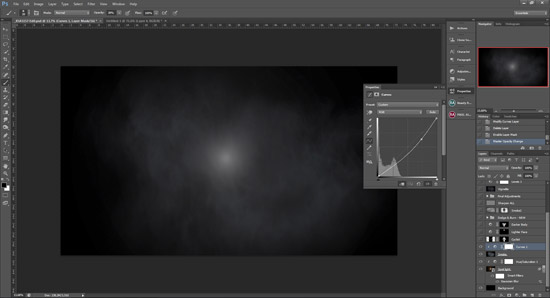
For the texture I used smoke picture. I just used picture that I found on internet. White smoke on black background. I put the smoke layer above Spotlight layer and below Cyclist layer. Set the layer blend mode to screen and lowered opacity to 55. Also used Curves adjustment layer as clipping mask to make the smoke a bit darker.
So it should look something like this now:
Next thing I done was just some minor adjustment- brightened the face a little bit and darkened the body. Just made two Curves adjustment layers- one brighter, one darker. Put mask on them, inverted the mask and with soft brush on low opacity revealed the parts I wanted to be affected.
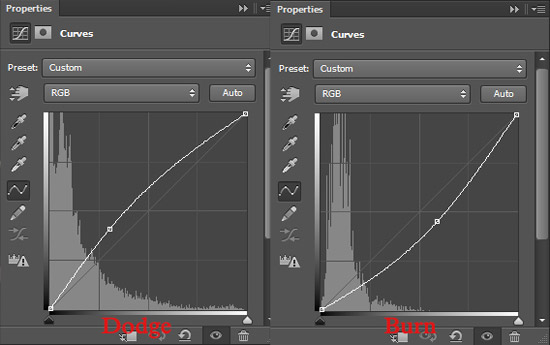
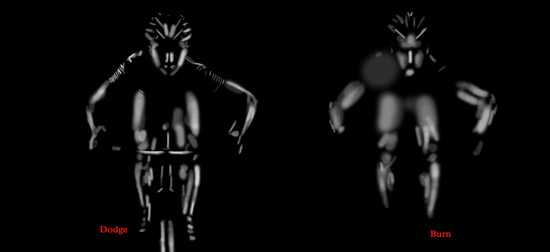
Next thing Dodge and Burn. There are lot of ways how to D&B. They all wor well, but I prefer D&B with curves adjusment layers. One layer for Dodging one for Burning.
Just put the black mask on them. And the with soft white brush on low opacity just reveal the part you want (Bright parts dodge, dark parts Burn). I usualy use 5% opacity on skin on other things like clothes, bicycle aprox. 10% opacity. Here is the D&B mask:
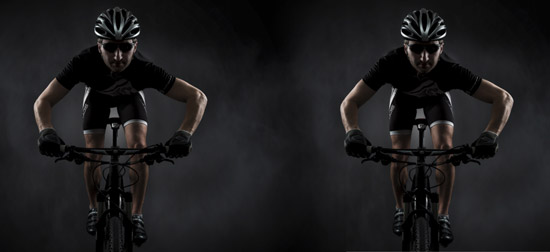
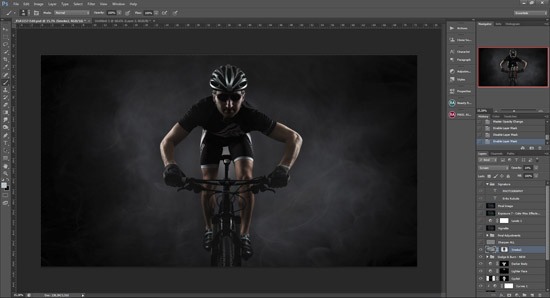
Next I wanted to add some texture in front of my object. So I again found some smoke picture (white smoke on black background) and put in front of cyclist and set blend mode to Screen
It was obious too strong, so I lowered the opacity to 14% and masked out areas with soft brush the parts (face, body, around the edges) where I didn’t want this texture was visible.
On this stage Iwas almost finished with my picture. I only had to make some final tweeks and adjustments. In this stage I’m starting to experiment.
First I sharpened the picture (I have an action for that) The action is basicaly puting Stamp visible layer (Ctrl+Shift+Alt+E), change blend mode to overlay and put on High pass filter.
Next I desaturate Image a little more. I put Hue/saturation layer on and lowered saturation to -15
Next I wanted to blend my object a little better with my background, so I created solid color background layer. Filled it with dark blue color (0f121d), put the blend mode to color and lower the opacity to 10%
Nest step I put two Color Lookup layers (I usualy do this, just going through all presets and just look what is good for typical Image). For this Image I chose Bleach Bypass.look and TealOrangePlusContrast.look. And I lowered the opacity for both layers to 20%
Next I created Vignette. I just went in Lens Correction filter. Choose Custom and played with Vignette sliders (amount and midpoint)
Next I added a little more contrast with Levels layer
And For Final adjustment I used Alienskin exposure 7 Plugin. Ijust used one of Cinema presets. And lowered opacity for this layer to 21%