As photographers, we always strive to capture the perfect shot, especially when it comes to sunset photography. There’s something magical about the golden hour, the time just after sunrise or before sunset when the light is warm, soft, and perfect for capturing stunning shots.
In this article, we will delve into the secrets of golden hour photography and provide you with invaluable tips to help you capture breathtaking sunset shots like a professional. From understanding the unique qualities of natural light during this time to mastering exposure and composition techniques, we’ve got you covered.
Key Takeaways
- Golden hour is the perfect time to capture stunning sunset shots
- Understanding natural light and atmospheric conditions is essential for successful golden hour photography
- Proper planning, including equipment selection and location scouting, is crucial for making the most out of the golden hour
- Mastering exposure, composition, and color techniques can elevate your sunset shots to the next level
- Capturing silhouettes and reflections can add unique elements to your sunset photographs
Understanding Golden Hour
Before we delve into the tips for capturing the perfect sunset shot, let’s understand what the golden hour is and why it is so magical.
The golden hour refers to the period just after sunrise or before sunset when the natural light is soft, warm, and diffused. This time of day is favored by photographers because it creates a stunning golden glow on everything it touches. The light during the golden hour is perfect for capturing images with vibrant colors, long shadows, and a dreamy quality.
During the golden hour, the sun is closer to the horizon, and the atmosphere scatters the light, creating a soft and even illumination. The light also has a warmer cast, giving the environment a cozy and romantic feel. Because of these atmospheric conditions, the golden hour is an ideal time to capture stunning sunset shots.
Natural Light during Golden Hour
The natural light during the golden hour has unique qualities that make it ideal for photography. The warm hue of the light creates a pleasant and inviting atmosphere that adds a magical quality to the environment. The light is also directional, creating long shadows and depth in the images.
Shadows during the golden hour are longer and softer than at other times of day, providing an opportunity to play with light and shadow creatively. You can use the warm light to create depth in your images, adding dimension and intrigue.
Atmospheric Conditions during Golden Hour
The atmospheric conditions during the golden hour are essential in creating a magical ambiance. The combination of warm light, long shadows, and a dreamy quality creates an enchanting atmosphere, ideal for photography.
The atmospheric conditions during the golden hour also influence the colors in your images. The warm light enhances the colors’ vibrancy, making them more vivid and intense. The soft and diffused light also helps prevent harsh shadows and overexposure, resulting in a balanced and well-exposed image.
Understanding the unique qualities of natural light and atmospheric conditions during the golden hour is crucial in capturing stunning sunset shots. Now that you know what makes the golden hour so magical let’s move on to planning your shoot.
Planning Your Shoot
Preparing for your sunset shoot during the golden hour requires proper planning. To ensure you get the best results, you need to consider various aspects like photography equipment, location scouting, and weather conditions. Below are some tips to help you plan your shoot like a pro.
Photography Equipment
Make sure you have the right photography equipment. A high-quality camera with manual mode capabilities and a tripod are essential for capturing stunning sunset shots. You may also want to consider carrying extra batteries and memory cards to avoid being caught off guard.
Location Scouting
Scouting for the perfect location is crucial for capturing stunning sunset shots. Look for a vantage point with an unobstructed view of the horizon and interesting foreground elements. You can also use photography location apps like PhotoPills and The Photographer’s Ephemeris to help you find the best location.
If you want to capture different perspectives and angles, consider moving around your location. Take some photos from high angles, low angles, and different positions. This can give you a variety of shots to choose from during post-processing.
Weather Conditions
Weather conditions play a significant role in capturing stunning sunset shots. Check the weather forecast for the day and make sure to go out on a clear day or when there are interesting cloud formations that can add to the beauty of your shots.
However, don’t be afraid to shoot when the weather conditions are not ideal. Cloudy skies can also produce beautiful and dramatic sunset shots. You can also experiment with long exposures to capture movement in the clouds and water.
Remember, being prepared is crucial to ensure success when shooting during the golden hour. Take some time to plan your shoot, scout for the perfect location, and consider the weather conditions. With the right preparation, you can capture stunning sunset shots that will leave everyone in awe.
Mastering Exposure
Exposure is the amount of light that enters the camera and affects the brightness of the image. Proper exposure is crucial for capturing stunning sunset shots during the golden hour.
There are various exposure settings you can use to achieve the desired results. For instance, by adjusting the aperture, you can create a shallow depth of field and blur the background. To capture more details in the shot, increasing the shutter speed can be a great option. However, slower shutter speeds can also create a motion blur effect, adding artistic elements to the photograph.
One of the challenges of shooting during the golden hour is managing dynamic range. Dynamic range is the difference between the brightest and darkest areas in the image. During sunset, the sky tends to be much brighter than the foreground, making it difficult to capture details in both areas without overexposing or underexposing one of them.
| Tip | Description |
|---|---|
| Use exposure compensation | To balance the dynamic range, you can use the exposure compensation feature on your camera. By adjusting it to a negative value, you can ensure that the foreground is not underexposed while still capturing the vibrant colors of the sky. |
| Experiment with metering modes | Your camera has different metering modes, such as center-weighted or spot metering. These modes measure the amount of light in specific areas of the frame, allowing you to adjust the exposure accordingly. Experiment with different modes to find the one that works best for your composition. |
| Shoot in RAW | Shooting in RAW format gives you more flexibility during post-processing. You can recover details in the shadows and highlights that would otherwise be lost in a JPEG file. |
By mastering exposure settings, metering, and dynamic range, you can capture breathtaking sunset shots during the golden hour.
Composition Techniques
Composition is an essential element in capturing stunning sunset shots. A well-composed photograph can make all the difference in creating an impactful image. Here are some effective composition techniques to add depth and interest to your sunset photographs:
Rule of Thirds
The rule of thirds is a basic but powerful composition technique. The idea is to divide your frame into nine equal parts by creating two horizontal and two vertical lines. Place your subject at one of the intersection points, and you’ll create a sense of balance and harmony within your photograph.
Leading Lines
Leading lines are lines that naturally draw the viewer’s eye to the focal point of the photograph. They could be anything from a road to a fence or a shoreline. Using leading lines in your sunset shots not only helps to focus attention on the main subject but also adds depth and creates a sense of movement.
Foreground Interest
Incorporating foreground interest is an excellent way to add depth to your sunset shots. Placing an object in the foreground creates a sense of scale and can also draw the viewer’s eye towards the main subject. Experiment with different objects or elements such as rocks, flowers, or even people to create a visually stunning image.
Working with Colors
The golden hour is a magical time when the world is bathed in warm, vibrant colors. To truly capture the beauty of this time, it’s important to understand color temperature and white balance. Color temperature refers to the warmth or coolness of a color, while white balance is the process of removing unrealistic color casts from an image.
To enhance the vibrant colors of your sunset shots, adjust your white balance settings to match the atmospheric conditions of the golden hour. For example, if the sky is particularly orange or pink, adjust your white balance towards the blue end of the spectrum to counterbalance the warm colors. This will make the oranges and pinks appear even more vibrant.
Using a polarizing filter can also help to deepen the colors in your sunset shots. This filter works by reducing glare and increasing contrast, providing a more saturated and intense look to your photographs. However, be careful not to overdo it, as the colors can become too intense and unnatural.
Color Temperature
Color temperature is measured in degrees Kelvin and ranges from warm (2500K-4000K) to neutral (4000K-5000K) to cool (5000K-10,000K). During the golden hour, the color temperature is typically warm, ranging from 2500K-3500K. Adjusting your white balance to the lower end of the spectrum, towards the blue end, will intensify the warm oranges, pinks, and reds.
| Color Temperature (degrees Kelvin) | Color Appearance |
|---|---|
| 2500K-3500K | Warm (orange, pink, red) |
| 4000K-5000K | Neutral (white, gray) |
| 5000K-10,000K | Cool (blue, violet) |
Polarizing Filters
Polarizing filters are a great tool for deepening the colors and reducing glare in your sunset shots. This filter works by blocking out certain light waves and only allowing light at certain angles to enter the lens. This results in a more saturated and intense look to your photographs. However, be mindful not to overuse this filter, as it can result in an unnatural look to your images.
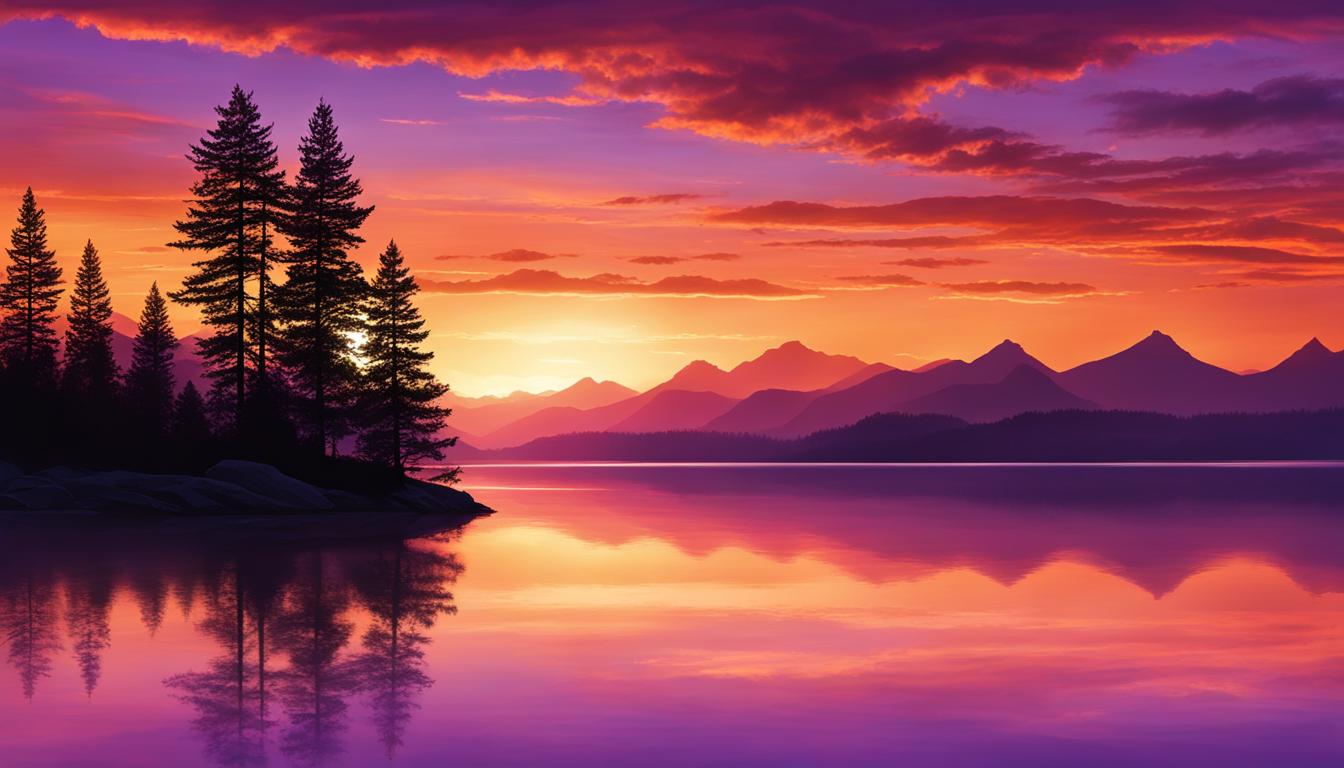
Capturing Silhouettes and Reflections
Sunset shots provide an excellent opportunity to get creative with photography by capturing captivating silhouettes and reflections. By incorporating these elements into your images, you can add depth and interest to your sunset photographs.
Silhouettes
Silhouettes are a striking way to capture the drama of a sunset. To create a silhouette, position your subject in front of the sun so that it is backlit. Ensure that your camera’s exposure is set for the bright background, which will cause your subject to appear as a dark, shapeless figure against the colorful sky. Try experimenting with different subjects, such as people, trees, or animals, to create dynamic and unique silhouettes.
Reflections
Reflections can add an extra dimension to your sunset shots. Look for reflective surfaces, such as water or glass, to capture the colors of the sunset and their reflections. Position yourself and your camera to capture the reflection in an interesting and creative way. You can also use reflections to create symmetry and patterns in your photographs.
“Reflections can add depth and interest to your sunset photographs, creating an entirely new story with the addition of a mirror-like surface.”
With the addition of silhouettes and reflections, your sunset shots can become truly captivating and unique. So, grab your camera and experiment with creative photography during the golden hour!
Post-Processing Tips
Once you have captured the beauty of the golden hour, post-processing can further enhance your sunset shots and make them stand out. Here are some post-processing tips to enhance your sunset photos:
- Choose the right editing software: Select the editing software that best suits your needs. Adobe Lightroom and Photoshop are excellent options for advanced editing, while Snapseed and VSCO are great mobile apps for on-the-go editing.
- Enhance the sunset: Use tools like saturation, vibrance, and clarity to enhance the colors and details of the sunset. However, use these tools sparingly, as too much editing can make the photo look unnatural.
- Adjust the brightness and contrast: Brighten up the shadows and increase the contrast to add depth to your sunset shots. Keep the adjustments subtle, as too much contrast can lead to loss of detail and a flat-looking image.
Remember, editing is an art form, and there are no right or wrong ways to do it. Experiment with different editing techniques and make artistic choices that suit your style. However, be careful not to over-edit and lose the natural beauty of the sunset shot.
| Before | After |
|---|---|
The difference between the before and after images is quite noticeable. The edited photo has more vibrant colors and increased contrast, making the sunset more appealing and captivating to the viewer.
Conclusion
Now that you have all the tips and tricks up your sleeve, you are well on your way to capturing stunning sunset shots during the golden hour. Remember to plan ahead, choose the right equipment, and experiment with techniques to create captivating compositions.
Don’t be afraid to try new things and unleash your creativity. The beauty of photography is that it is an art form, and there are no hard and fast rules. So go out there, have fun, and capture some magical moments!
FAQ
What is the golden hour?
The golden hour refers to the period shortly after sunrise or before sunset when the lighting conditions are ideal for photography. The sun is low in the sky, creating a warm and soft light that adds a magical touch to your photos.
Why is the golden hour the best time for capturing sunset shots?
During the golden hour, the natural light is diffused, creating a beautiful and even illumination. The colors in the sky are more vibrant, and the atmosphere has a dreamy quality that adds a sense of enchantment to your sunset shots.
What photography equipment should I use during the golden hour?
When shooting during the golden hour, it’s recommended to use a tripod to stabilize your camera and a wide-angle lens to capture the expansive scenery. Additionally, you may want to consider using a polarizing filter to reduce glare and enhance the colors.
How can I scout for the perfect location for my golden hour shoot?
To find the ideal location for your golden hour shoot, look for areas with interesting elements such as water bodies, hills, or cityscapes that can add depth and interest to your photographs. Scout the location in advance and take note of the potential compositions you can frame during the golden hour.
How do I handle the challenges of dynamic range during the golden hour?
Shooting during the golden hour can present challenges, especially when it comes to managing the dynamic range between the bright sky and darker foreground. To overcome this, you can use exposure bracketing or utilize post-processing techniques like HDR to capture a wider range of tones.
What composition techniques work well for sunset shots?
To create visually appealing sunset shots, consider using the rule of thirds to place your subject off-center, incorporating leading lines to lead the viewer’s eye into the frame, and adding foreground interest to add depth and create a sense of scale.
How can I enhance the vibrant colors of the golden hour during post-processing?
During post-processing, you can enhance the warm and vibrant colors of the golden hour by adjusting the white balance to retain the natural hues, increasing the saturation and vibrance, and selectively enhancing the colors using tools like the gradient filter or adjustment layers.
How can I capture striking silhouettes and reflections during the golden hour?
To capture captivating silhouettes against the colorful sky, expose for the brighter background and position your subject in front of the light source. To utilize reflections, look for reflective surfaces like water bodies or glass windows that can add interesting elements and enhance the overall composition of your photos.
What post-processing tips can help enhance my sunset shots?
During post-processing, you can use editing software to adjust the exposure, contrast, and colors. Additionally, you can experiment with different artistic choices like adding vignettes, enhancing specific elements, or applying creative filters to create impactful and stunning final images.


