Are you a school photographer searching for ways to capture perfect yearbook photos and portraits? Then our comprehensive school photography checklist guide is just what you need! With this guide, we’ll equip you with all the information you need to create stunning school photos that capture the essence of your subjects. From equipment and settings to posing and composition, we’ve got you covered.
With this checklist, you’ll be able to ensure that you don’t miss any details while capturing those precious moments. Whether you’re a seasoned school photographer or just starting, our guide will provide you with valuable insights and tips to take your school photography skills to the next level.
Key Takeaways:
- Our school photography checklist covers all the essential elements you need to consider while capturing yearbook photos and portraits.
- The right equipment, correct lighting techniques and suitable composition can make all the difference in creating visually appealing images.
- Posing students can be easier when you make them feel comfortable and confident in front of the camera.
- Proper editing and retouching can enhance your school photos and make them look professional.
- Following this checklist will ensure that you capture all the details that make every school photo special.
Choosing the Right Equipment
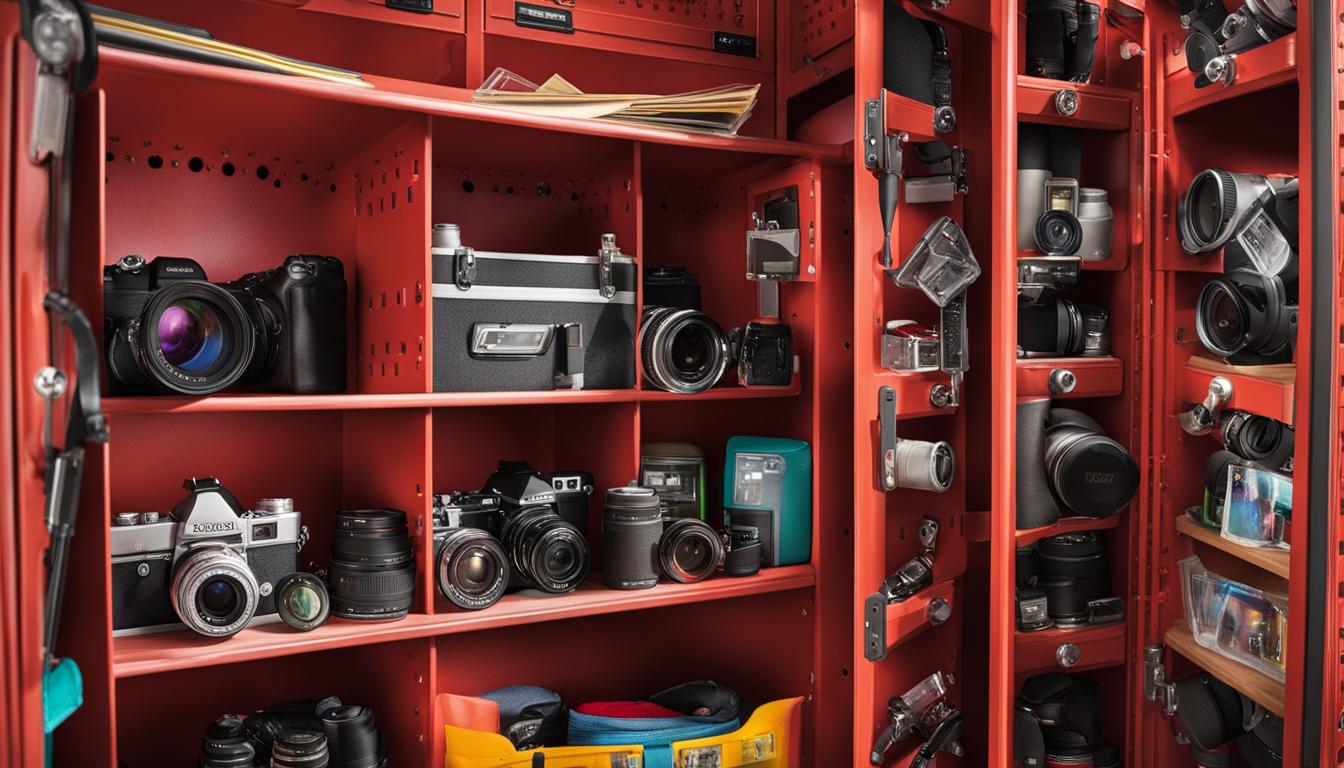
Before capturing memorable school photos, you need to have top-performing school photography equipment, including the right camera, lenses, and tripod. The quality of your gear will determine the outcome of your final photos.
When selecting a camera for school photography, some essential factors to consider are the sensor size, image quality, and resolution. Look for a camera with a high resolution to capture minute details, ensuring excellent photo quality.
Investing in high-quality lenses can make all the difference in your school photos. Our recommended lenses for school photography include prime lenses for portrait photos and zoom lenses for group shots. Prime lenses have wider apertures, which enable you to capture better portraits with a blurred background.
A tripod is a must-have accessory for school photography, especially when using slow shutter speeds. A stable tripod will help you maintain sharp focus and eliminate shaky images. When selecting a tripod, choose one with a sturdy build, lightweight design, and adjustable height.
Camera Features to Consider:
- Sensor size
- Image quality
- Resolution
- ISO range
- Burst mode
- Video recording capability
Lenses to Consider:
- Canon EF 50mm f/1.8 STM Lens
- Nikon 50mm f/1.8G AF-S NIKKOR Lens
- Sony 50mm f/1.8 OSS
- Canon EF 85mm f/1.8 USM Lens
- Nikon 85mm f/1.8G AF-S NIKKOR Lens
- Sony 85mm f/1.8 FE Lens
- Tamron SP 70-200mm f/2.8 Di VC USD G2
- Sigma 70-200mm f/2.8 DG OS HSM Sports Lens Nikon F
These camera and lens recommendations, among others, are suitable for school photography. The ideal school photography equipment should suit your individual needs and style. This way, you’ll be prepared to capture stunning photos every time!
Understanding Lighting Techniques
Lighting is a vital aspect of school photography, and it can make or break your shots. Whether you’re working with natural or studio lighting, understanding the basic techniques is crucial.
Firstly, let’s discuss natural light. It’s an excellent option for outdoor school photographs. Position your subject in a shaded area, so they’re not directly under the sun. This will prevent harsh shadows and overexposure. Also, try to take photos during the golden hour, just after sunrise or before sunset, when the light is softer and warmer.
When it comes to studio lighting, you have complete control over the lighting environment. A basic setup includes at least two softbox lights placed at a 45-degree angle to the subject. Alternatively, you could use a single light with a reflective umbrella that diffuses the light and softens the shadows.
Properly exposed shots go hand in hand with lighting, so ensure that your camera settings match your lighting. For natural light photography, a higher ISO will likely be necessary for well-exposed photos. When using studio lighting, adjust your aperture and shutter speed accordingly.
Natural Light Techniques:
- Position your subject in a shaded area
- Use the golden hour
Studio Lighting Techniques:
- Use softbox lights
- Consider reflective umbrellas
Preparing the School Environment
Choosing the right background, set design, and props can greatly enhance your school photoshoot. A well-designed environment can make your subjects feel more comfortable and improve the overall quality of your photos. Here are some tips for selecting the perfect school photography background:
- Consider the theme: Think about the style and atmosphere you want to create in your photos. Do you want a traditional, formal backdrop, or something fun and playful? The background should complement the subject and the purpose of the photo.
- Use natural settings: Taking photos outdoors or in natural settings can provide exciting and unique backgrounds. Look for areas on school grounds that have interesting textures or appear aesthetically pleasing.
- Design sets: Create a custom set that matches the theme and vibe of your photoshoot. Adding decorations and props such as banners and balloons can create a fun and festive atmosphere.
- Careful use of props: Props are a great way to add visual interest to a photo, but be careful not to overdo it. Select props that match the theme and enhance the subject, without taking too much attention away from the person being photographed.
When designing your school photography background and set design, it’s important to keep your subjects in mind. It’s essential to select elements that will complement the subjects and make them feel comfortable. By carefully selecting your background, creating custom sets, and adding thoughtful props, you can achieve stunning school photos that your subjects will love.
Posing and Directing Students
Capturing perfect school photographs goes beyond just having the right equipment. Posing and directing students is essential for creating memorable images that capture their unique personalities. Whether you’re working with a large group or an individual, proper posing techniques can make all the difference.
When taking group photos, start by placing the tallest students in the back row and the shortest ones in the front. This creates a visually balanced composition. Have them tilt their heads slightly towards each other, creating a sense of unity.
When working with individuals, provide them with clear instructions on how to pose. Encourage them to relax and be themselves. Use props and other elements to add interest and bring out their personality. Remember to capture natural expressions that showcase their character.
By following these posing techniques, you’ll be able to create stunning group photos and individual portraits that truly capture the essence of your subjects.
Composition and Framing Tips
Great school photography is more than just pressing the camera button. Composition and framing are two essential elements that can elevate your school photos to the next level. First, let’s talk about composition. The way your subjects are positioned and arranged in your photo can make or break the entire visual story you’re trying to tell and convey your emotions.
One of the best school photography composition tips is to use the rule of thirds. This technique involves dividing your photo into thirds horizontally and vertically and placing the subject at the intersection of those lines. Doing so allows you to place emphasis on your subject and create visual tension that stimulates curiosity and interest in the viewer’s eyes.
Another essential technique to consider is leading lines. These are lines in your photo that lead the viewer’s eye to the subject of the image, creating depth and movement. Examples of leading lines can be paths, fences, or even a natural phenomenon like a row of trees. Try incorporating these lines into your school photos to guide the viewer’s eye and create a more engaging and dynamic composition.
In terms of framing, selecting the right angle and zoom can make a significant difference in the impact of your photo. Be mindful of how you want the viewer to perceive your subject and choose your framing accordingly. For instance, shooting from a lower angle can make the subject look more powerful, while a higher perspective can evoke emotions of vulnerability or peacefulness.
Overall, taking into account these school photography composition and framing tips and techniques will add depth, emotion, and dimensionality to your images. Keep practicing and experimenting with the rule of thirds, leading lines, and framing, and you’ll soon be capturing stunning school photos that tell a unique and visual story!
Editing and Retouching School Photos
Once you have captured your school photos, it’s time to bring them to life through editing and retouching. These post-production techniques can take your images to the next level, making them stand out from the rest.
One of the most important editing techniques for school photography is color correction. It ensures that your images have accurate colors and tones, making them more vibrant and appealing. Many photo editing software options offer color correction tools, such as Adobe Lightroom, Photoshop, and Capture One.
Retouching is also an essential step in perfecting your school photos. This technique involves removing blemishes, adjusting skin tone, reducing shine, sharpening details, and more. By retouching your images, you can ensure that every aspect of the photo is flawless and looks its best. Popular software for retouching includes PortraitPro, GIMP, and Photoshop.
At first, editing and retouching can seem daunting, but there are plenty of step-by-step guides available to help you get started. By dedicating time to mastering these techniques, you can create professional-looking school photos that will impress anyone who sees them.

Edit your school photos with Adobe Lightroom
If you’re new to editing, Adobe Lightroom is an excellent software to start with. This program offers an array of editing tools, including color and tone adjustments and cropping. With Lightroom, you can make subtle changes or create dramatic transformations that will give your photos a unique style.
Retouch your school photos with PortraitPro
PortraitPro is a user-friendly photo editing software specifically designed for portrait retouching. It allows you to enhance skin texture and tone, adjust facial features, and more. With PortraitPro, you can achieve professional-looking results in just a few clicks, making it a popular choice for school photographers.
“The key to successful school photography is capturing and editing images that reflect the spirit and personality of your subjects. By mastering editing and retouching techniques, you can transform your school photos into timeless memories that will be cherished for years to come.”
Conclusion
By following the essential school photography checklist provided in this guide, you now have the knowledge and techniques required to capture stunning yearbook photos and portraits. With the right equipment, lighting techniques, preparation, posing, and composition, you can create images that will preserve precious school memories for years to come.
Remember that editing and retouching are crucial elements in enhancing your school photos. Experiment with different software and techniques to achieve professional results.
Planning and preparation are key to a successful school photoshoot. Ensure that you have the necessary equipment, lighting, and props, and prepare the environment to enhance the overall look of your school photos.
Posing and directing students can greatly impact the outcome of your school photos. Make students feel comfortable and relaxed in front of the camera to capture their genuine expressions.
Composition and framing are crucial elements in creating visually appealing and balanced school photos. Experiment with different techniques such as the rule of thirds and leading lines to elevate your images.
In conclusion, use this guide as a reference to create unforgettable yearbook photos and portraits. Remember to have fun and enjoy the process of capturing precious school memories.


