Time-lapse photography is a fascinating technique that captures time as a compressed sequence of images. By using a series of shots taken over an extended period, the technique allows us to see dynamic scenes unfolding in a matter of seconds or minutes. To help you enhance your time-lapse photography skills, we’ve created a comprehensive checklist for your reference. Whether you’re a professional or an amateur, this guide will provide you with all the necessary steps to make your time-lapse projects stand out.
Key Takeaways:
- Time-lapse photography captures time as a compressed sequence of images
- The checklist emphasizes the essential steps and considerations for creating stunning time-lapse footage
- Proper planning, location selection, equipment, and camera settings are crucial for achieving great time-lapse results
- Composition, timing, and subject matter play a vital role in making your time-lapse sequences visually appealing
- Monitoring your progress during the shooting process is critical for ensuring your sequence turns out as expected
Planning and Location
Proper planning and location scouting should be the first steps when embarking on a time-lapse project. Choosing the right environment for your shoot can make all the difference in terms of the quality of your footage.
When selecting a location, you should consider the lighting conditions during the shoot. Natural lighting is the ideal choice because it changes gradually, providing the perfect cadence for time-lapse photography. For indoor shoots, it’s advised to shoot during the day while the sun is still up to have access to natural light.
The subject matter of your shoot should also influence your choice of location. Choose a scenery that interests you to produce motivating footage, while also taking into account any potential obstacles or challenges that may interfere with your shoot.
Avoid locations where the sun might interfere with the camera, also mind the weather conditions, as changing to rain might damage your equipment.
Next, scout the area to find the perfect angle and positioning for your equipment. Consider the direction of your subject’s motion, the viewpoint that best emphasizes the movement, and the potential framing options.
Equipment and Settings
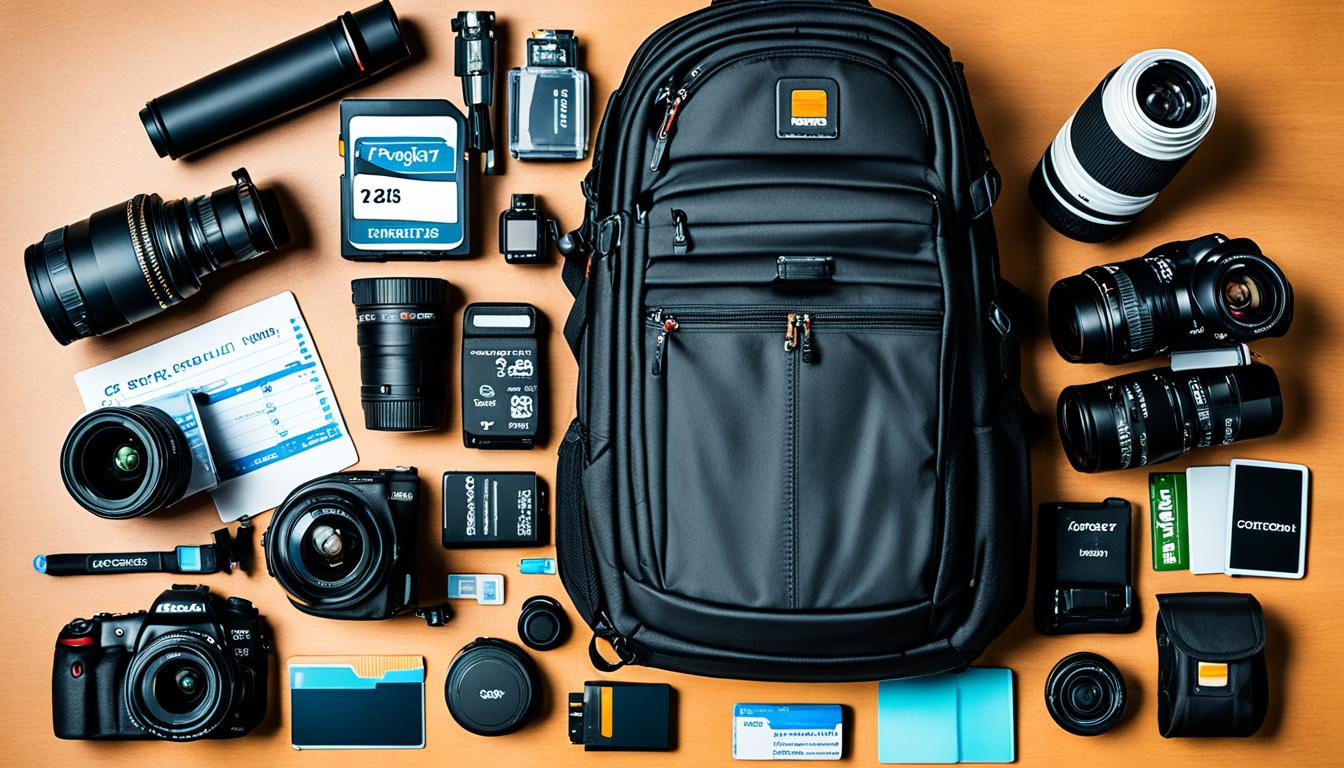
As we discussed earlier, having the right equipment is crucial in capturing incredible time-lapse footage. To get started, you’ll need to gather a few key tools that will help you achieve the best possible results. Firstly, a sturdy tripod is essential for keeping your camera steady throughout the shoot. This will prevent any unwanted camera movements that can ruin your footage.
Next, you’ll need an intervalometer. This device allows you to set the time intervals between each shot, ensuring that you capture your desired sequence. You’ll also need to make sure you have the right lens choices for your subject matter, whether it’s a wide-angle lens, telephoto lens, or a prime lens.
“By investing in high-quality equipment, you’ll create a time-lapse sequence that stands out and grabs your audience’s attention.”
In addition to the right equipment, understanding the necessary camera settings is equally important. For optimal exposure and smooth transitions between frames, we recommend shooting in manual mode with a low ISO and slow shutter speed. Using a small aperture setting also helps maintain a consistent depth of field throughout your footage. These settings may vary depending on your location and lighting conditions, so it’s important to test and adjust accordingly.
Composition and Framing
Creating stunning time-lapse sequences requires more than just capturing your subject’s movements. Proper composition and framing are essential in achieving visually appealing footage that captivates your audience. Here are some tips to help you compose your shots effectively:
The Rule of Thirds
The rule of thirds is a fundamental composition guideline that helps you create balanced and visually appealing shots. Divide your frame into a 3×3 grid and position your subject along the intersections of these lines to create an engaging composition.
Leading Lines
Leading lines are lines within an image that draw the viewer’s attention towards the subject. Incorporating leading lines into your time-lapse shots creates depth and dimensionality, making your footage more compelling and engaging. Position your subject along these lines to create an effective composition.
Interesting Perspectives
Experimenting with different perspectives gives your time-lapse footage a unique and captivating look. Try shooting from a low or high angle to add interest to your shots. Don’t be afraid to get creative and try new things to find the best perspective for your subject.
When framing your subject, consider the overall aesthetic and mood you want to convey. Think outside the box and don’t be afraid to take risks. Use these tips to create visually stunning time-lapse sequences that capture your viewers’ attention.
Interval and Duration
Determining the right interval and duration is essential in achieving the desired effect for your time-lapse photography. One of the key factors in selecting the correct interval is the speed of your subject’s motion. Faster-moving subjects may require shorter intervals, whereas slower subjects can be captured with longer intervals. Another important consideration is the total duration of your time-lapse sequence, which can be calculated by multiplying the interval length by the desired final playback time.
Using varying intervals and durations can also create different effects in your time-lapse sequences. For example, shorter intervals can create smoother and more fluid motion, while longer intervals can produce choppier and more static footage. Experimenting with different settings can help you achieve the desired effect for your specific project.

When determining the ideal interval and duration for your time-lapse captures, it’s essential to consider the factors mentioned above and to experiment with different settings until you achieve the desired results. With the right settings, you’ll be able to create stunning time-lapse footage that mesmerizes your audience.
Shooting and Monitoring
Now that you have planned and prepared everything for your time-lapse photography, it’s time to start shooting. To ensure the best result, you need to pay attention to your camera stability, exposure control, and composition adjustments during the shoot.
Firstly, camera stability is crucial when shooting time-lapse. To avoid blurry images, make sure to use a sturdy tripod or any other stabilizing device. This will also help maintain the desired framing and composition for your sequences.
Secondly, exposure control plays an important role in time-lapse photography. Setting the right exposure and aperture will help you achieve consistent and seamless transitions between frames. Keep an eye on the lighting conditions and adjust your settings accordingly. You can also use a neutral density filter to control the amount of light that enters your lens.
Lastly, composition adjustments can make or break your time-lapse sequence. As your subject moves or changes, adjust your framing and composition to capture the most interesting and dynamic shots possible. Keep in mind the compositional principles discussed in the previous section.
Throughout the shoot, make sure to monitor your progress and check the captured frames regularly. This way, you can identify any issues and make adjustments as needed. By carefully shooting and monitoring your progress, you’ll be well on your way to achieving stunning time-lapse footage.
Conclusion
Congratulations on completing your comprehensive time-lapse photography checklist! We hope that this guide has provided you with valuable insights and techniques to improve your time-lapse sequences. Remember, success in time-lapse photography requires careful planning, the right equipment, and creative composition. But most of all, it requires patience and a willingness to experiment and learn from your mistakes.
Don’t be afraid to explore new locations and subjects, try out different intervals and durations, and test out various compositions. With practice and persistence, you’ll be well on your way to capturing stunning time-lapse footage that amazes and inspires your audience.
Thank you for reading, and happy time-lapse shooting!


