If you’re looking to take stunning high dynamic range (HDR) photographs that stand out, then you’re in the right place. HDR photography has gained immense popularity among photographers in recent years, and for good reason. With its ability to capture a wide range of tones and colors, HDR photography can create stunning, lifelike images that are sure to impress.
In this section, we will introduce you to the essential HDR photography checklist—a set of steps that can help you capture breathtaking HDR photographs like a pro. From understanding the basics of HDR photography to choosing the right camera settings and post-processing your images, our checklist covers it all.
Key Takeaways:
- HDR photography allows you to capture a wide range of tones and colors.
- Following a structured checklist is crucial to capturing pro shots.
- Understanding the basics of HDR photography is essential.
- The right equipment and planning are key to capturing great HDR images.
- Effective post-processing can enhance your HDR photographs and elevate them to the next level.
Understanding HDR Photography
Before we dive into the checklist, it’s important to have a basic understanding of what HDR photography is. High Dynamic Range (HDR) photography is a technique used to capture a wider range of light in a single shot, resulting in a more detailed and realistic image. Unlike traditional photography, where the camera captures only one exposure level, HDR photography involves taking multiple photos of the same scene, each with a different exposure, and then combining them into one image.
This technique is popular among photographers who want to create images that better represent what the human eye sees in real life. HDR photography can be used to capture both indoor and outdoor scenes, and it’s especially helpful in high-contrast situations where the subjects have both bright and dark areas.
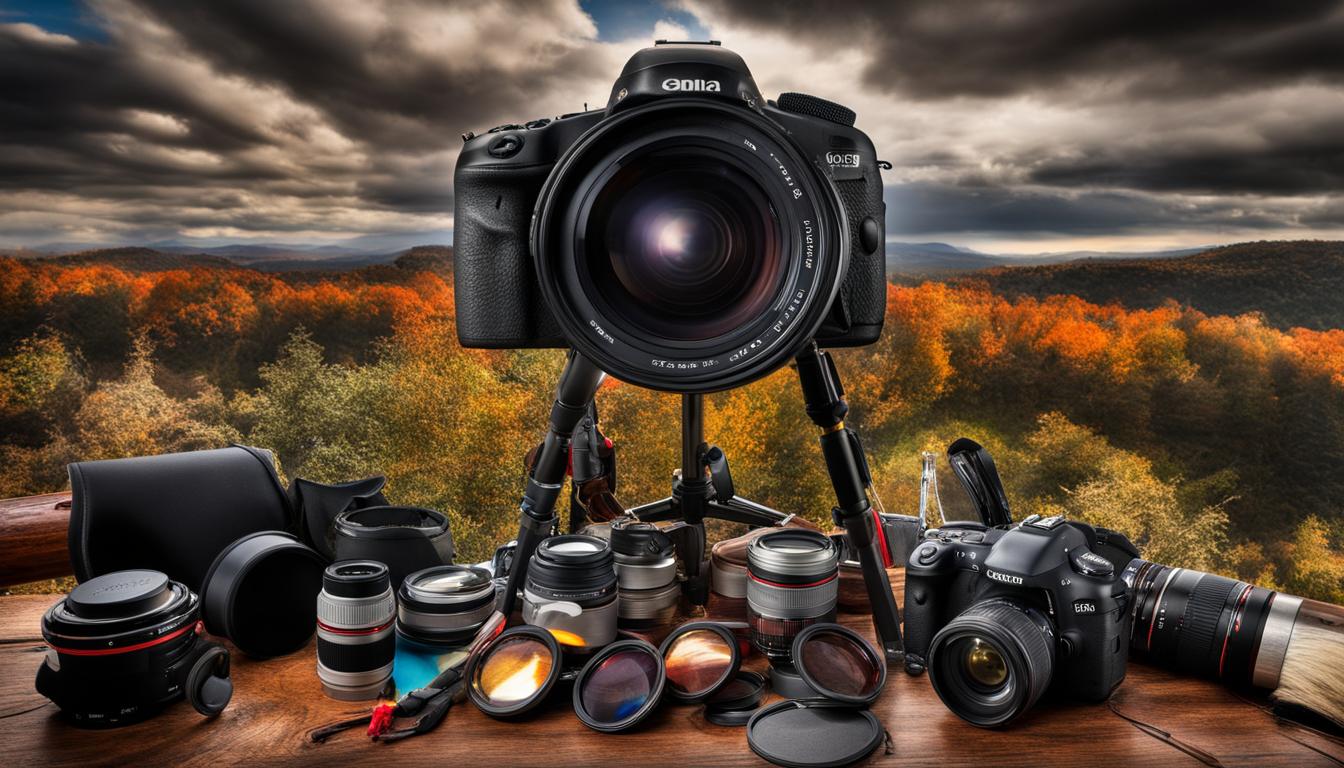
Equipment and Gear
High dynamic range photography requires the right equipment to make the most of the dynamic range in a scene. Let’s explore the essential gear you need for HDR photography.
Cameras
The best cameras for HDR photography are those with high dynamic range sensors, which allow for a wide range of exposure settings. Some popular options include:
- Nikon D850
- Canon EOS R5
- Sony A7R IV
Make sure to choose a camera that allows for manual control of exposure settings, as this will be crucial for capturing the multiple images needed for HDR photography.
Lenses
When it comes to lenses for HDR photography, there are two key factors to keep in mind: focal length and aperture. Wide-angle lenses are ideal for capturing a broader range of exposure values in a scene. Popular options include:
- Tamron SP 15-30mm f/2.8 Di VC USD G2
- Nikon 14-24mm f/2.8G ED
- Canon EF 11-24mm f/4L USM
Additionally, you will want to choose lenses with wider apertures to allow for more light to enter the camera, especially in low light situations.
Tripods
A stable tripod is essential for capturing sharp and aligned images when bracketing. Look for tripods that are sturdy, lightweight, and easy to set up. Popular options include:
- Manfrotto BeFree Advanced Travel Aluminum Tripod
- Gitzo GT5563GS Systematic Series 5 Systematic Giant Carbon Fiber Tripod
- Benro FGP18A SystemGo Plus Aluminum Tripod with Monopod Conversion
Camera Settings
Understanding and tweaking your camera settings is the key to capturing optimal HDR photos. Here are some important camera settings to keep in mind:
- Enable manual focus to avoid the camera automatically refocusing between shots
- Enable RAW format to capture more data and allow for better editing
- Use bracketing mode to capture multiple exposures with different shutter speeds
- Adjust ISO to avoid overexposure in bright areas and underexposure in dark areas
Proper equipment and camera settings are essential for capturing stunning high dynamic range images. Make sure to invest in the right gear and spend time learning how to work with it to maximize your HDR photography potential.
Planning the Shot
Before you start shooting HDR photographs, it’s essential to plan your shots to achieve the best results. First, pick the ideal location for your shoot based on your creative /en/hdr-photography-checklist HDR photography checklist (link this to the first section). Choose a scene with a range of light levels, such as a sunset landscape or a city skyline at night, that will result in a compelling HDR image. The right scene choice can make or break your shot.
Tip: When choosing your scene, be sure to imagine how the final HDR image will look. It’s always a good idea to scout the location ahead of time to find the best shooting angles.
Additionally, pay attention to lighting conditions. Avoid shooting during harsh midday sunlight, which can result in an overexposed image with flattened shadows and reduced contrast. Opt for either a soft, diffused light or dramatic light with strong shadows and highlights for a more natural and realistic HDR effect. By reaching optimal lighting in strategic times of the day for your shooting location, you can maximize the HDR technique potential.
Tip: Take advantage of the golden hour, the period during the hour after sunrise and before sunset. The lighting conditions can make for extraordinary color tones on images memorable moments.
Finally, prepare your equipment well in advance. Charge your batteries, clean your lenses, and ensure you have enough memory storage. Remember, capturing multiple bracketed shots for HDR photos take more space than regular photos.
Tip: Consider also bringing a remote shutter release to reduce camera shake, or using a tripod to make sure stillness during your shooting.
Capturing the Images
Now that you understand the basics of HDR photography and have the proper equipment, it’s time to start capturing your images. HDR photography techniques such as bracketing, exposure compensation, and using your camera’s auto exposure bracketing feature are all effective methods to capture stunning high dynamic range images.
Bracketing
Bracketing is one of the most popular HDR photography techniques. It involves capturing three or more images of the same scene with different exposure settings. The aim is to capture the image at different exposures – highlights that are not too bright, shadows that are not too dark, and capturing the mid-range tones with a perfect balance.

Exposure Compensation
Another HDR photography technique is exposure compensation. This method involves altering the exposure settings on your camera to capture the scene with a higher dynamic range. By increasing the exposure, the camera will capture highlights that are brighter and increasing the shutter speed can help in capturing more details from darker areas of the scene.
Auto Exposure Bracketing
Your camera may have an auto exposure bracketing (AEB) feature that can automatically capture multiple images of the same scene at different exposures. This can be particularly useful when taking shots in challenging lighting situations, or when you want to capture a wider dynamic range than your camera can do on its own.
Keep in mind that the best HDR photography techniques may vary depending on the shooting scenario. Experiment with different methods to determine which HDR photography techniques work best for you, and don’t be afraid to try new things!
Post-Processing HDR Images
Post-processing is a vital step in HDR photography. To bring out the full potential of your HDR images, you need to enhance the dynamic range, color tone, and overall visual impact. Several HDR software options are available in the market, such as Photomatix, Aurora HDR, and Adobe Lightroom, among others. Choose software that suits your specific needs and preferences.
When editing your HDR images, keep in mind that subtlety is key. Avoid going overboard with the editing process, which can lead to unrealistic and overworked images. Instead, aim to highlight the natural beauty of the scene. Use HDR image editing techniques such as tone-mapping, curves, and levels to edit your images effectively.
Remember, the goal of HDR image editing is to create a natural-looking image that closely resembles what you saw with your own eyes. Adding too much saturation or contrast can result in a final image that is unappealing and unnatural. Take it slow, experiment with various techniques, and find what works best for you to create stunning HDR images.
Top Tips for HDR Image Editing
- Take your time and experiment with various software.
- Pay attention to details, including noise, haloing, and artifacts.
- Avoid over-processing your images.
- Use subtle adjustments to enhance the overall visual impact.
- Always keep the original image as a reference point.
Conclusion
Now that you have learned about the essential HDR photography checklist, you’re ready to capture stunning high dynamic range images like a pro. Remember to understand the basics of HDR photography, use the right equipment and gear, plan your shots, capture the images using various techniques, and post-process your images effectively. By following these steps, you can elevate your photography skills and create breathtaking HDR images.
Whether you’re a professional photographer or an amateur, HDR photography is a fantastic way to add depth, detail, and drama to your images. So, start using this checklist and enjoy the process of creating stunning high dynamic range photographs.


