Do you want to capture stunning photographs during the blue hour? The blue hour is a magical time that offers a unique quality of light, but it takes careful planning and execution to get perfect shots. In this section, we will introduce the Blue Hour Photography Checklist, providing essential tips and techniques to make the most of this time and take your photography skills to new heights.
Key Takeaways:
- Proper planning is crucial for successful blue hour photography
- The right gear and equipment can make all the difference in capturing the perfect shots
- Composition and framing techniques can help you create compelling blue hour photographs
- Exposure techniques and settings need to be adjusted for low light conditions during the blue hour
- By following the Blue Hour Photography Checklist, you can enhance your chances of capturing stunning images
Understanding the Blue Hour
Have you ever heard photographers raving about the “Blue Hour” and wondered what it meant? Before diving into our Blue Hour Photography Checklist, let’s first explore what the Blue Hour actually is and why it’s so significant in photography.
The Blue Hour refers to the period of twilight that occurs right before sunrise or after sunset when the sun is just below the horizon, and the sky takes on a deep blue hue. This unique quality of light creates an otherworldly, almost dreamlike atmosphere that has captivated photographers for years.
During the Blue Hour, the natural light is soft, even, and diffused, casting a beautiful, gentle glow over everything it touches. This makes the Blue Hour highly sought after by photographers as it tends to produce striking, moody, and visually stunning shots.
While the Blue Hour only lasts for a short period, typically between 20 to 40 minutes, it’s a magical time that’s well worth experiencing and capturing through your lens. In the next section, we’ll cover how to properly plan and gear up for your Blue Hour photography shoot to ensure that you come away with the perfect shot.
Planning Your Blue Hour Shoot
Planning ahead is the key to successful blue hour photography. To ensure an enjoyable and productive shoot, consider the following tips:
- Check the weather: Before scheduling your shoot, check the weather conditions for the day. Overcast days can create moody and dramatic shots, while clear days are great for capturing vibrant skies.
- Scout locations: Scout various locations for potential shoot spots during the blue hour. Consider the background, foreground, and framing of your shots.
- Prepare your gear: Charge up your batteries, format your memory card, and set up your camera settings beforehand. Don’t forget to pack extra gear such as flashlights and a tripod.
- Arrive early: Arrive at the location early, ideally 30-45 minutes before the Blue Hour begins. This will give you ample time to set up your gear and scout the area further.
- Experiment: Don’t be afraid to experiment with different camera settings and angles. The blue hour is a magical time and can create some unique and beautiful shots.
“By planning your blue hour photography shoot, you can make the most out of the limited window of time and capture stunning images that showcase this magical time of day.”
Essential Gear for Blue Hour Photography
When it comes to photographing during the blue hour, having the right gear can make all the difference in capturing stunning shots. Below, we discuss the essential Blue Hour Photography Gear you will need for the perfect shot.
Camera
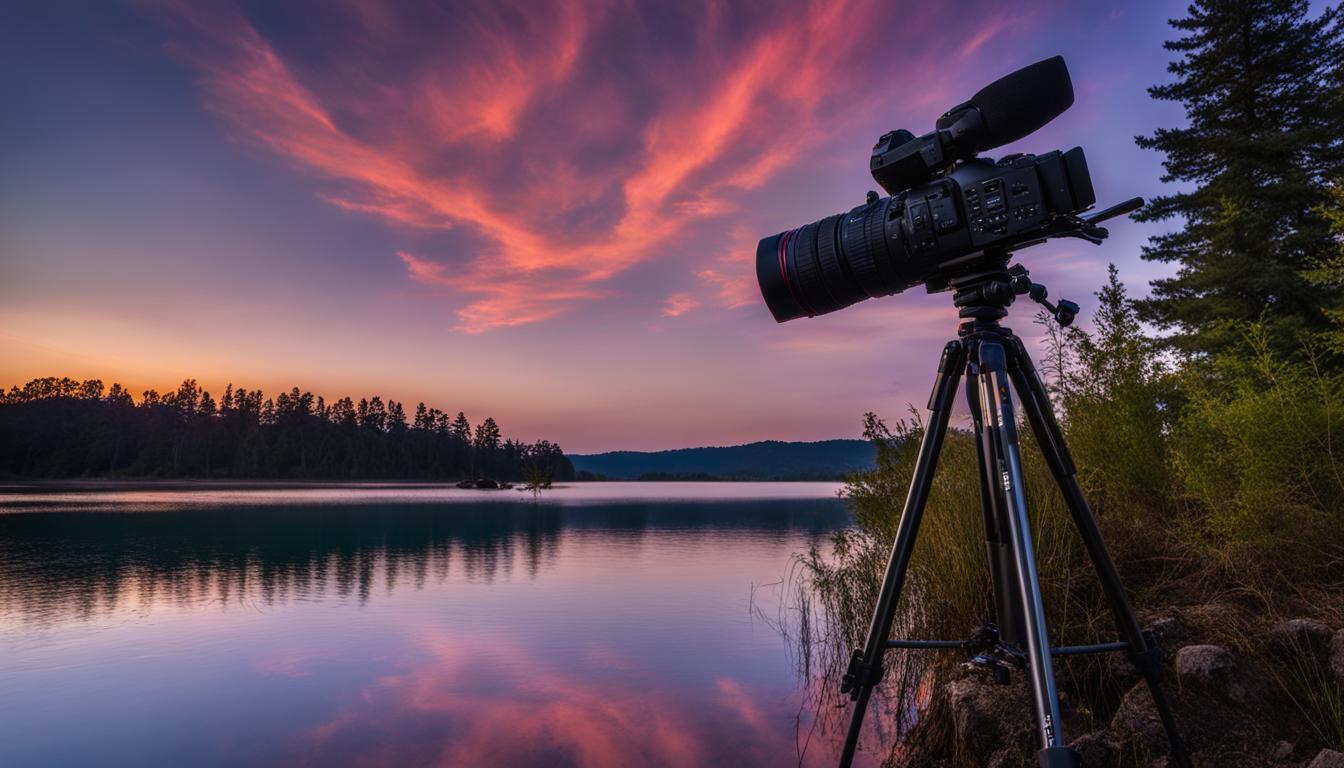
The type of camera you use for blue hour photography is not as important as ensuring it can handle low light conditions. A camera with a large sensor and high ISO capability is recommended. Consider using a tripod to stabilize your camera and reduce any potential camera shake.
Lenses
Wide-angle lenses and prime lenses with a wide aperture are excellent choices for blue hour photography. Additionally, telephoto lenses can help capture stunning shots of cityscapes and skylines at a distance. Experimenting with different lenses can help provide unique perspectives on your subject.
Filters
Filters are a valuable tool in blue hour photography, helping to control the light, minimize glare, and enhance the colors in an image. For the blue hour, consider using a polarizing filter to help manage reflections and a neutral density filter to reduce the amount of light and increase exposure times.
Flashlight
Another important piece of gear for blue hour photography is a flashlight. A flashlight can come in handy when illuminating your subject or the path to your camera in low light conditions. Additionally, it can help with focusing and adjusting camera settings.
With the right Blue Hour Photography Gear, you can capture stunning images during this magical time. Experiment with different equipment and techniques to find what works best for you, and remember to always have fun and get creative with your shots.
Composition and Framing Techniques
When capturing blue hour photography, composition is just as crucial as exposure and gear selection. Composition refers to the arrangement of visual elements in a photograph to convey a particular message or story. It can take a basic photo and transform it into a breathtaking image. In this section, we will explore different composition techniques that can enhance your blue hour shots.
Leading Lines
Leading lines are leading visual elements that guide the viewer’s eyes through the photograph. They create depth and a sense of movement in an image. Use leading lines to direct the viewer’s eye towards your subject or to create a sense of visual harmony.

Rule of Thirds
The rule of thirds is a fundamental composition technique that involves dividing the frame into a grid of nine equal parts. The four points where the lines intersect are known as the points of interest. Place your subject at one of these points to create a more dynamic composition.
Framing
Framing involves using objects within the scene to emphasize the subject and create a sense of depth. This can be achieved through natural frames such as trees, archways, or buildings or by positioning the subject within a frame created by the scene itself. Experiment with different framing techniques to add interest and dimension to your blue hour photographs.
By using these composition techniques and framing, you can create stunning blue hour shots with greater visual depth and interest. Keep in mind that these are just starting points, and you should always experiment and explore new ways to enhance your blue hour photography.
Mastering Exposure during the Blue Hour
Achieving optimal exposure during the blue hour can be challenging due to the limited light available. However, with the right techniques, you can capture properly exposed blue hour images that showcase the unique beauty of this time.
One crucial factor to consider is the white balance setting on your camera. Shooting in RAW and adjusting the white balance in post-production can also help achieve accurate colors.
Another important technique is to choose the correct aperture and shutter speed. Opening up your aperture to a wider setting can allow more light into the camera while keeping your shutter speed slow to capture more light.
To further enhance your exposure settings, try using a low ISO setting to reduce noise in your images. Additionally, consider using a tripod to keep your camera steady and avoid camera shake, leading to blurry photos.
With these exposure tips and tricks, you can master the art of blue hour photography and capture stunning images that showcase the unique beauty of this magical time.
Conclusion
Capturing the unique beauty of the blue hour requires proper planning, essential gear, and mastering the right photography techniques. We hope this Blue Hour Photography Checklist has provided you with the guidance you need to elevate your skills and capture perfect shots during this magical time. Remember to plan your shoot, use the right gear, apply composition and framing techniques, and master exposure settings to create stunning blue hour images. With these tips and techniques, you can take your photography skills to new heights and explore the beauty of the blue hour like never before!


