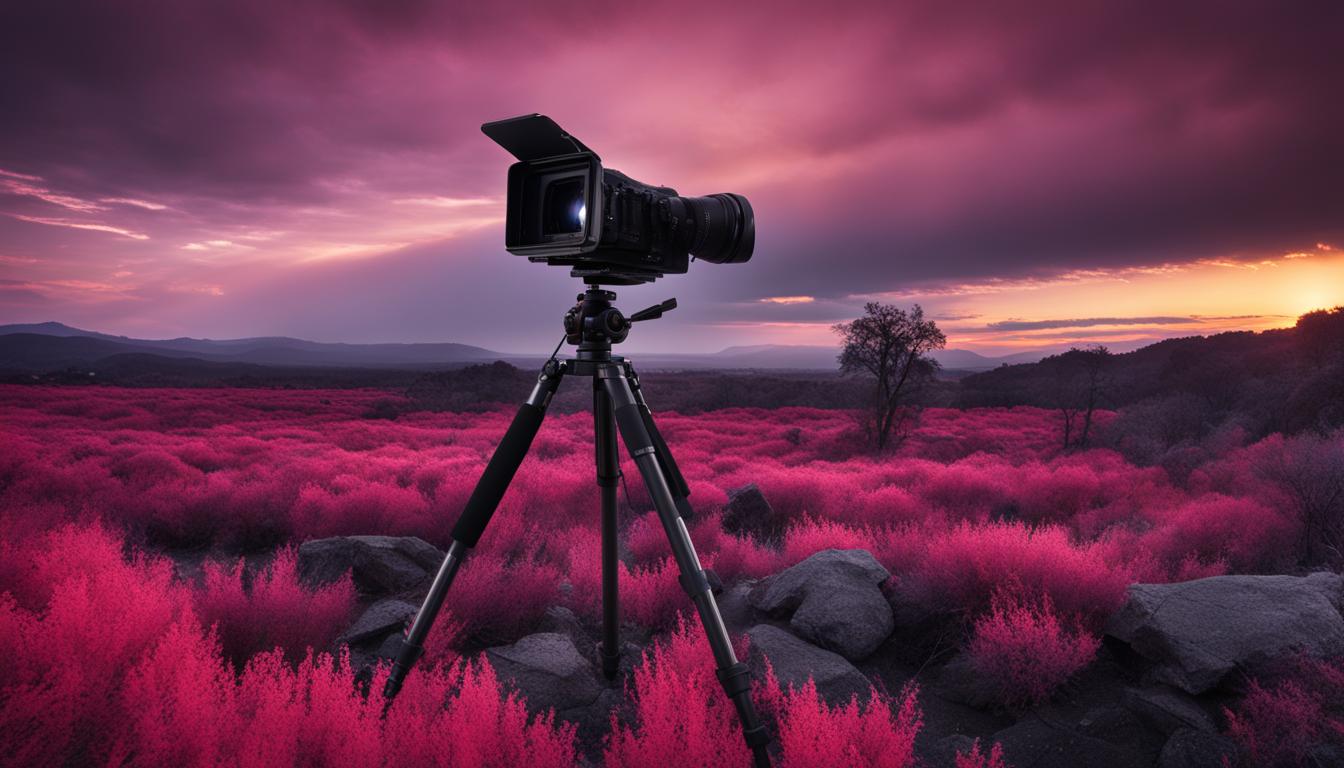
Are you interested in exploring the hidden beauty of the unseen world? Infrared photography might be just the thing for you. This unique technique captures images beyond the visible spectrum, revealing a world of colors and textures that are otherwise invisible to the naked eye. Whether you’re a seasoned photographer Continue Reading
Samuel M.
Hi,
My name is Moshe Samuel, I'm 38 from Israel, Married to Tami with two amazing photogenic kids Eitan&Naama!!! I'm writing here for the last 3 years and love it!!!
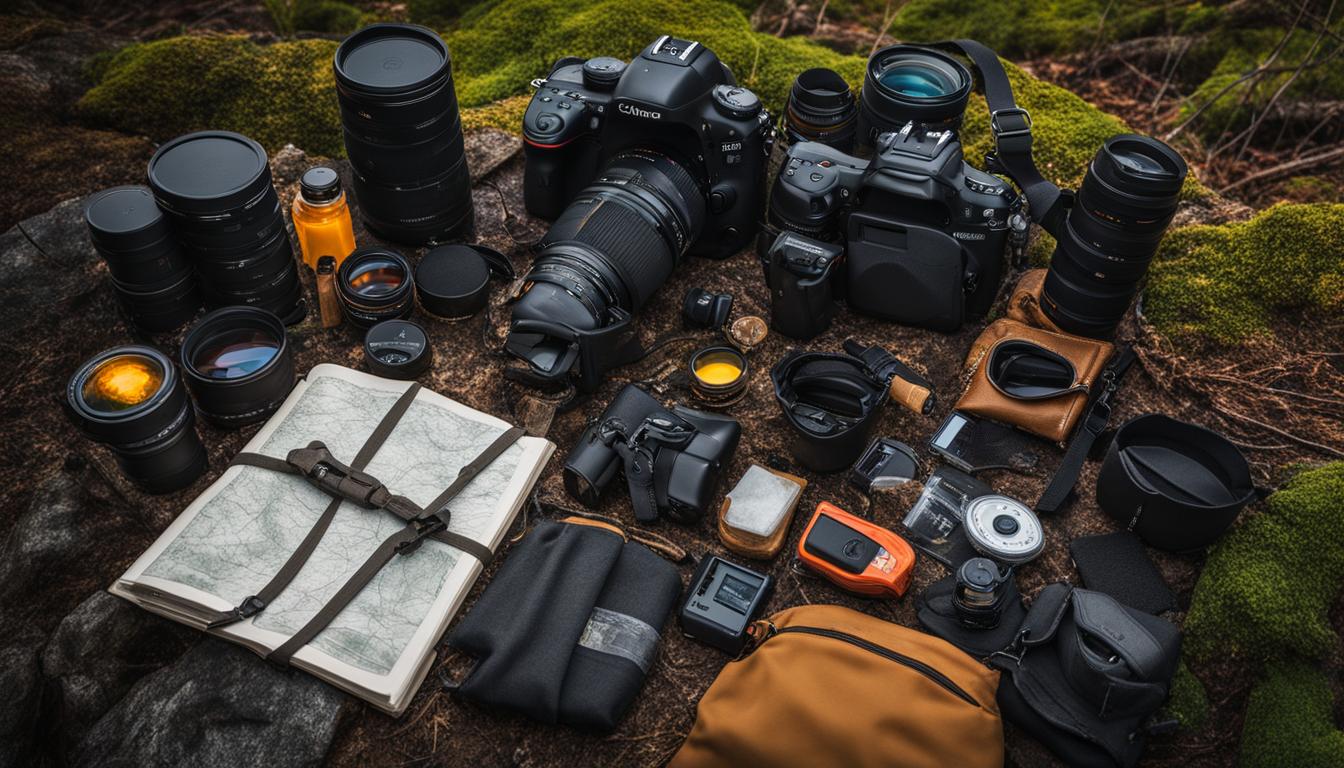
Essential Nature Photography Checklist for Outdoor Shoots
Nature photography offers an incredible opportunity to connect with the natural world and showcase its wonders through photography. Whether you’re an aspiring photographer or an experienced pro, capturing the beauty of nature can be a rewarding experience. However, outdoor shoots come with unique challenges, which is why having a nature Continue Reading
Ultimate Urban Exploration Photography Checklist

Welcome to our comprehensive guide to urban exploration photography! Whether you’re an experienced photographer or just starting your photography journey, this ultimate urban exploration photography checklist has got you covered. Urban exploration photography involves exploring abandoned buildings, tunnels, and other hidden gems in urban areas to capture stunning, breathtaking shots Continue Reading
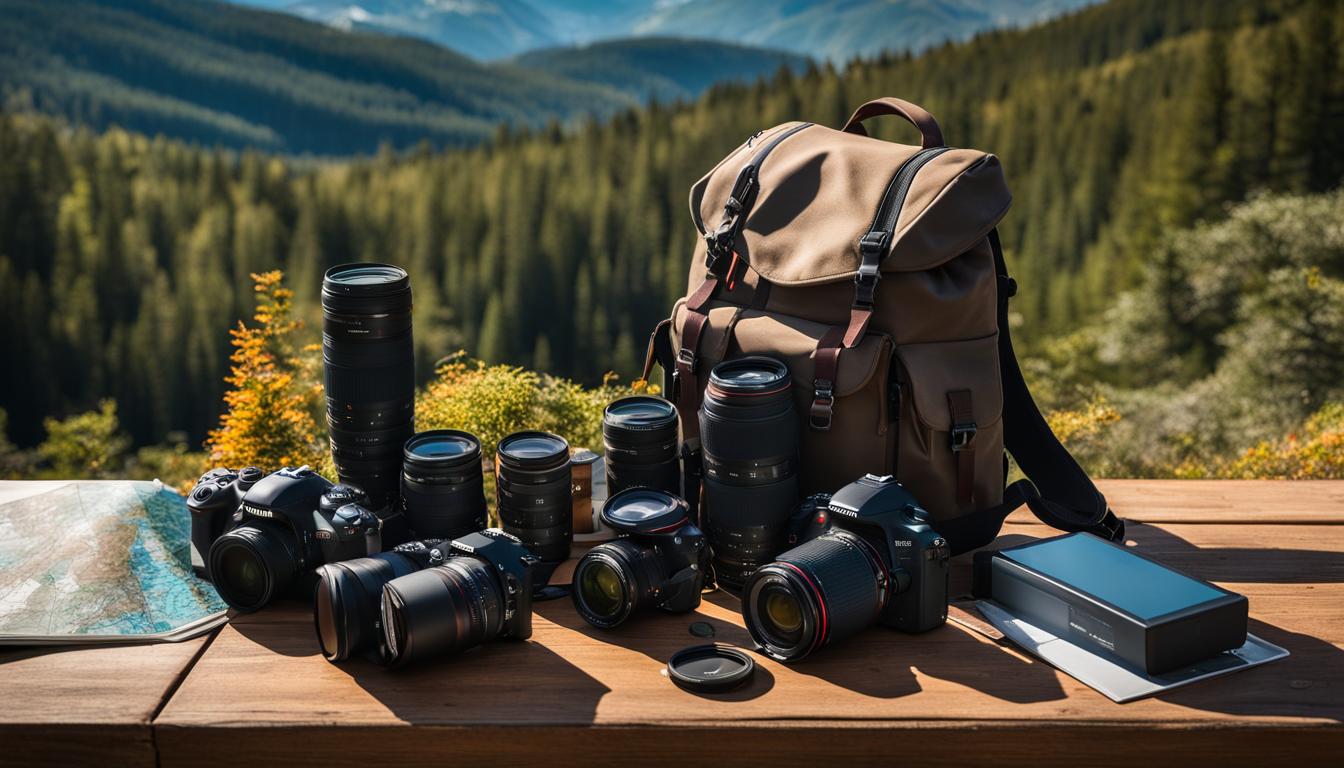
Ultimate Adventure Photography Checklist Guide
If you love nature and photography, adventure photography is an opportunity to combine your two passions. However, setting out on your first photo journey can be overwhelming. What camera gear do you need? What about outdoor clothing and accessories? And how do you plan for the unexpected? In this comprehensive Continue Reading
Essential Automotive Photography Checklist Tips
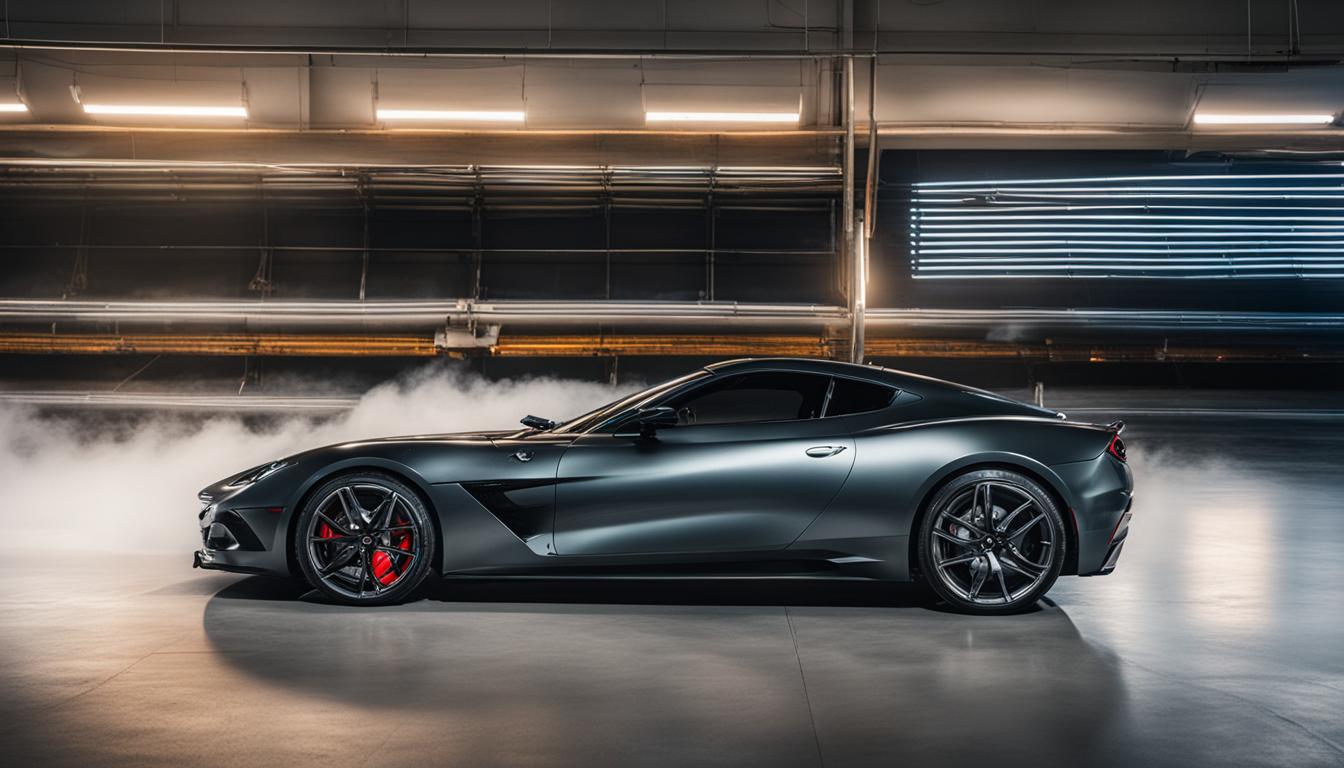
Are you looking to capture stunning car images? Whether you’re a professional automotive photographer or an enthusiast, you need to have the right equipment, select the right location, and apply effective composition and framing techniques. Our comprehensive automotive photography checklist provides the essential tips you need to make your car Continue Reading
Essential Fitness Photography Checklist Guide
Are you a fitness enthusiast looking to capture your workout moments in stunning photographs? Or perhaps you’re a professional photographer seeking to improve your fitness photography skills? Look no further than our comprehensive fitness photography checklist guide. In this guide, we’ll take you through the essential tools and techniques for Continue Reading
Ultimate Dance Photography Checklist Guide
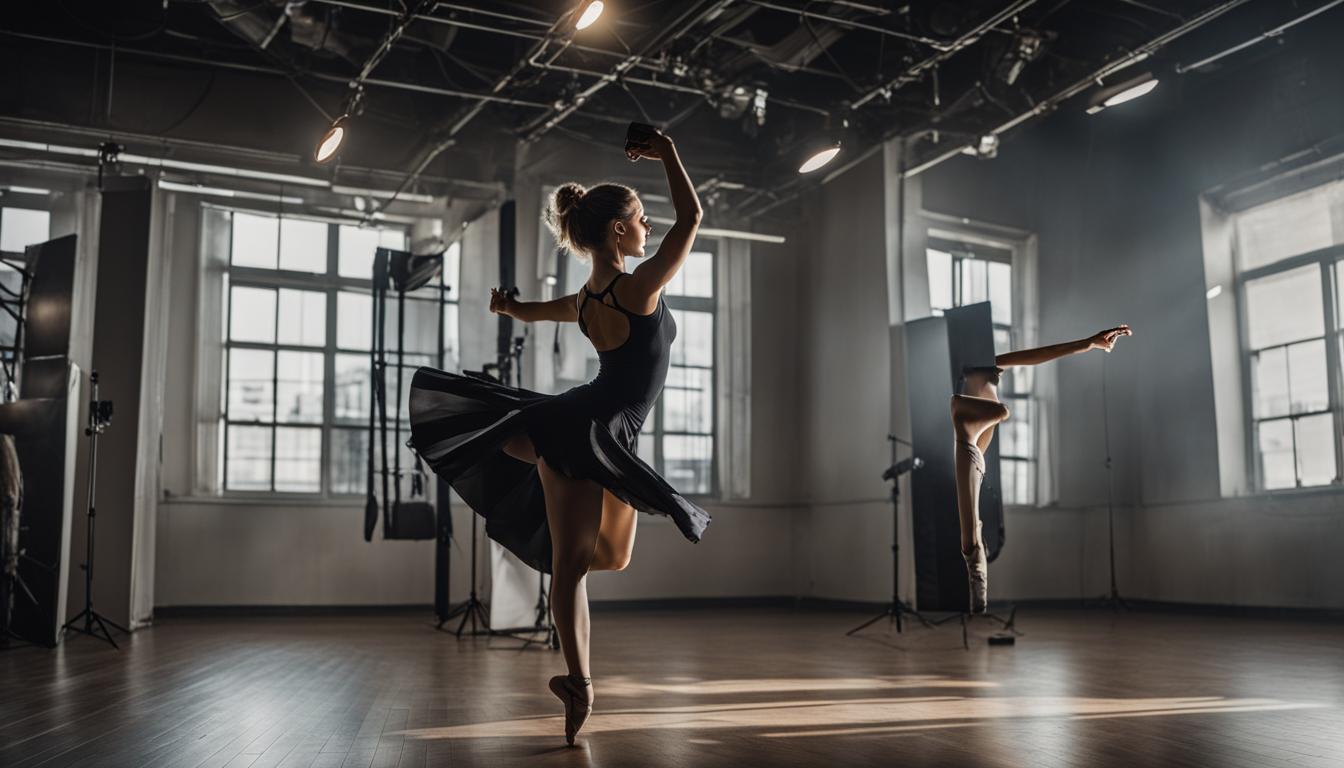
Do you love capturing the beauty and grace of dance through photography? Whether you’re a professional photographer or a dancer looking to capture your movements, our ultimate dance photography checklist guide is here to help you. In this comprehensive guide, we will provide you with tips and tricks to help Continue Reading
Essential Theater Photography Checklist Tips
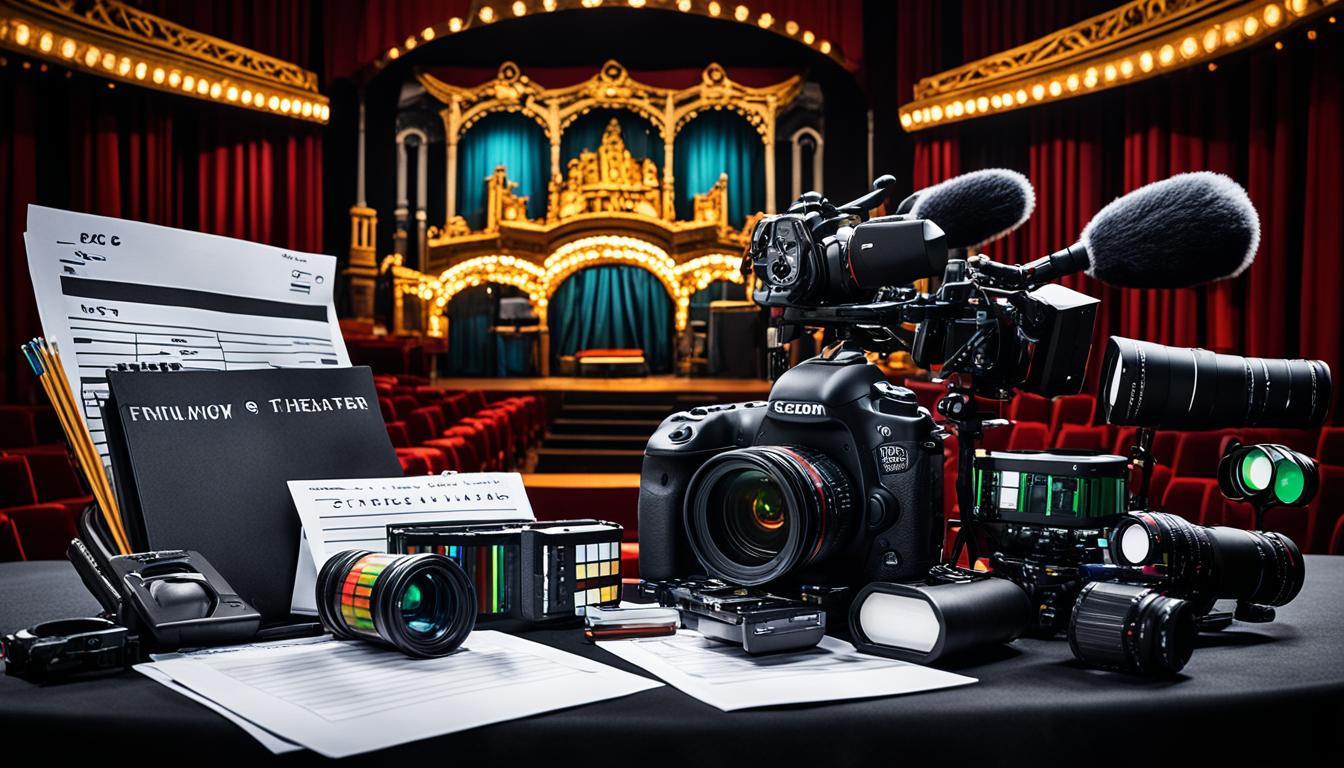
Are you passionate about theater photography but struggling to capture the perfect moments? Look no further! In this section, we bring you essential theater photography checklist tips to help you create stunning images that capture the essence of theater performances. These tips will ensure you are well-prepared for a standing Continue Reading
Essential Corporate Headshots Checklist for Success

Corporate headshots are an essential aspect of your professional image. As the saying goes, a picture is worth a thousand words, and your headshot is no exception. It’s crucial to get it right and make a lasting impression. In this section, we will provide you with an essential checklist for Continue Reading
Essential School Photography Checklist Guide
Are you a school photographer searching for ways to capture perfect yearbook photos and portraits? Then our comprehensive school photography checklist guide is just what you need! With this guide, we’ll equip you with all the information you need to create stunning school photos that capture the essence of your Continue Reading
Graduation Photography Checklist Essentials

Graduation day is a momentous occasion in every student’s life. It’s a day filled with emotions, celebrations, and capturing every moment of this special day through photography is essential. To ensure you don’t miss a single moment, we’ve put together a graduation photography checklist that covers all the essential items Continue Reading
Essential Boudoir Photography Checklist for Clients

Welcome to the world of boudoir photography! This intimate genre of photography requires careful planning and preparation to achieve the desired results. For clients getting ready for their boudoir photography session, we have compiled the essential boudoir photography checklist to follow, ensuring a confident and flawless experience. Key Takeaways: Proper Continue Reading
Essential Engagement Photography Checklist Guide
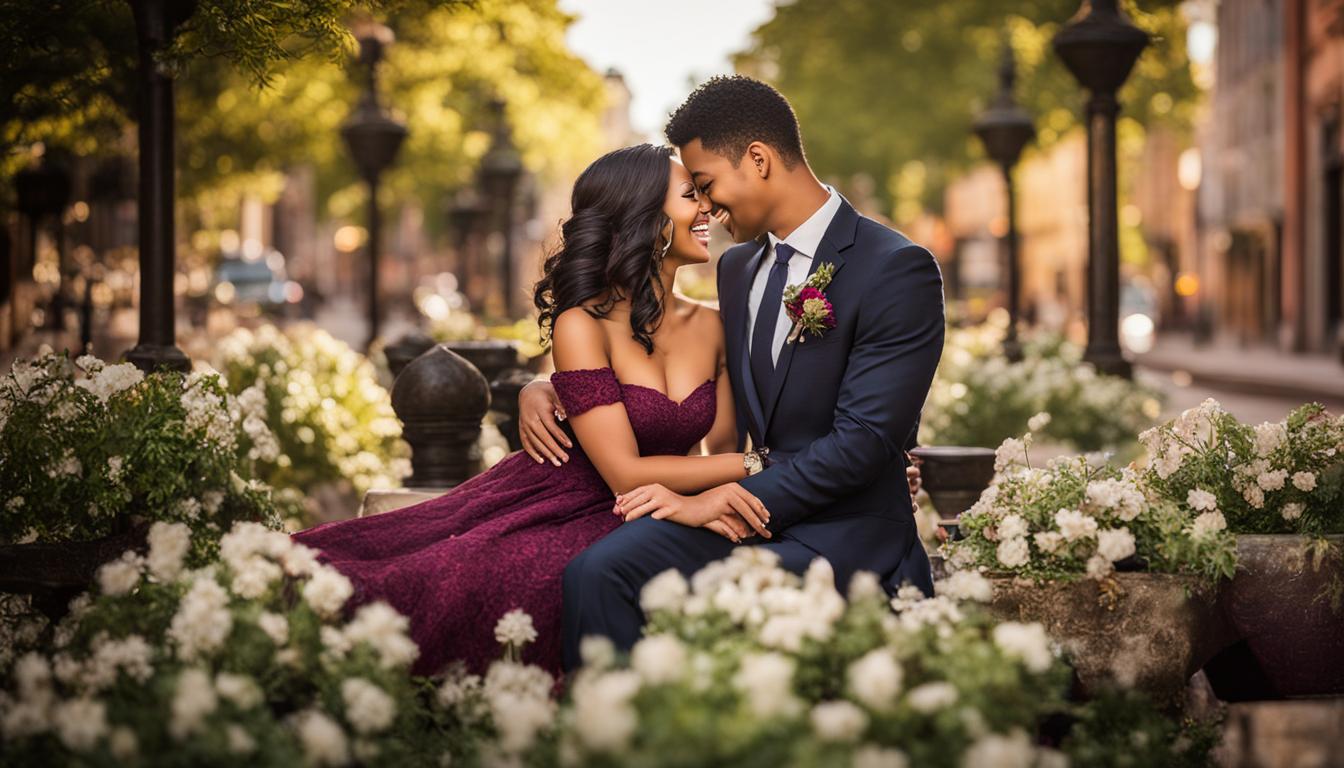
Planning an engagement session can be both exciting and overwhelming. Every couple wants to capture those special memories of their engagement, but it’s easy to overlook essential details without proper planning. Creating an engagement photography checklist ensures you capture all the magical memories that you will cherish for a lifetime. Continue Reading
Essential Maternity Photography Checklist Tips

Are you expecting a little bundle of joy? With pregnancy comes a sense of wonder and excitement. Every moment of this extraordinary journey deserves to be remembered. A maternity photography checklist can help you capture it all! Whether you want to document your pregnancy journey or share the news with Continue Reading