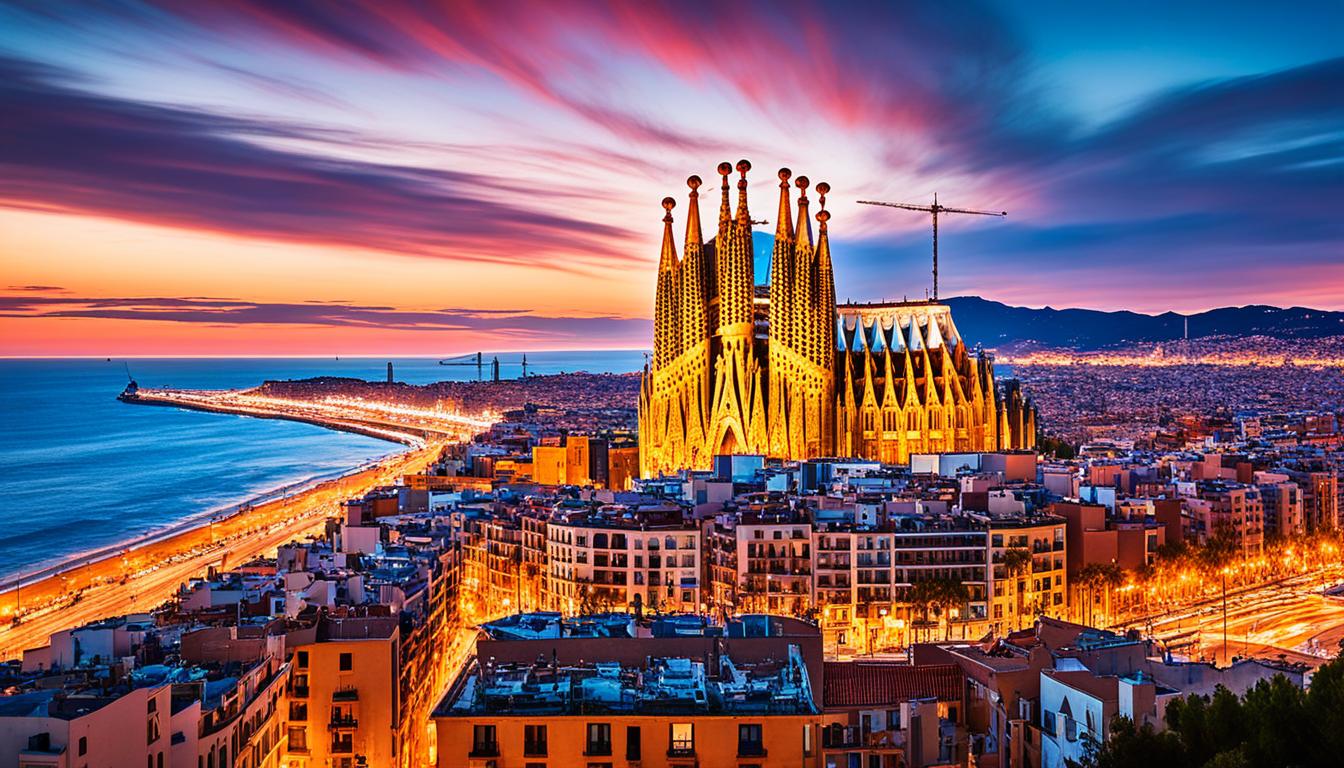
“Every artist dips his brush in his own soul, and paints his own nature into his pictures.” – Henry Ward Beecher Barcelona, a vibrant city that pulsates with life, is a photographer’s paradise. From the sun-kissed streets to the stunning architecture, every corner of this city is an opportunity to Continue Reading
Best places to photograph in Prague
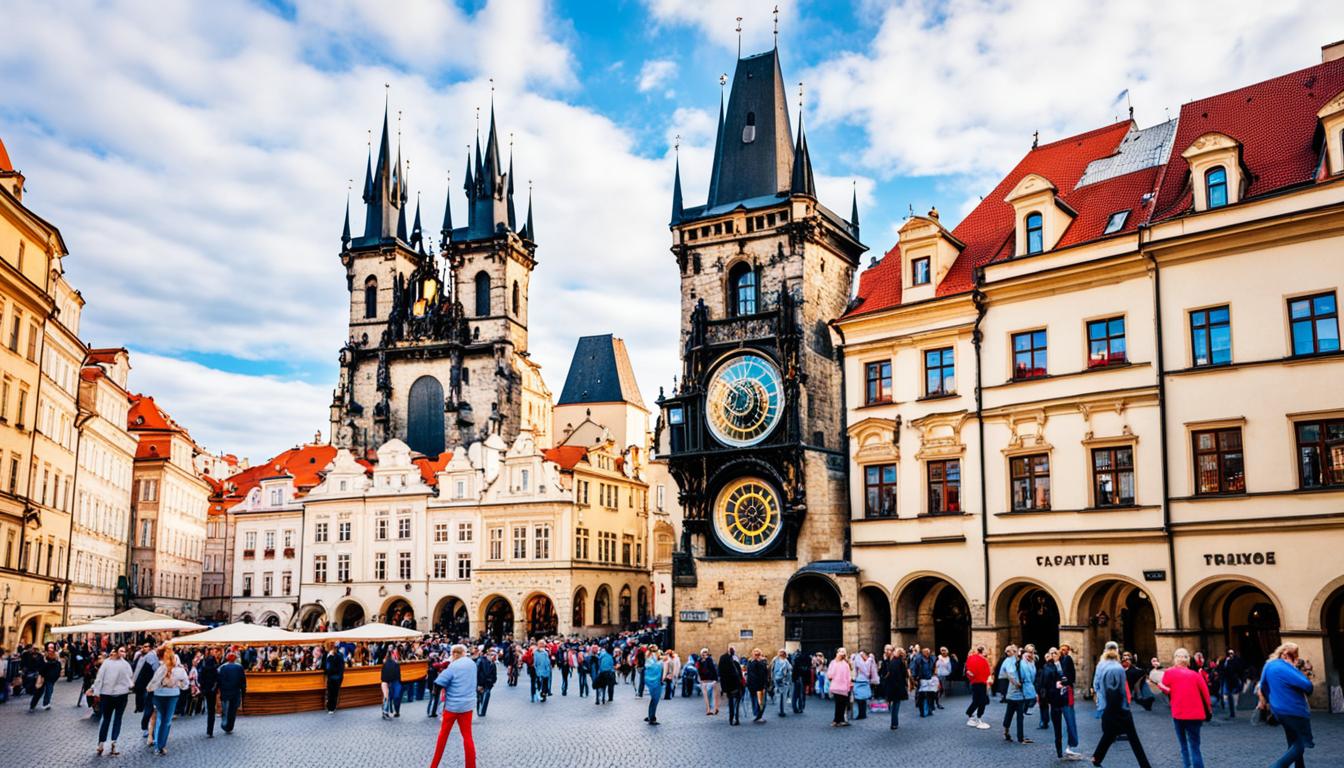
“Photography takes an instant out of time, altering life by holding it still.” – Dorothea Lange Prague, the capital of the Czech Republic, is a city of captivating beauty that beckons photographers from around the world. Its stunning architecture, picturesque streets, and rich cultural heritage make it a paradise for Continue Reading
Best places to photograph in Hong Kong
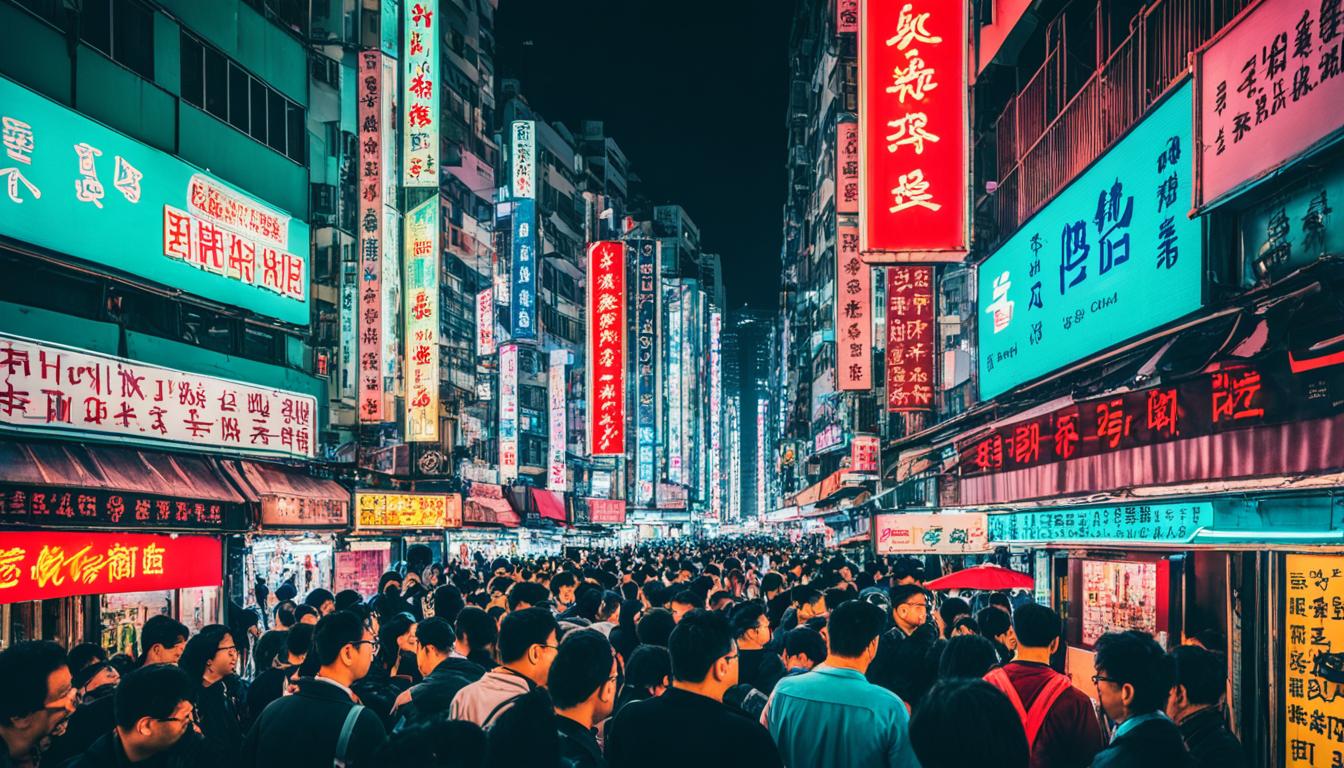
“Photography is the story I fail to put into words.” – Destin Sparks Welcome to the captivating world of photography in Hong Kong. With its dynamic fusion of culture, architecture, and natural beauty, this vibrant city offers endless opportunities for capturing stunning visuals. Whether you’re a professional photographer or simply Continue Reading
Best places to photograph in Sydney
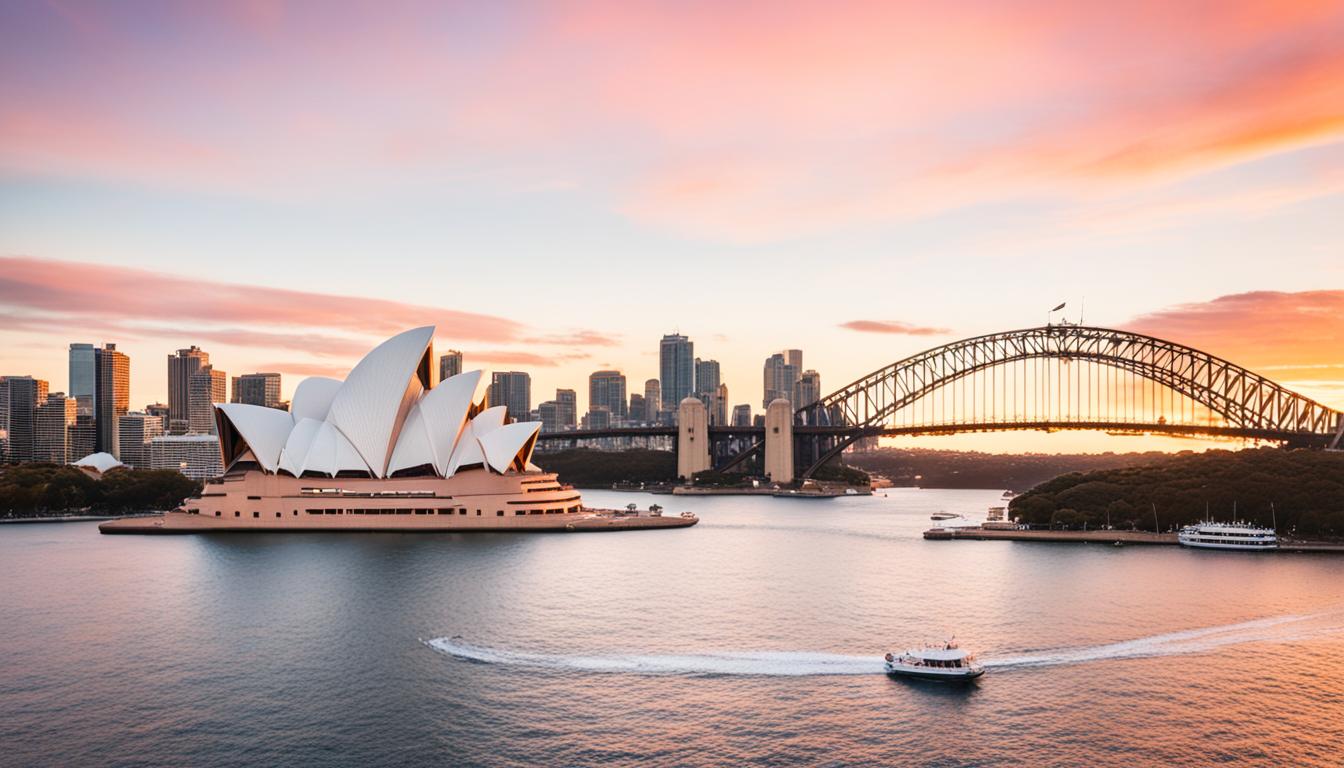
“Photography is a way of feeling, of touching, of loving. What you have caught on film is captured forever… It remembers little things, long after you have forgotten everything.” – Aaron Siskind Sydney, a city of stunning landscapes and iconic landmarks, offers a paradise for photographers seeking to capture moments Continue Reading
Best places to photograph in Tokyo

“Photography is a way of feeling, of touching, of loving. What you have caught on film is captured forever… It remembers little things, long after you have forgotten everything.” – Aaron Siskind Tokyo, the bustling capital city of Japan, is a photographer’s dream. With its blend of traditional and modern Continue Reading
Best places to photograph in New York City
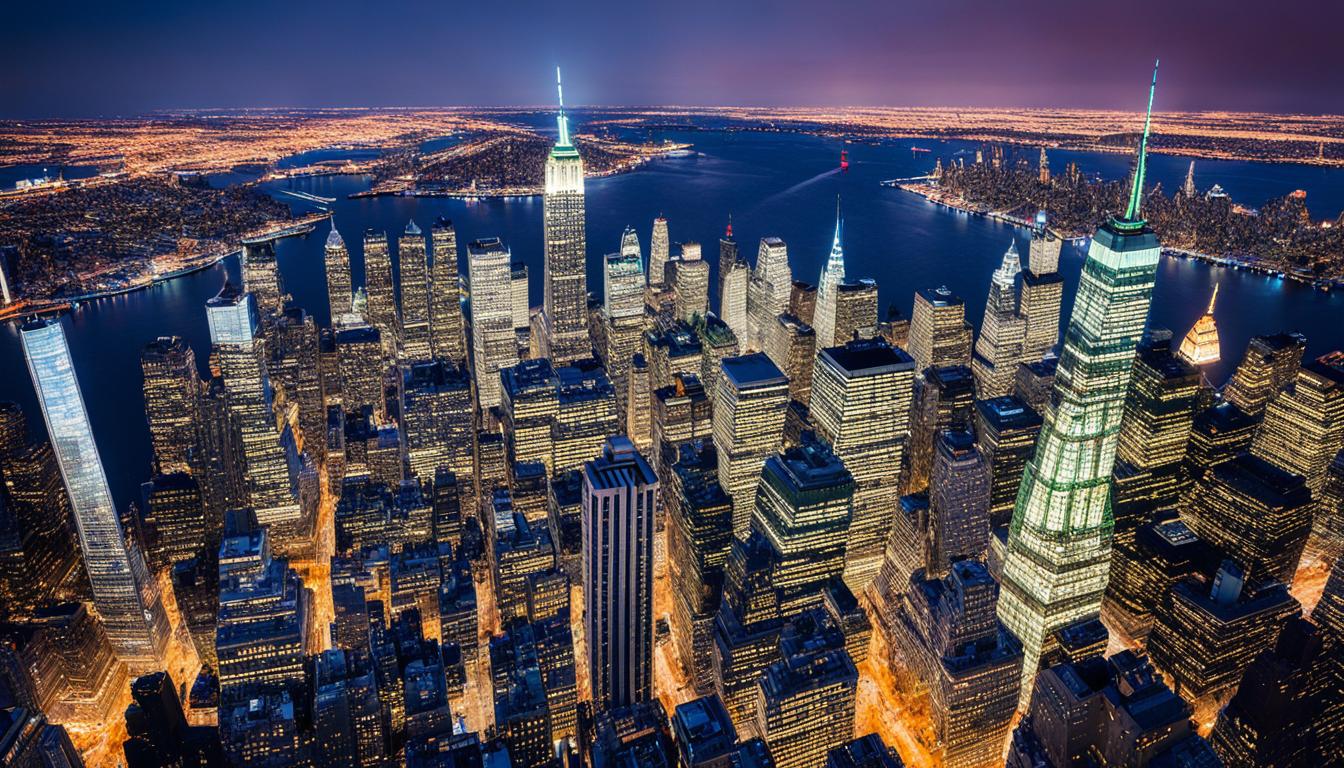
“Photography is a way of feeling, of touching, of loving. What you have caught on film is captured forever… it remembers little things long after you have forgotten everything.” – Aaron Siskind New York City, the concrete jungle of towering skyscrapers and bustling streets, is a photographer’s paradise. Seemingly at Continue Reading
Best places to photograph in London
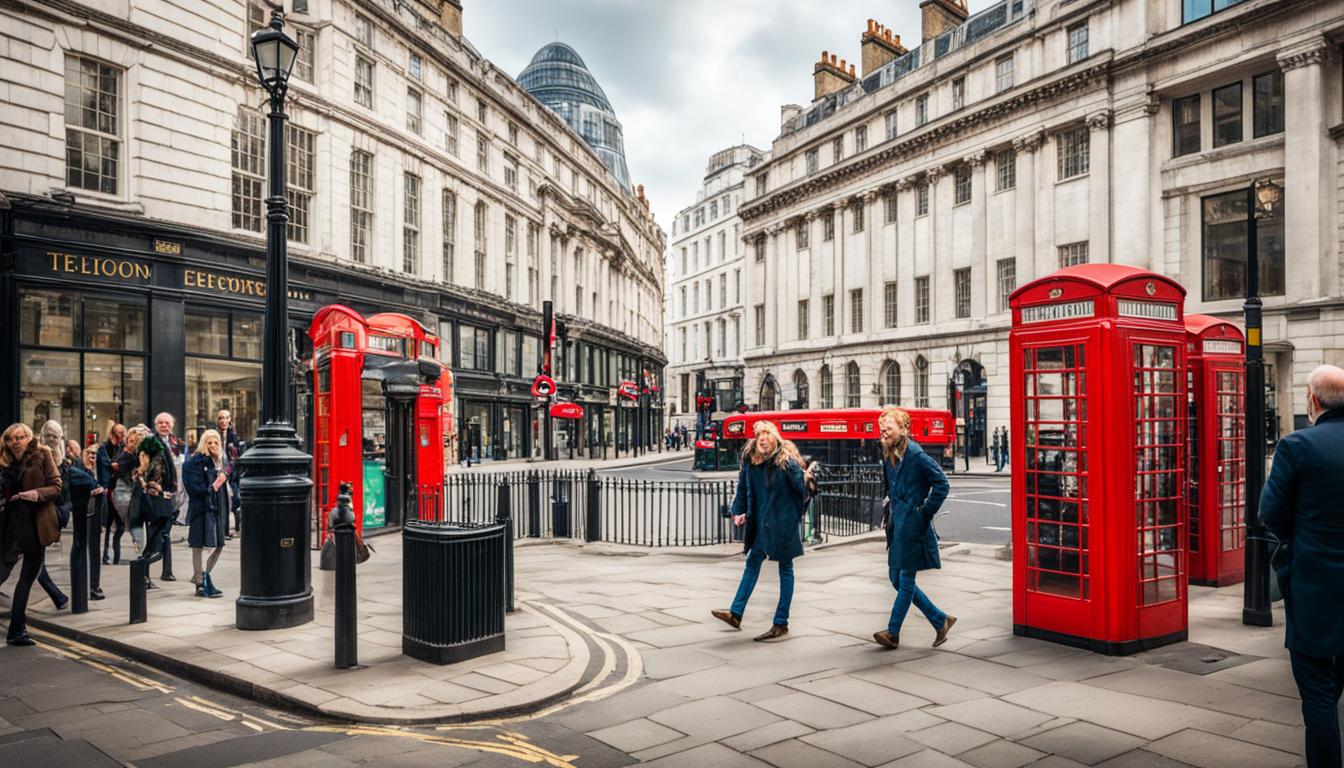
“Photography is a way of feeling, of touching, of loving. What you have caught on film is captured forever… It remembers little things, long after you have forgotten everything.” – Aaron Siskind London, the vibrant capital of England, is a city rich in history, culture, and breathtaking sights. From iconic Continue Reading
Best places to photograph in Rome

“Every artist dips his brush in his own soul, and paints his own nature into his pictures.” – Henry Ward Beecher Greetings, fellow photography enthusiasts! Welcome to a guide on the best places to photograph in Rome, where centuries of history and culture blend seamlessly with breathtaking scenery. As a Continue Reading
Best places to photograph in Paris
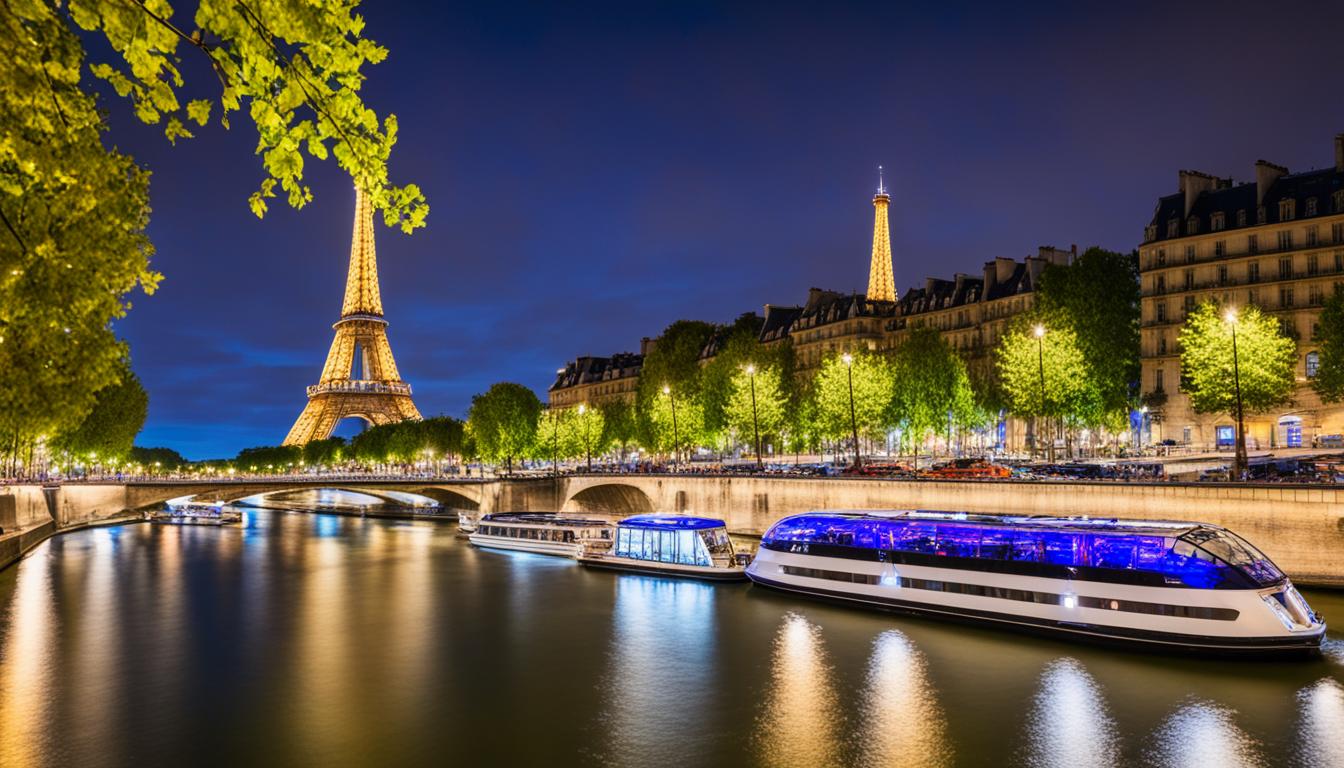
As renowned photographer Ansel Adams once said, “Sometimes I arrive just when God’s ready to have someone click the shutter.” Paris, the City of Lights and the City of Love, is a photographer’s paradise, offering a plethora of stunning locations to capture its beauty. From the iconic Eiffel Tower to Continue Reading
Best places to photograph in Amsterdam

“Photography is the story I fail to put into words.” – Destin Sparks Amsterdam, with its stunning canals and historical architecture, is a photographer’s dream. From capturing the beauty of the Amstel River to exploring the charming neighborhoods like Jordaan and the Nine Streets, this city offers endless photo opportunities. Continue Reading
Best places to photograph in Berlin
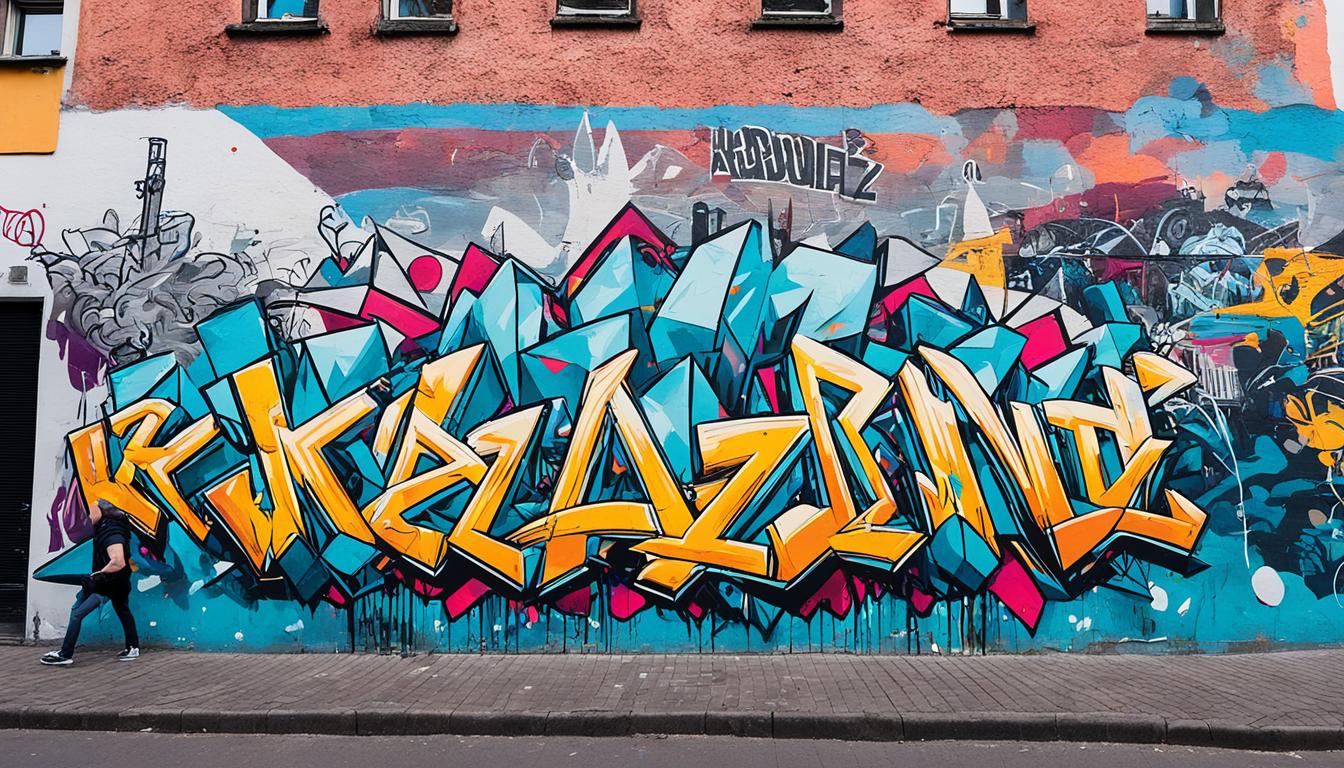
“Photography is the story I fail to put into words” – Destin Sparks Berlin, with its vibrant energy and fascinating history, offers photographers a myriad of captivating opportunities. Whether you’re an amateur photographer looking to hone your skills or a professional seeking unique and iconic shots, this city has something Continue Reading
Best places to photograph in Vienna
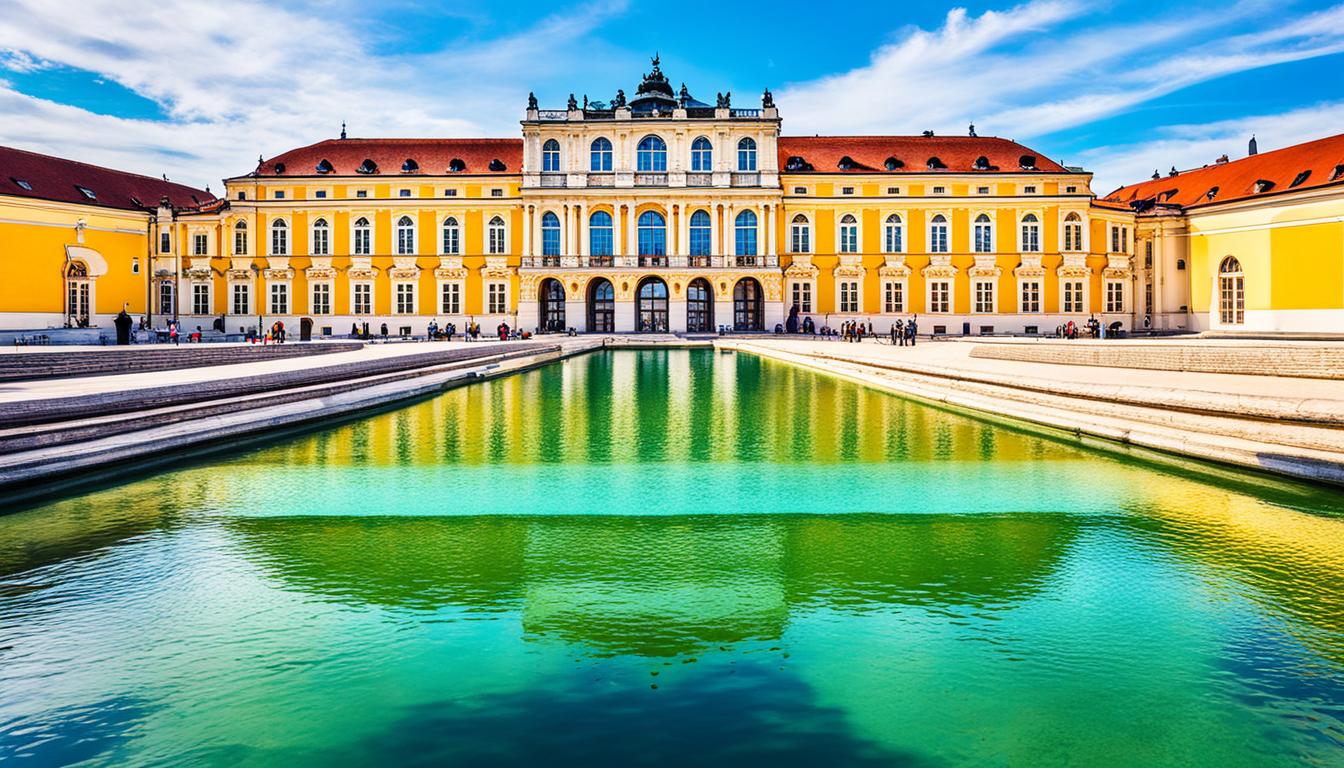
“Photography is a way of feeling, of touching, of loving. What you have caught on film is captured forever… It remembers little things, long after you have forgotten everything.” – Aaron Siskind Vienna, the capital of Austria, is a city that exudes charm and beauty, making it a photographer’s paradise. Continue Reading
Minimalist Photography Checklist: Capture Simplicity

Are you someone who seeks beauty in simplicity? Do you appreciate the elegance of understated design? Then you’ll love minimalist photography. This style of photography celebrates the beauty of simplicity and focuses on capturing the essence of a subject with minimal distractions. It’s all about stripping back the clutter and Continue Reading
Essential Long Exposure Photography Checklist Tips
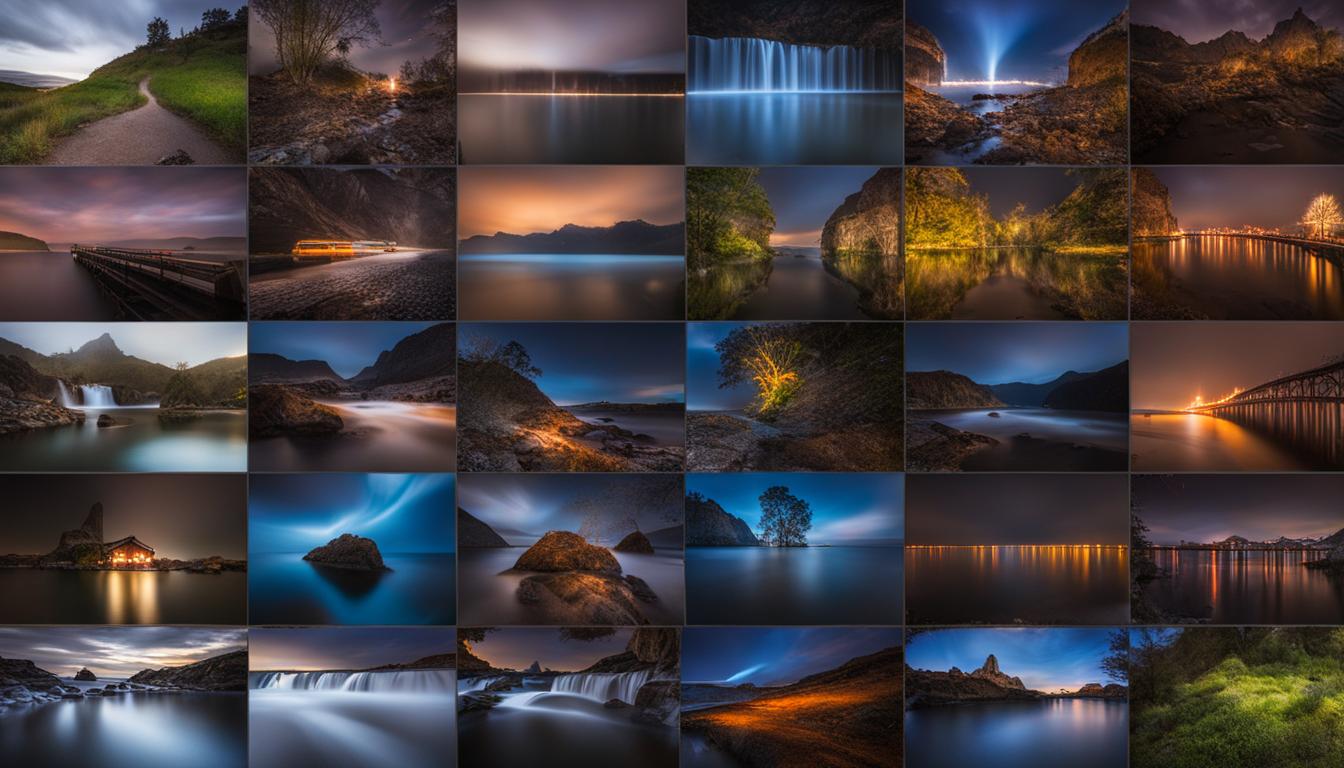
If you’re fascinated by the dreamy, flowing effects of long exposure photography, this guide is for you! In this section, we will share crucial tips for creating beautiful long exposure shots, including our comprehensive Long Exposure Photography Checklist. Whether you’re a beginner or an expert, this guide will help you Continue Reading