Lets say you want to put your old camera to sale on Ebay.com,you probably don’t want it to look like this photo right

Then you probably ask what is the cheapest/easiest way to shoot your products.
No matter what is your cause for shooting those pictures:weather to put your stuff on Ebay.com,shoot some things you sell on your site or just having fun,it is very simple to do that job!!!
All you need is :
- Digital camera
- Sync cable
- Off camera flash with PC in (it will be better if the flash has a manual control option)
- White board :it can be foam board that is used for crafts or even a white thick paper
- Some motivation,and of you go!!!
A I said,those are very basic pictures and for beginners,but it will improve your photoes in no time
***This setup is great for small products
For best results read the post about products photography tips.
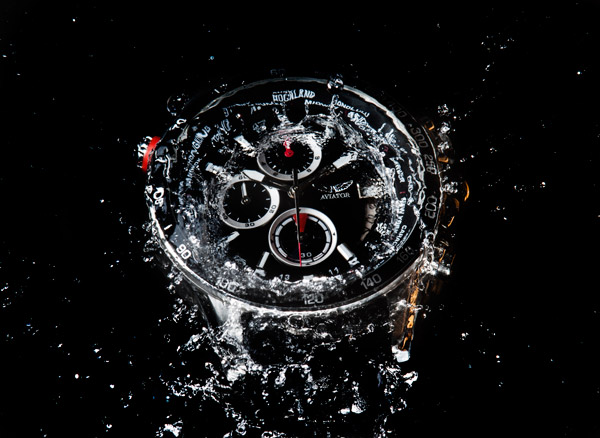
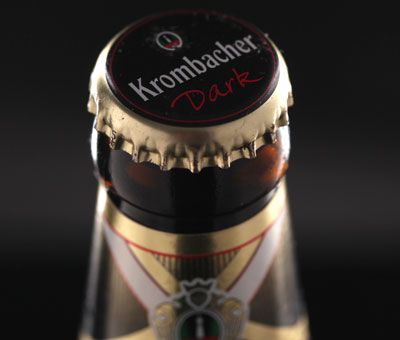
Here are some photos I shoot in the setup will discuss further on:
 And old KONICA C35
 One of my millions battery chagers
 My Pentax love
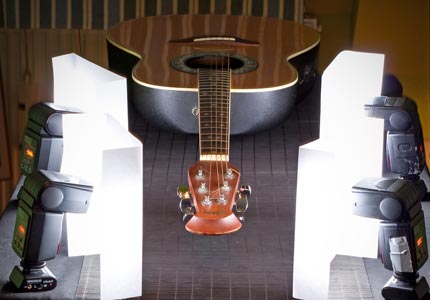
S0 this is the setup I use for those pictures.

You ask what is the routine?Here it is(hint:its simple):
- find a table in your house and push it near the closest white wall.
- put a white foam plane (or whatever you call it,I bought it in office depot).
- Get your off camera flash on a tripod 45 degree about the object(like in the sepup scheme)
- work your camera in manual mode-first fing the spot that gives you some of the white color of the wall and the board.
- Put yor flash on manual and connect it to your camera (here I used simple pc sync cord).
- Start the flash power at a low level and increase it until you get the histogram to show a lot of white.You could also look at the cameras screen and start shooting the productes when you feel the product is surrounded by great white.
- You could improve each picture in photoshop levels and get better results in no time (here I didn’t use photoshop,but I’ll teach you that simple stuff later on).
If you want to learn how to get rid of some of the shadows on the right side of the camera you can continue and read Products Photography for beginners-The most basic setup!!!(Part II)
Enjoy!!!
Share your thoughts and pictures with us!Place your comments below!!!

Type your comment here
simple and practical setup just what I needed! Thank you.
TNX