After posting last tutorial on how to photograph wine bottles (never mind , how to finish the bottle 10 minutes later) I wanted to share another technique you can use when photographing bottles or glass objects. This time its about how to photograph beer bottles (I drunk the wine now lets get over to the beer).
I’m using here some old schools technique I tried some time ago, on how to use a soft box in order to get a nice rim light (or how pros are calling it) . I Blocked the middle part of the soft box with a black board, by that I got two long and narrow lights, if you put the object in the middle , those two lights will create a nice rim light and light the edges of the beer bottle. Adding a front reflector or another light source a front fill light , you get a very nice beer bottle.
How the photograph beer bottles:
Beer bottle photography the setup and the gear used: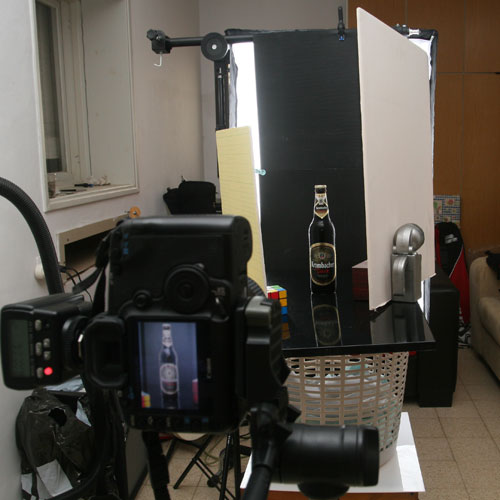
- One 60*90cm softbox – this is the 30$ umbrella softbox , the most affordable light modifier you can get (here at amazon ePhoto 24″ x 36″
)
- A 7 feet boom arm – this is a handy gadget you sould have in you home studio, I used it to hold the black blocking board in front of the softbox (you can get it a amazon – 7 feet Arm with Grip Head
). At home I’m using this, but take in mind that if you are goung to put “heavy weight” gear on it, you’ll have to use a very good lightstand and some sand bags to help balance the weight.
- Light – one flash in the softbox, its the YN568EX, I love it.
- Triggering – Deboa st-et2. I simply like this one for homework!!!
- Camera and shit.
Beer bottles photography How to basics:
As said at the beginging , the main trick here is to block the middle of the softbox, this is hoe I did it in closeup, there are many other ways and I’ll more than happy if you can share yours if have one:
 A 90cm black board (the softbox is 90cm) attached to the boom arm with a spring clamp, that easy.
Other ways to hold it (readers ideas):
- Just attach the board with the spring clamp to the softbox black margin.
- Doing a velcro attachment project (I’ll try it)
- Your other ideas (just comment bellow).
I’m using for a long time an IKEA black magnet board as a product photography table (its time to get a new one `-) ), put the bottle on the board.
The flash in the softbox set to 1/2 full power and camera gear and settings:
- Canon 100mm Macro.
- Canon 5D MKII
- Exposure : 1/160th ,f/5, ISO 200.
For fill light I used two white boards and held them with some stuff I found in the room.
Here how the setup looks:
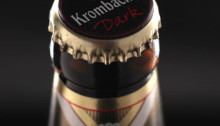
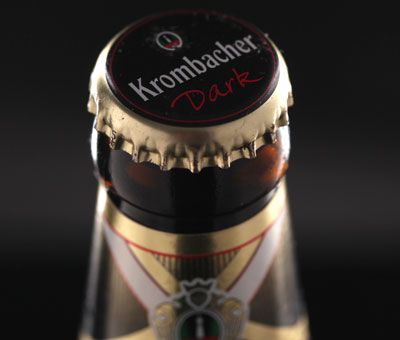
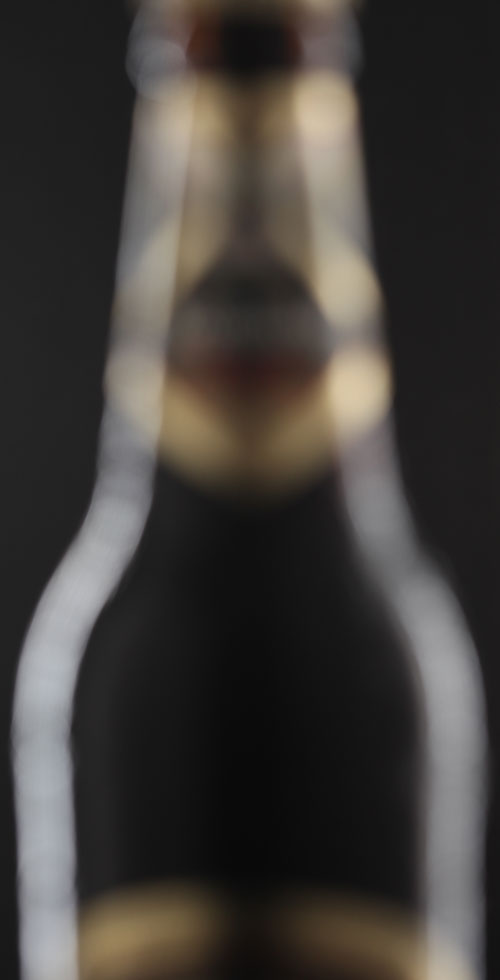
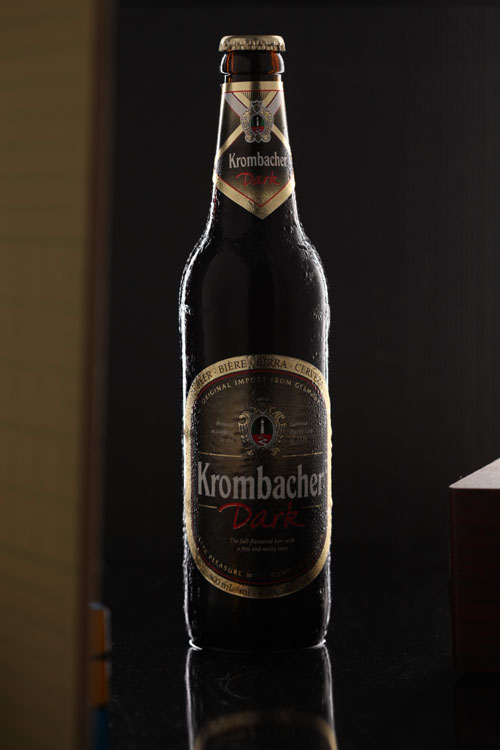
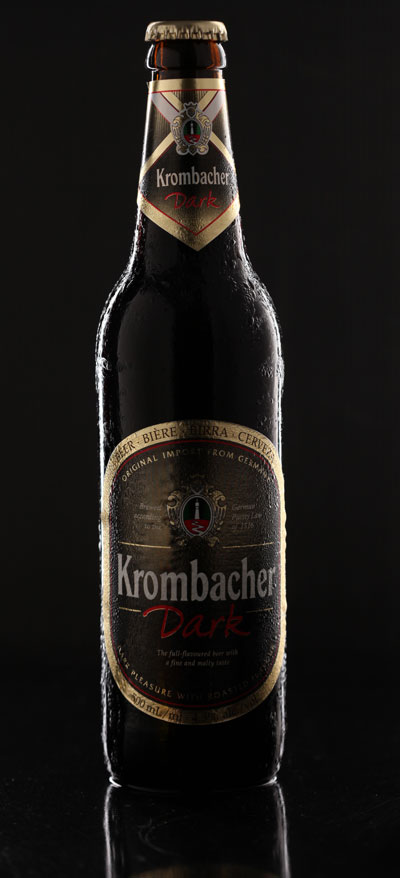
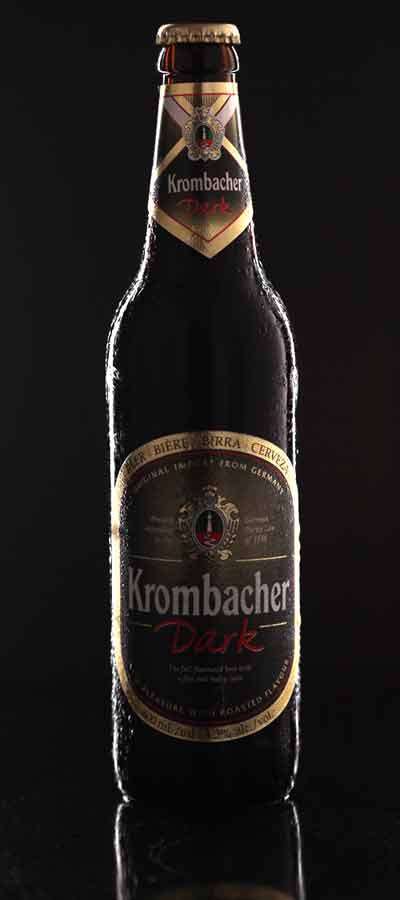
And here are some of the images I took in this session:
Have your own ideas? We want to hear them! Just Comment bellow!!!


